Everyone loves my balls. My CAKE balls that is! As a matter of fact I happen to know there are people who love me for this reason and this reason alone. I’m okay with that. And if you are needing to feel some extra love, wanting to impress someone with your wicked baking skills or simply have a bite of bliss…..read on. We will do this together!
Now please understand before we begin, my cake balls are NOT in any way, shape, form or fashion cake pops. No. Cake pops are baked in a mold and have a stick in them. These are much more time consuming (which is why a lot of people just pay me to make them) however they are SO much better it is worth the time and effort, promise!
A quick back story:
The first time I made these, about 5 years ago I was doing really well until it was time to dip them in the melted chocolate. Things quickly went from bad, to worse then straight to Hell. My dear husband quietly gathered the children with a hushed ‘let’s all go play outside’ to each and carefully moved toward the door while I used excessive arm gestures and ranted in a rather profane manner. I am not proud of this. Which is why I am writing you today, if I can save one household from an afternoon of frightening cake ball rage I shall be at peace.
So lets do this!
You begin by choosing what flavor of cake ball you want, red velvet is my most requested but pretty much anything goes. A quick note, I do all my cake balls from scratch, not much is added to these babies and they are quite an undertaking so go ahead and make your cake and frosting from scratch, you will be glad you did! One cake makes about 60 so feel free to cut the recipe in half if needed!
Orange Almond is my favorite so for demonstration purposes this is what we will use today. Begin the process by baking your cake of choice as you normally would…….
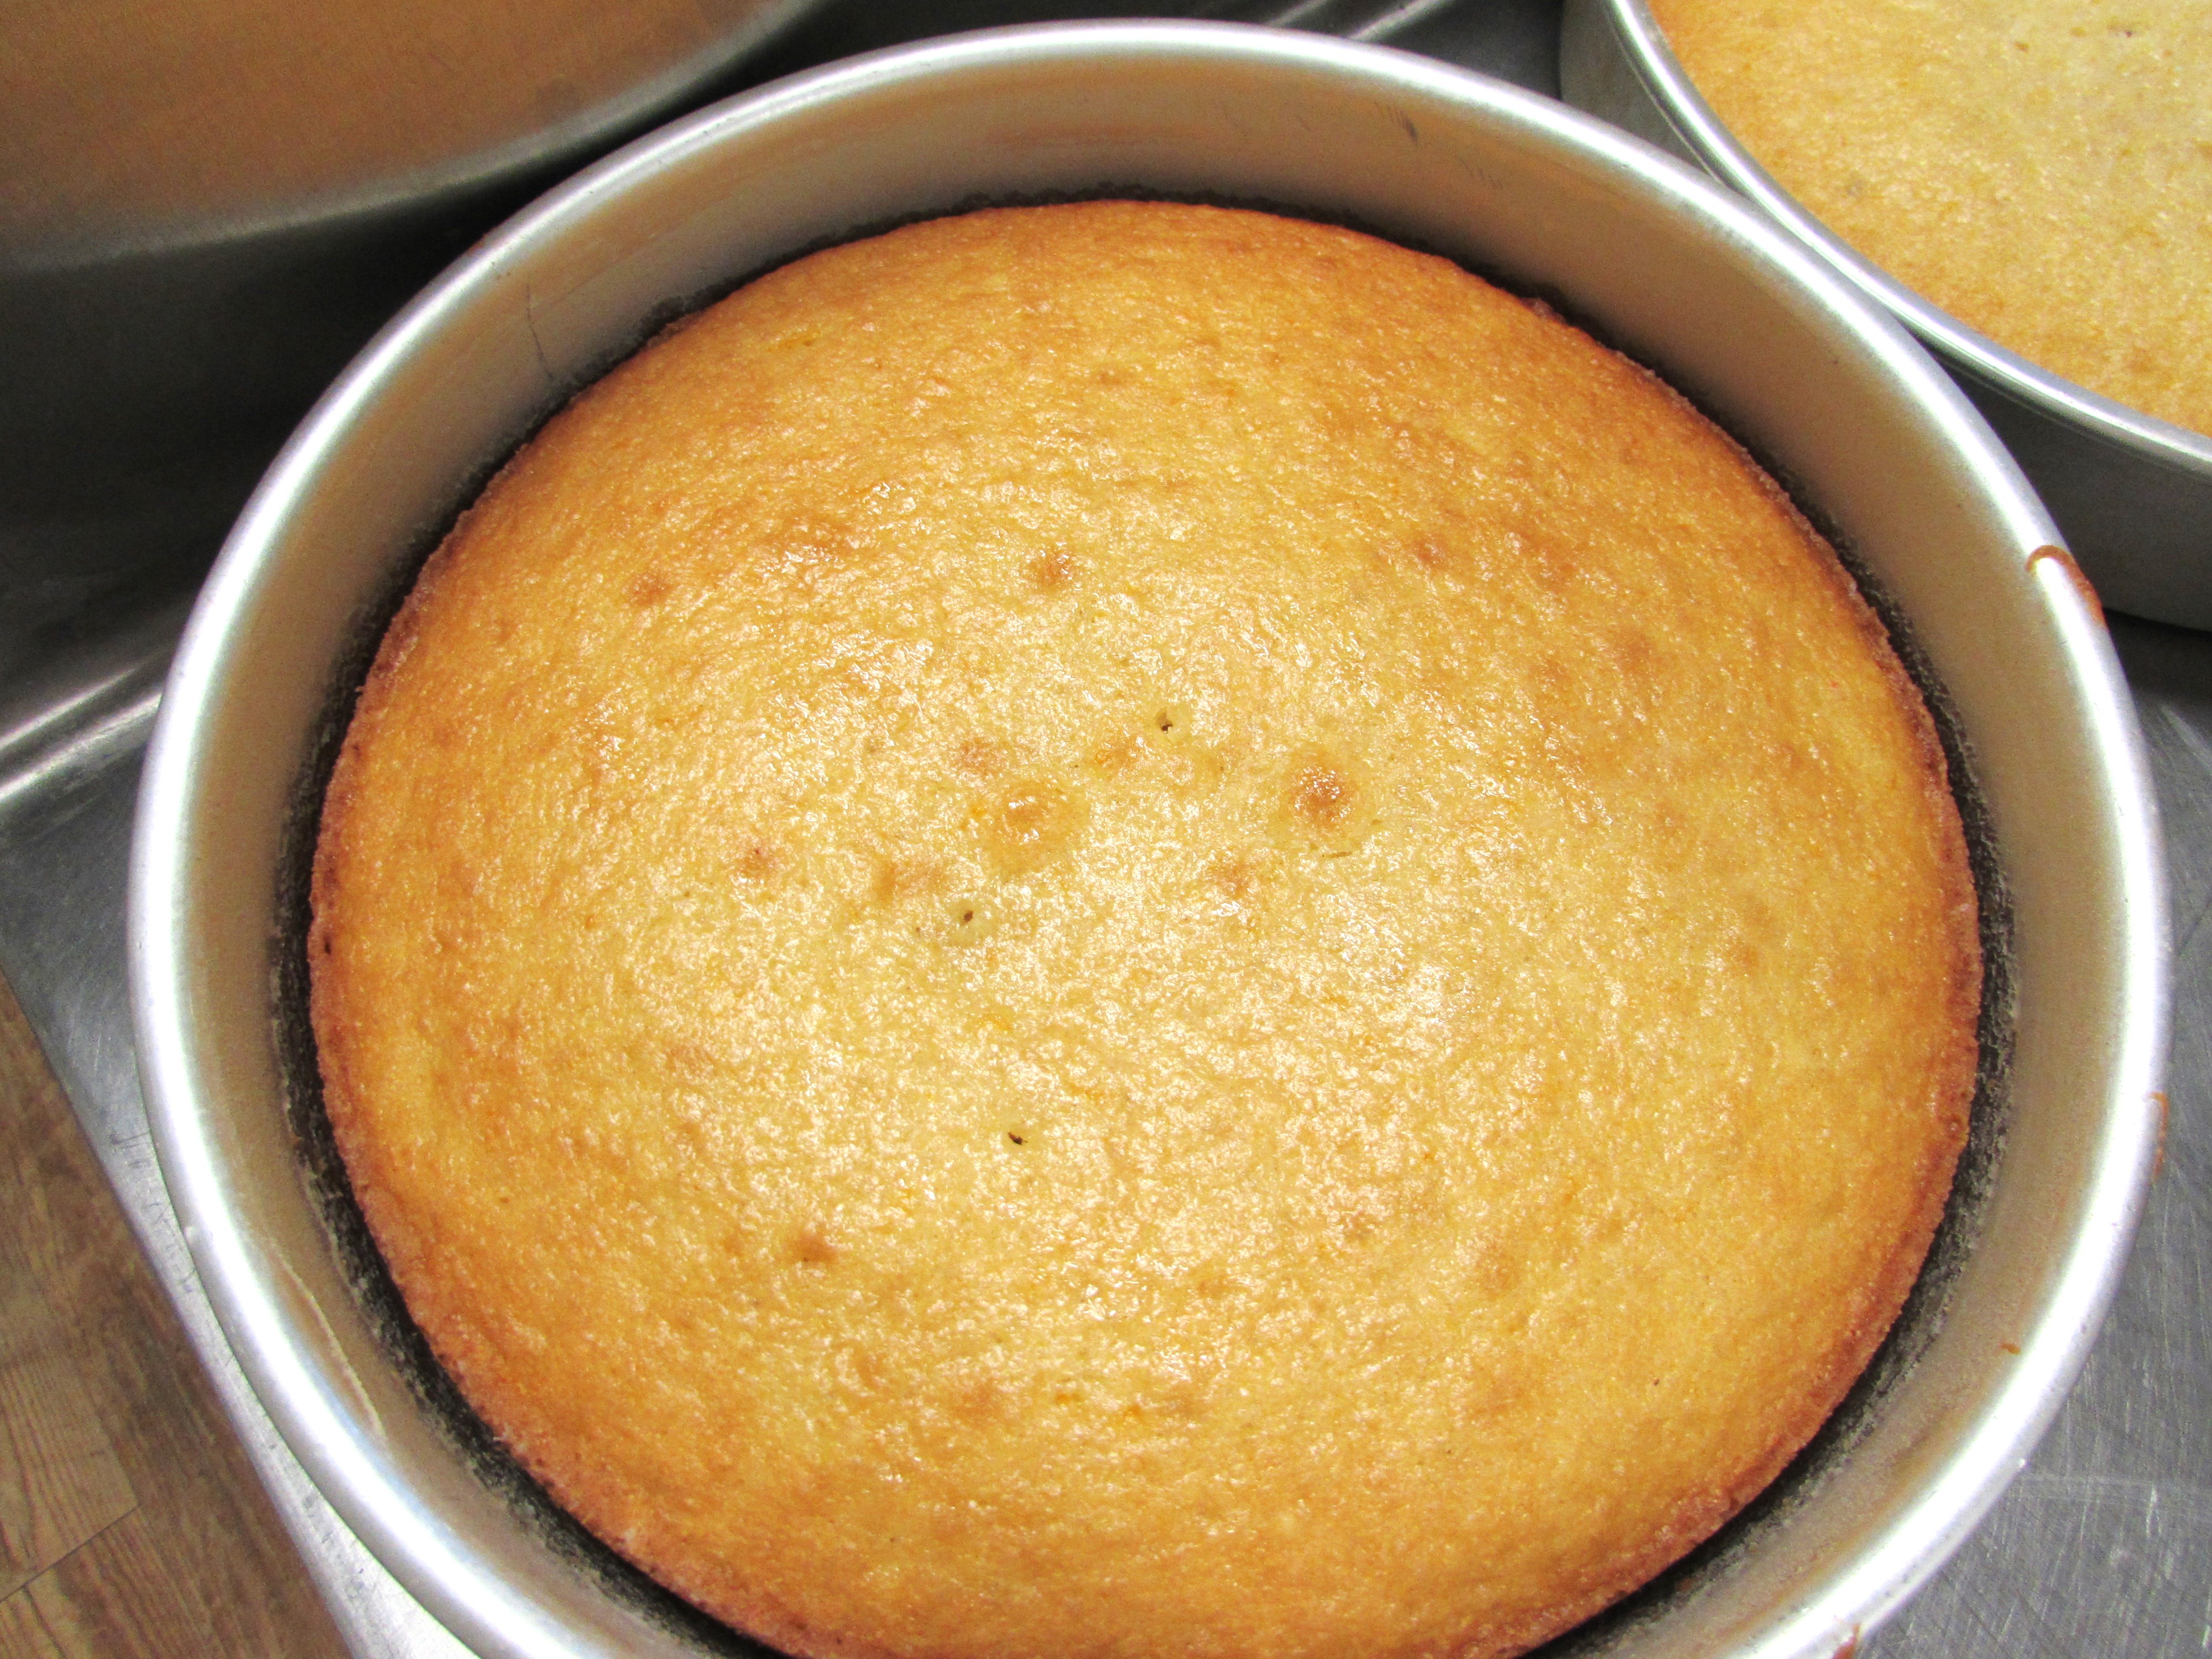
Let the cake cool in the pan, no need to flop it onto a rack.
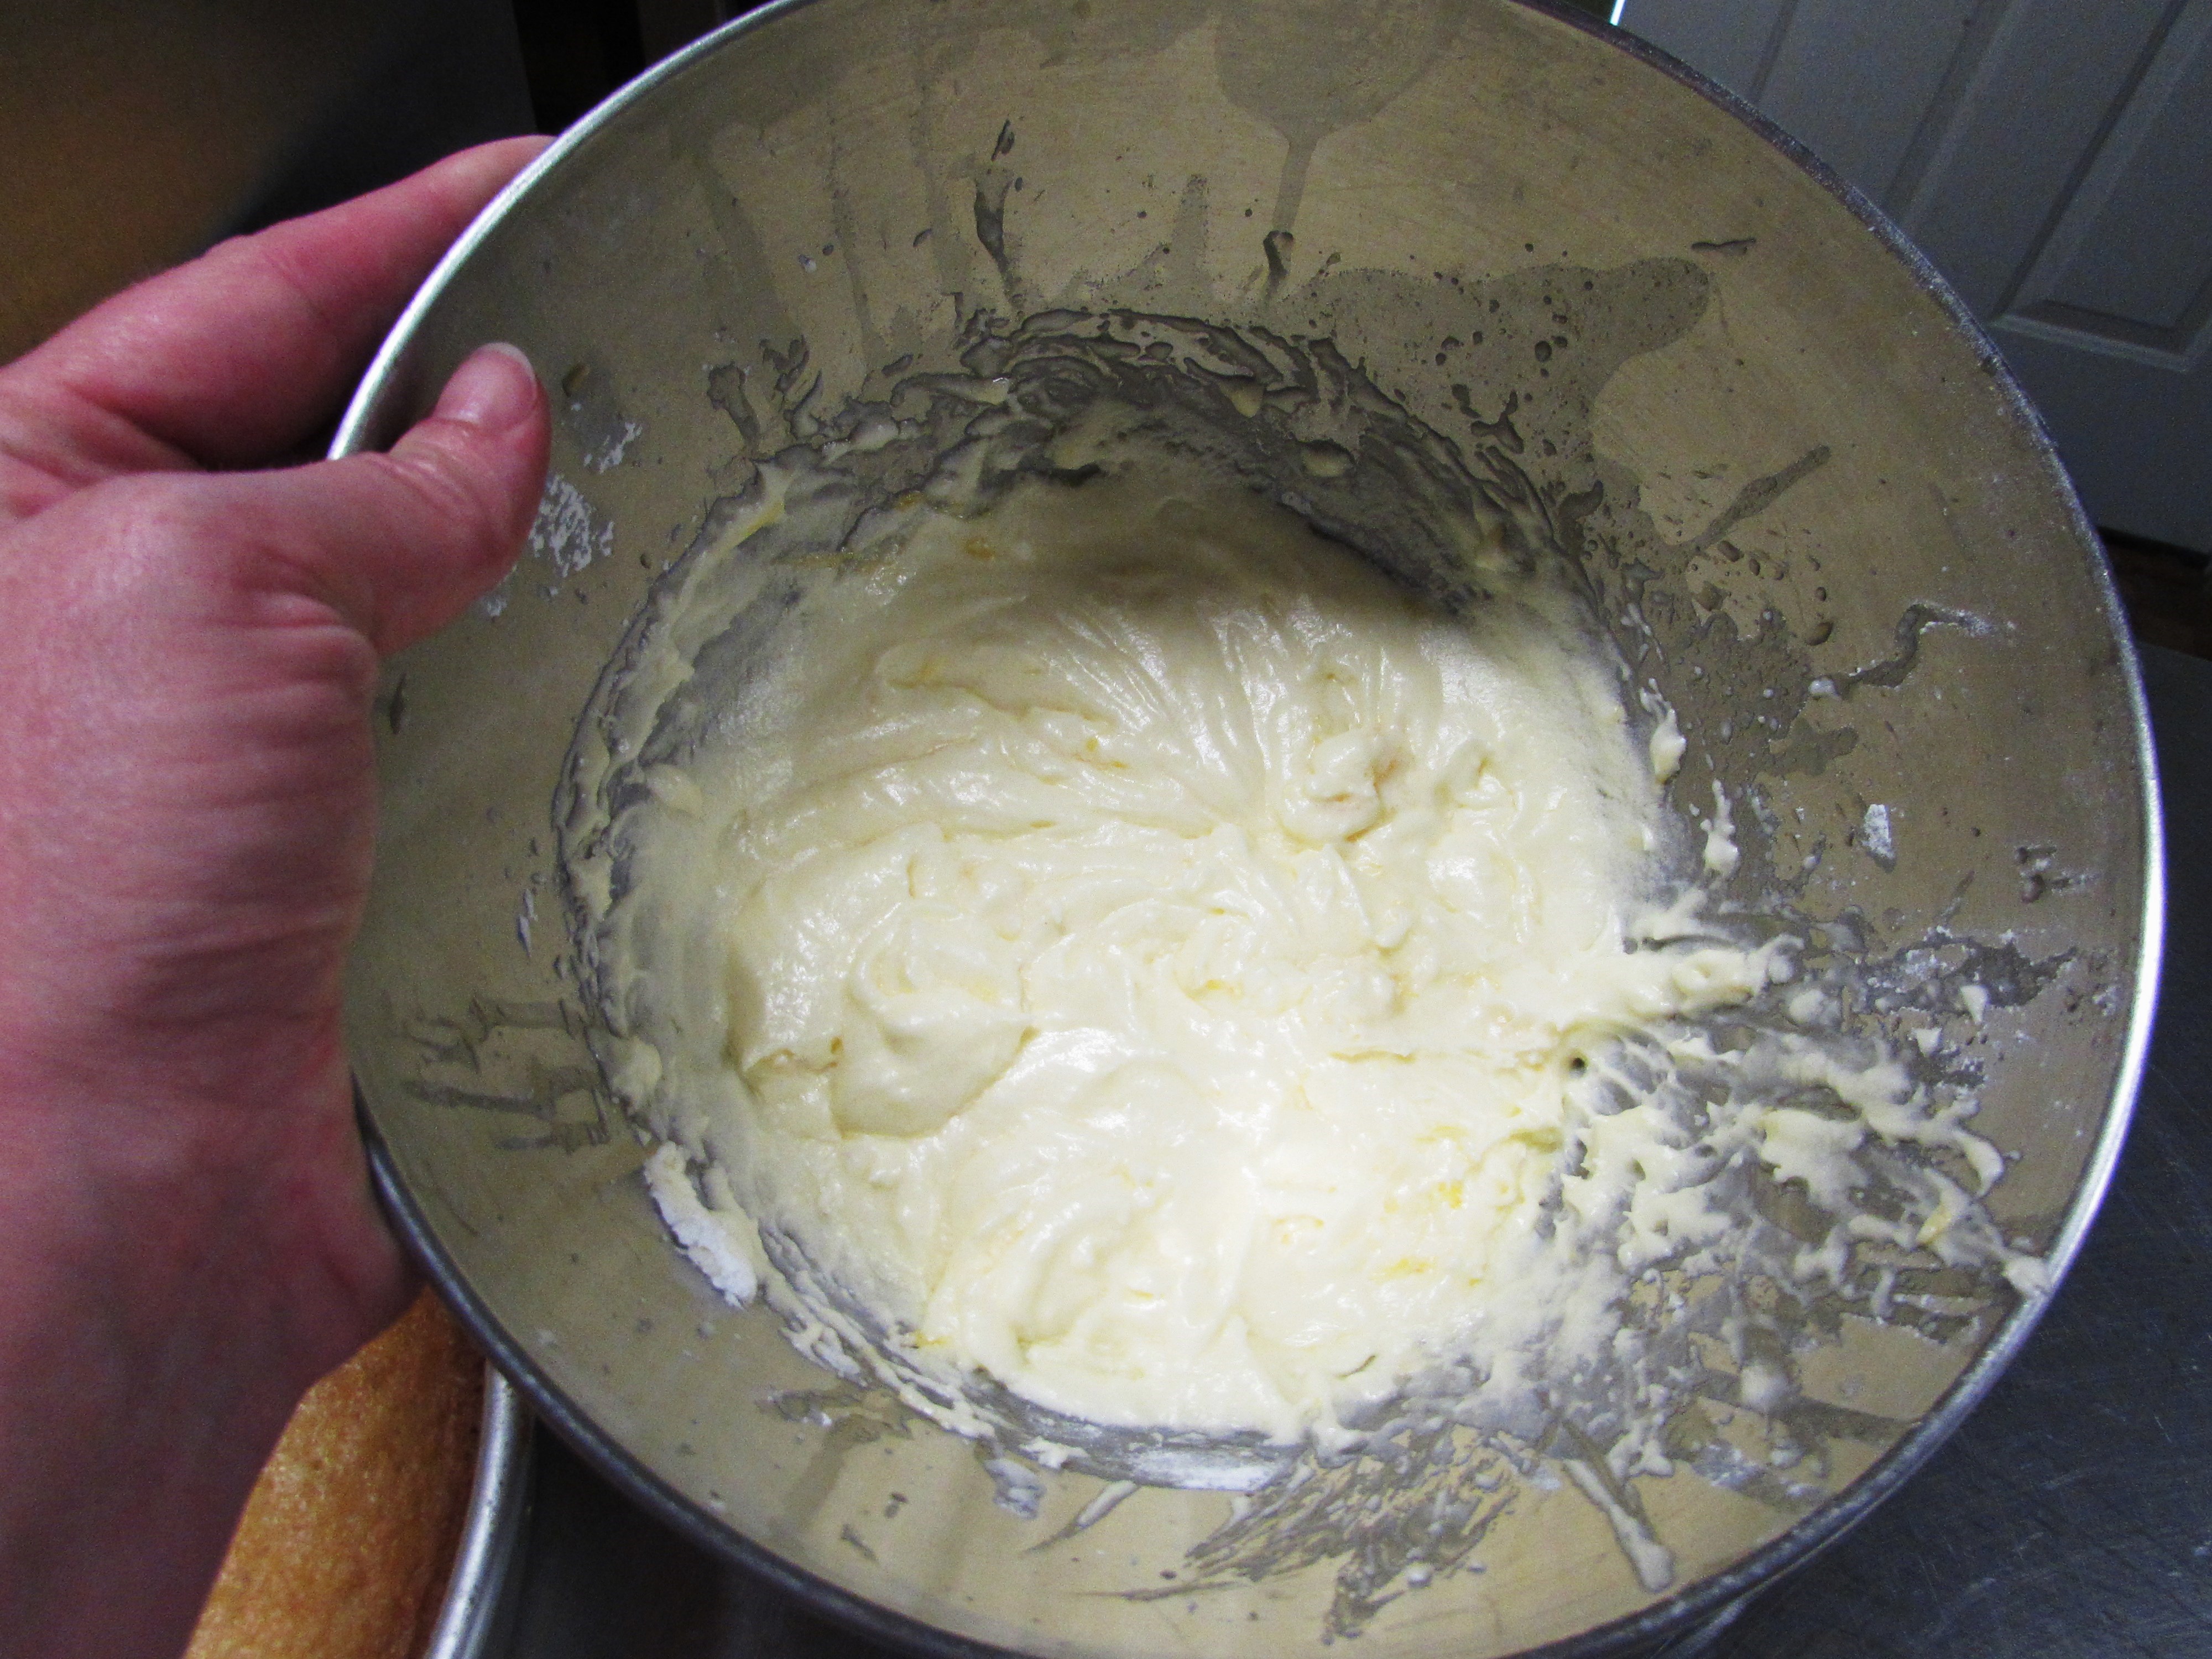
Meanwhile, make the frosting, again as you would for a normal cake. I have found, depending on the recipe, that it takes 2/3 of the amount you would need to frost a 2 layer cake. But, if you want to make sure you don’t run out you can make a full batch and save the rest for another use. Or you can just eat it.
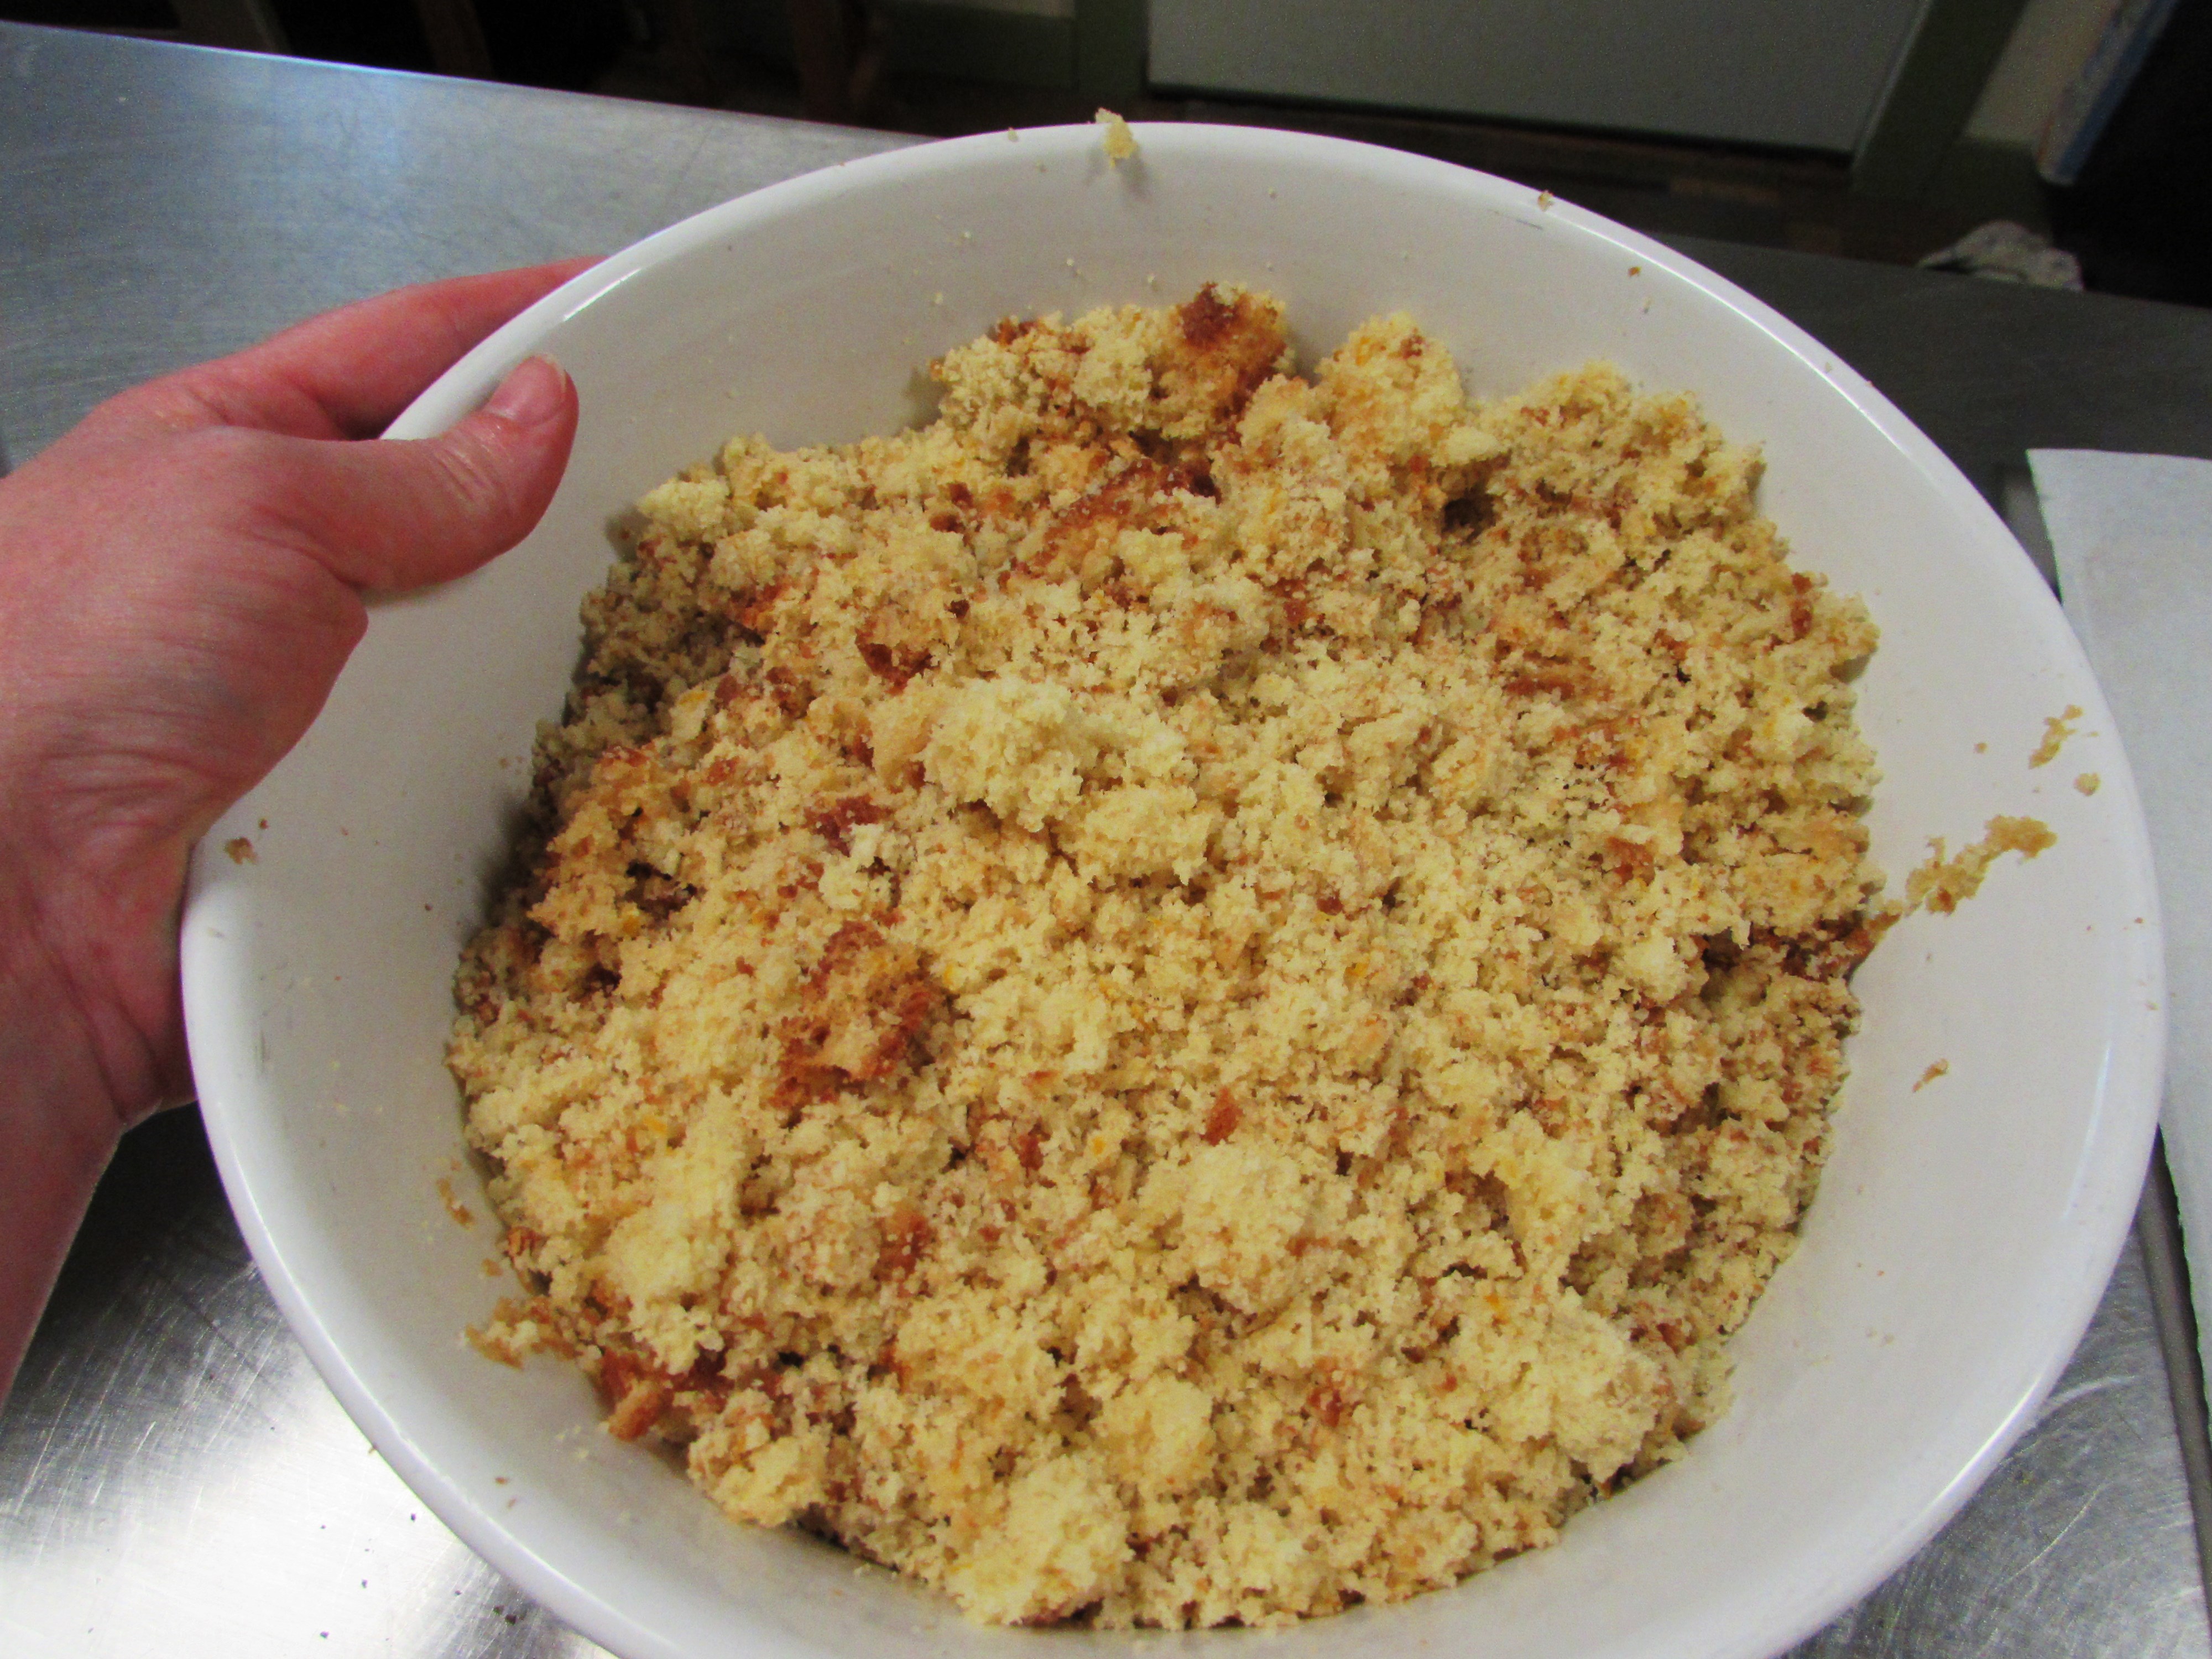
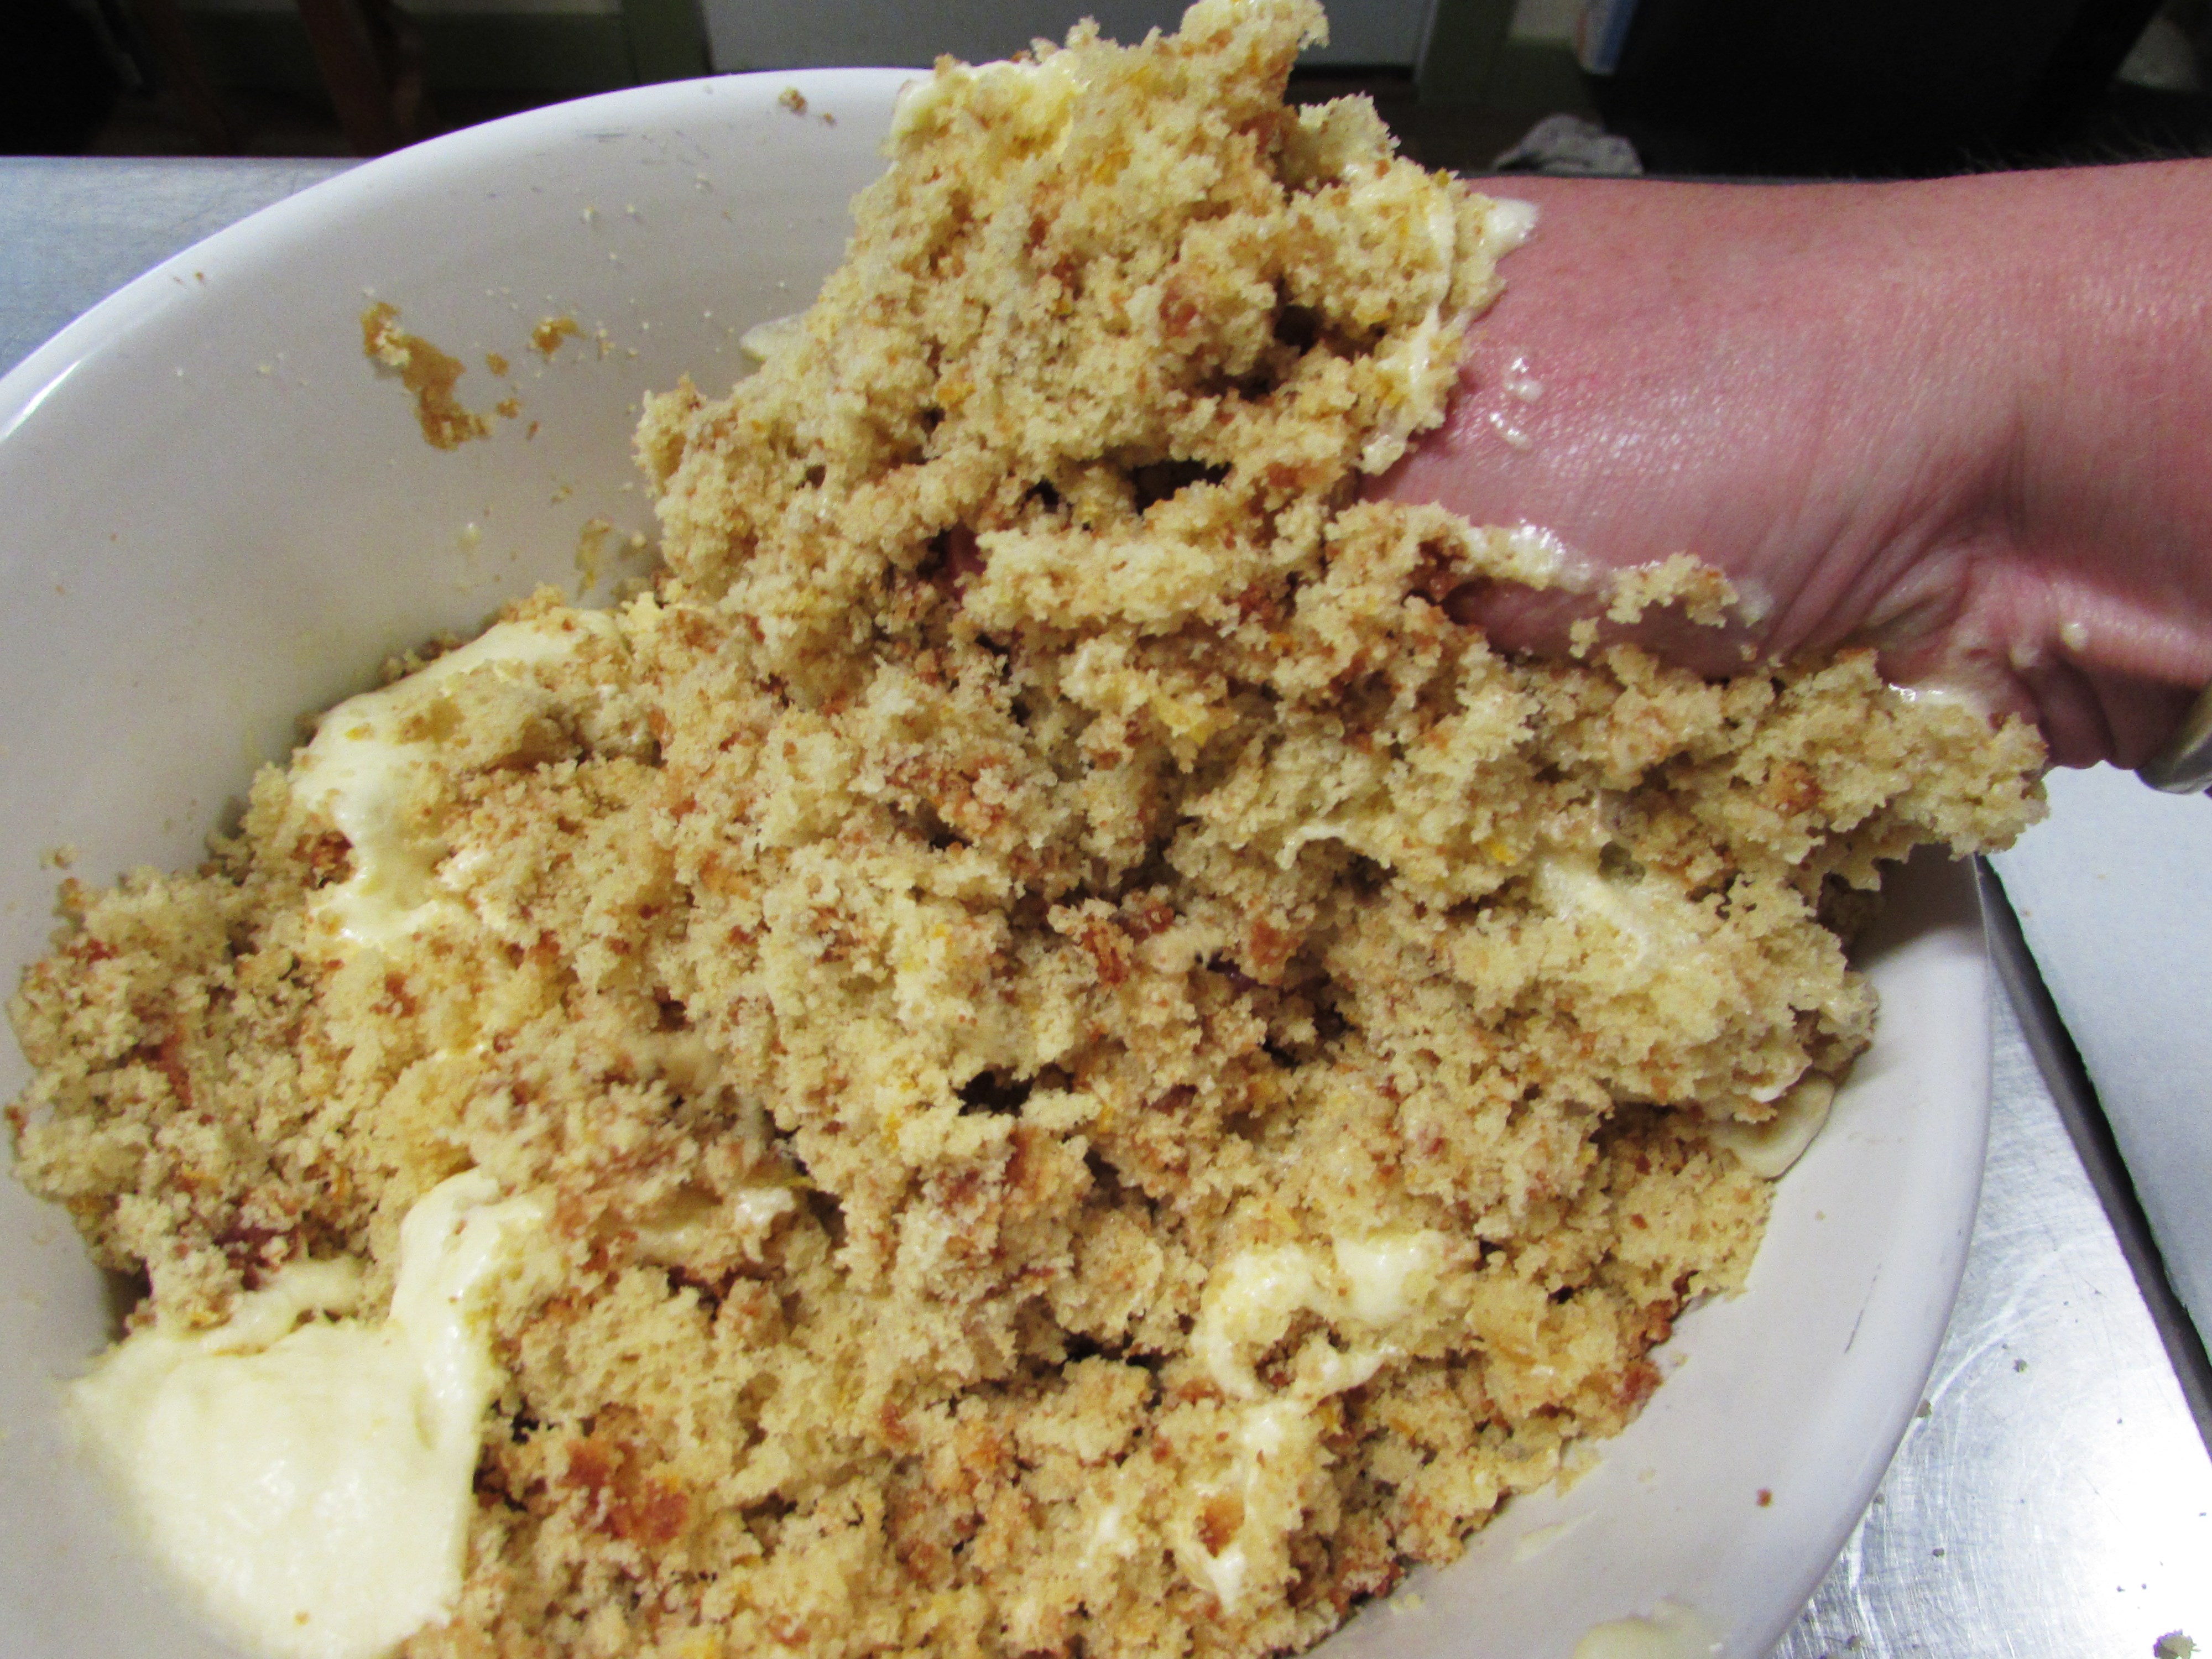
When the cake is completely cooled tap it out into a large bowl and begin assaulting it. You want to make it into little bitty crumbs.
Like this.
Next add the frosting in stages, the goal is to get the cake and frosting mixture to a texture that resembles raw cookie dough.

I add about half the frosting I have made then continue in stages until it has the right feel. It should be very moist and hold together easily without being wet.
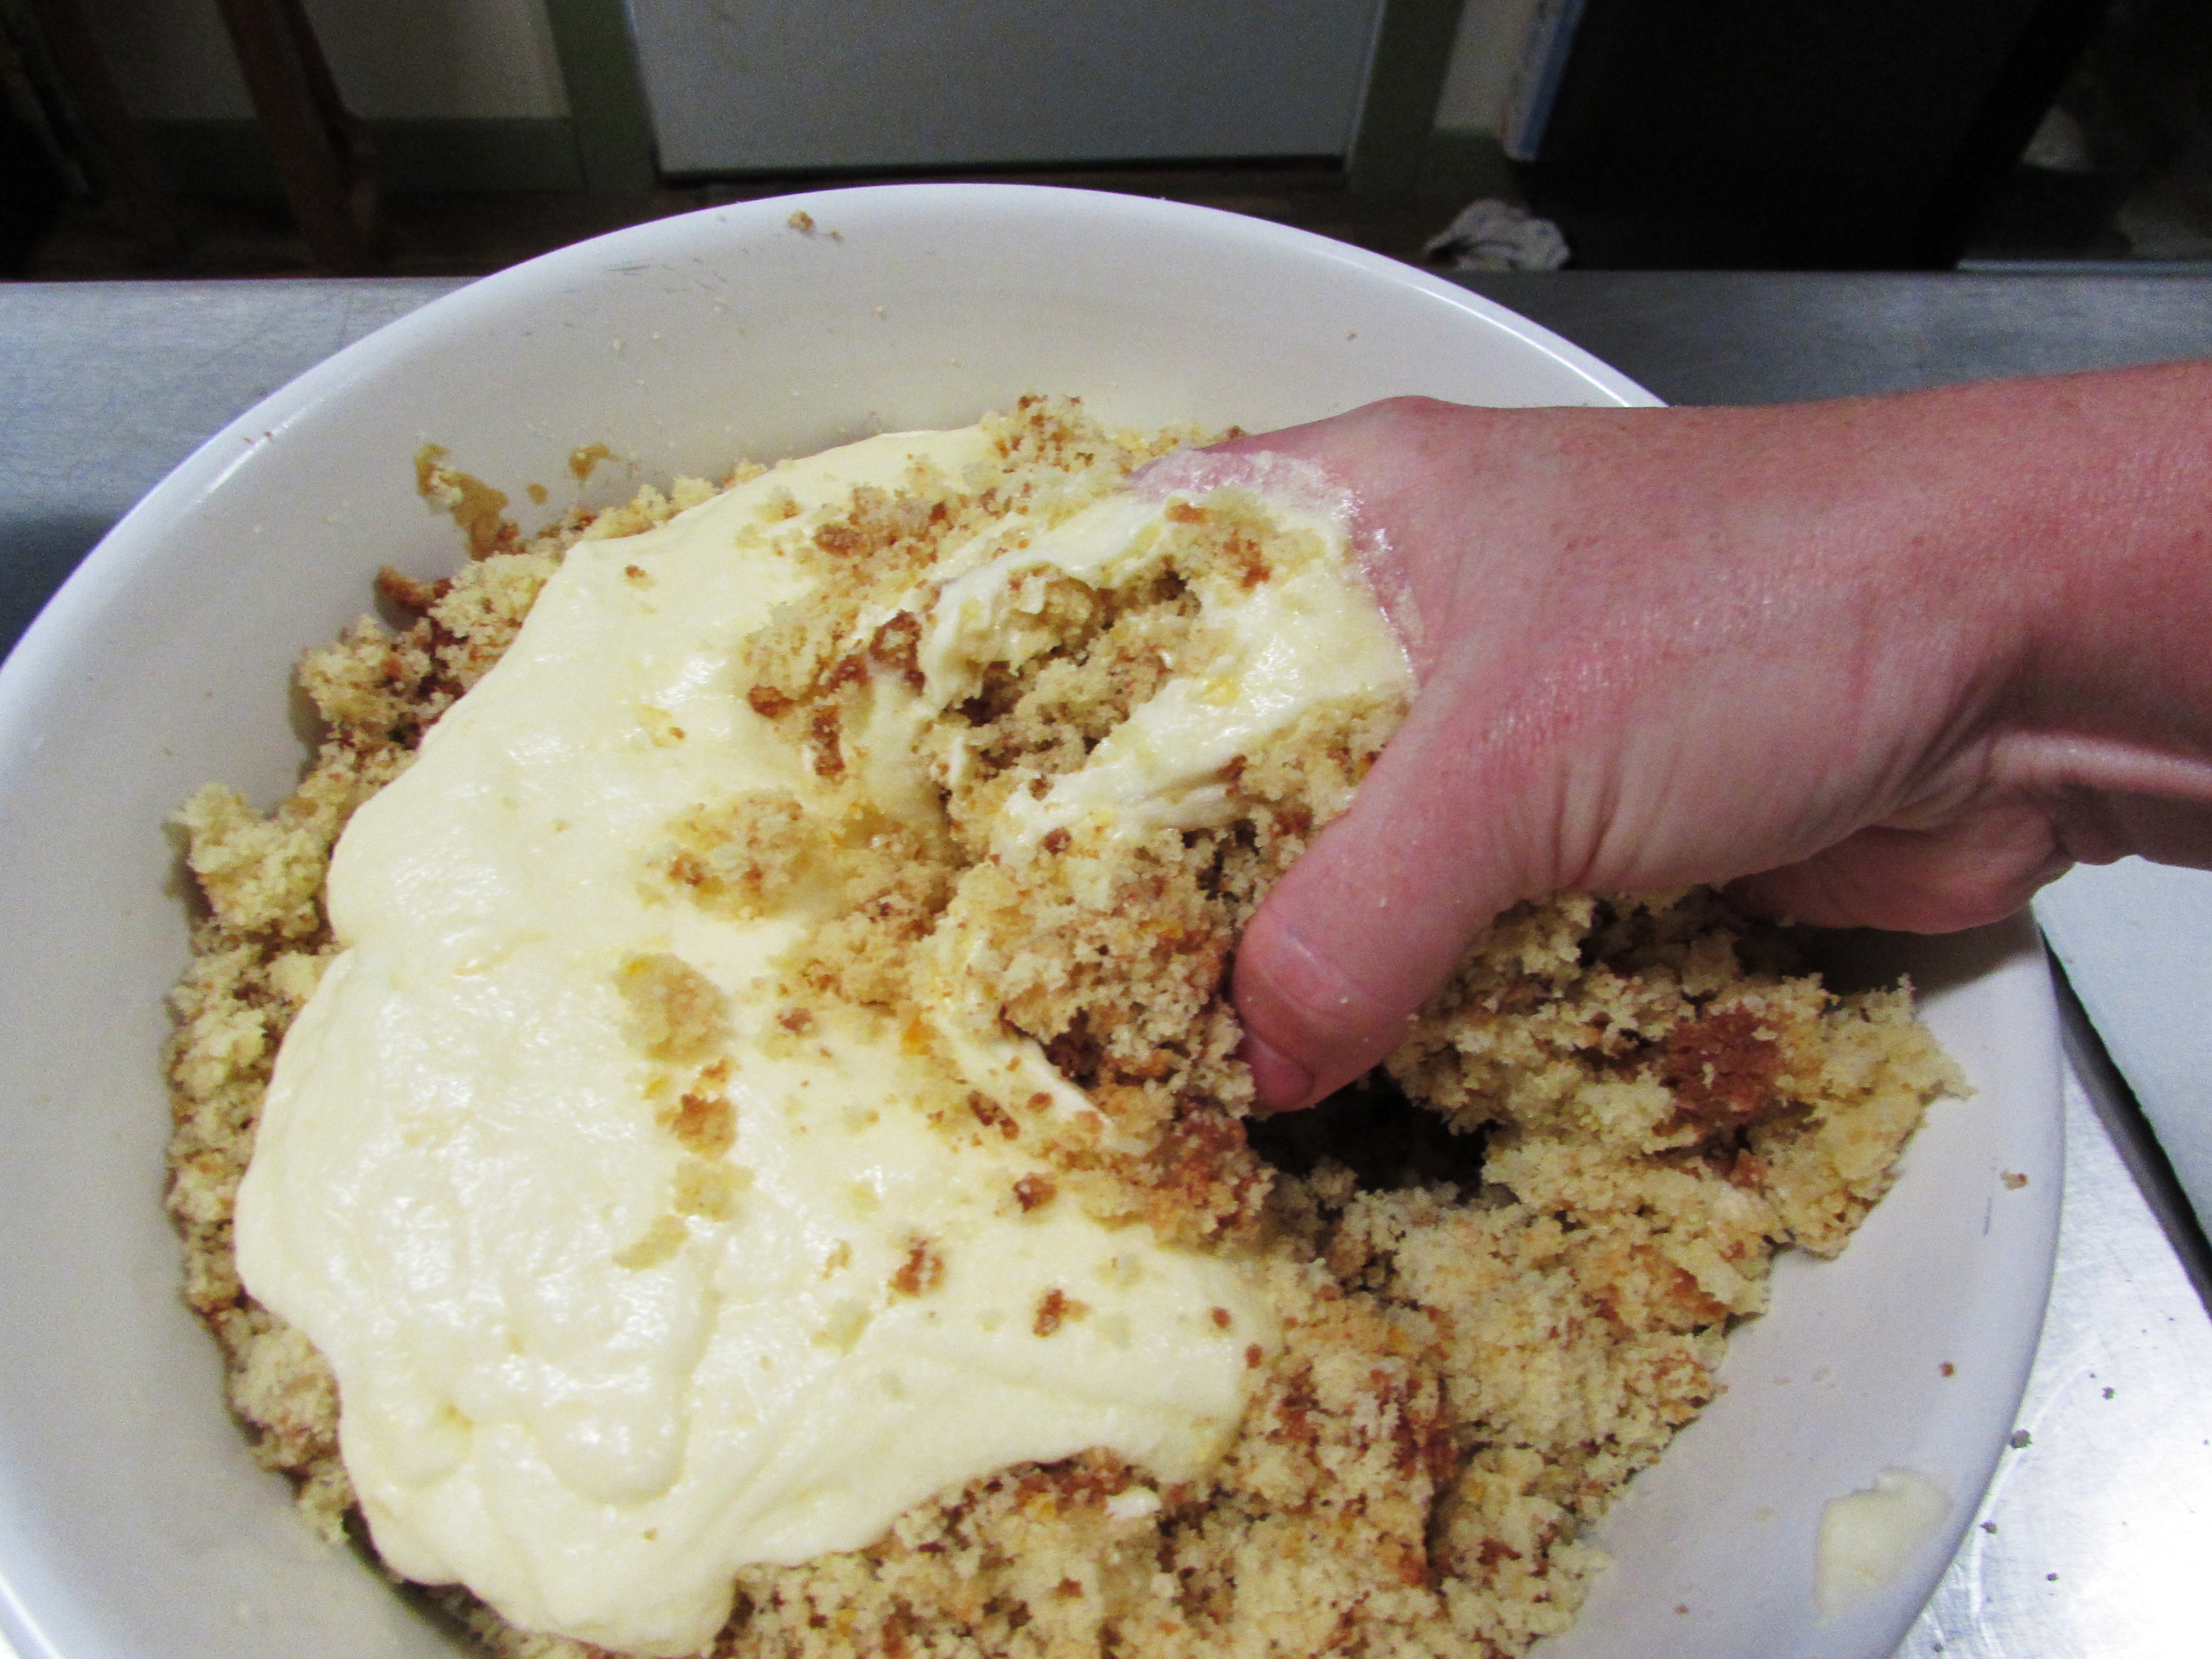
Hands are best suited for this job. If you are unable to do this find a small child, sanitize them thoroughly and let them do it. It works.
We are starting to get there….
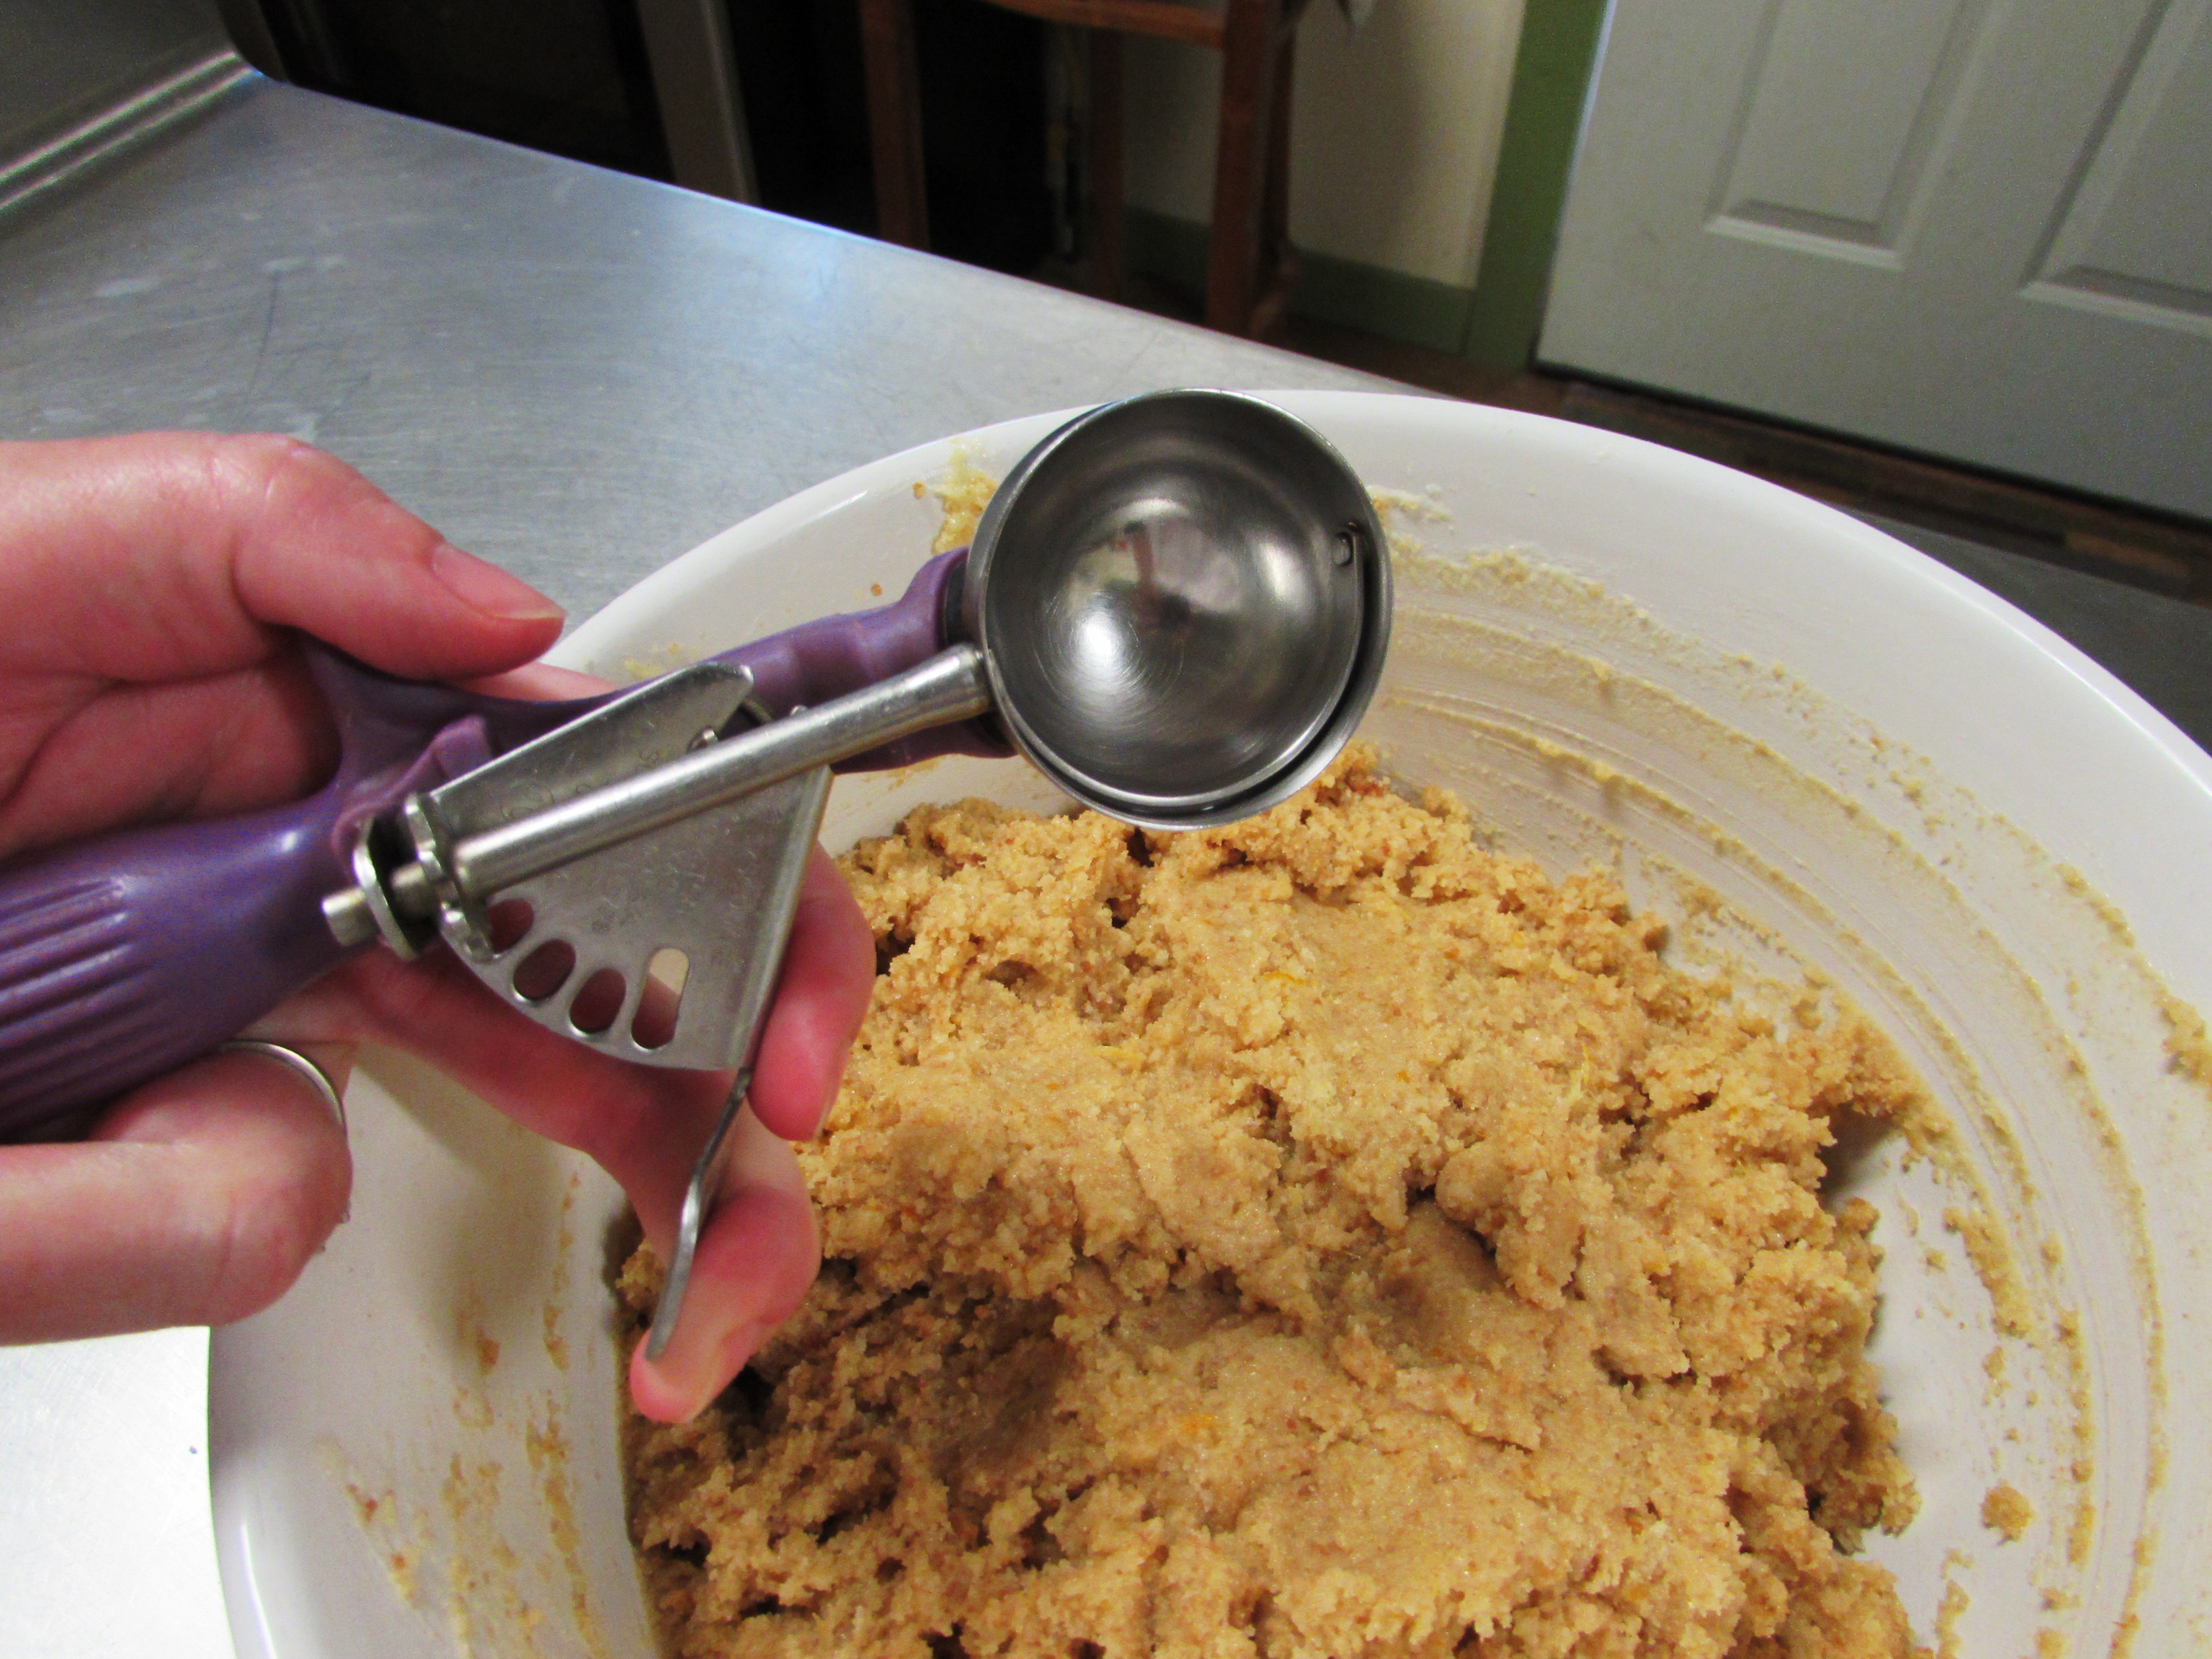
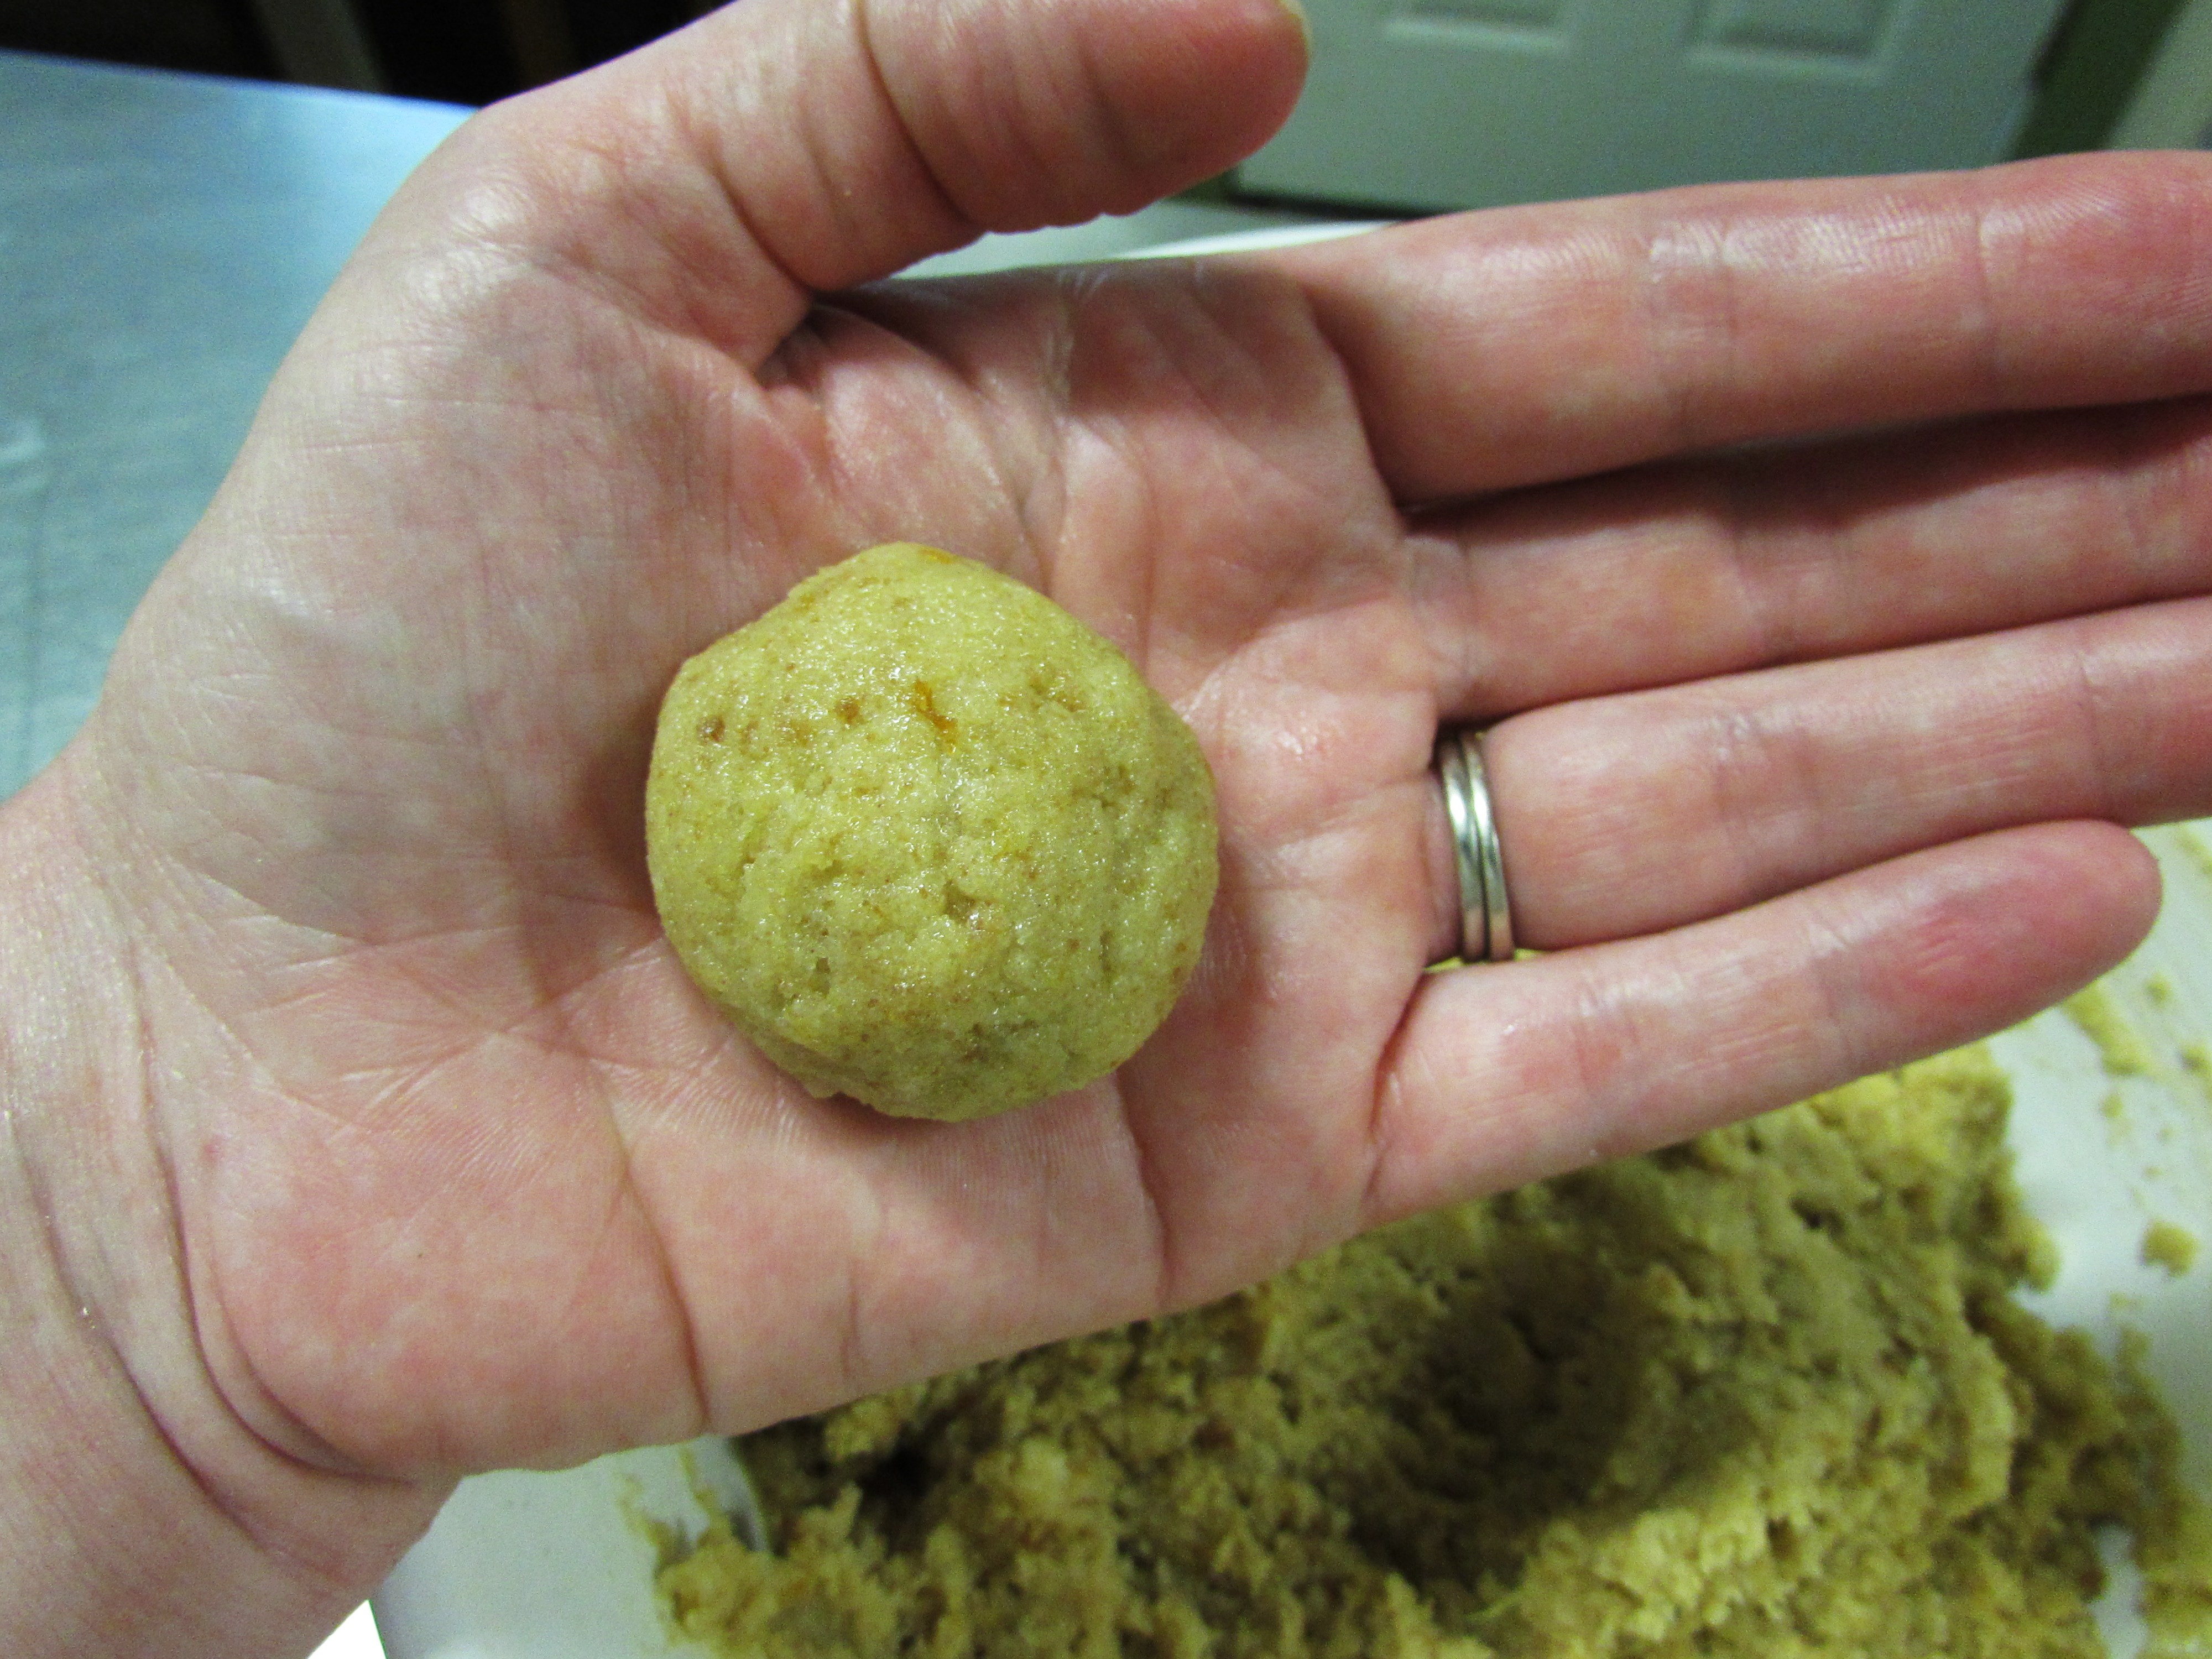
See how it is all held together and looks like cookie dough? This is perfect. Grab a small cookie scoop and get scooping!
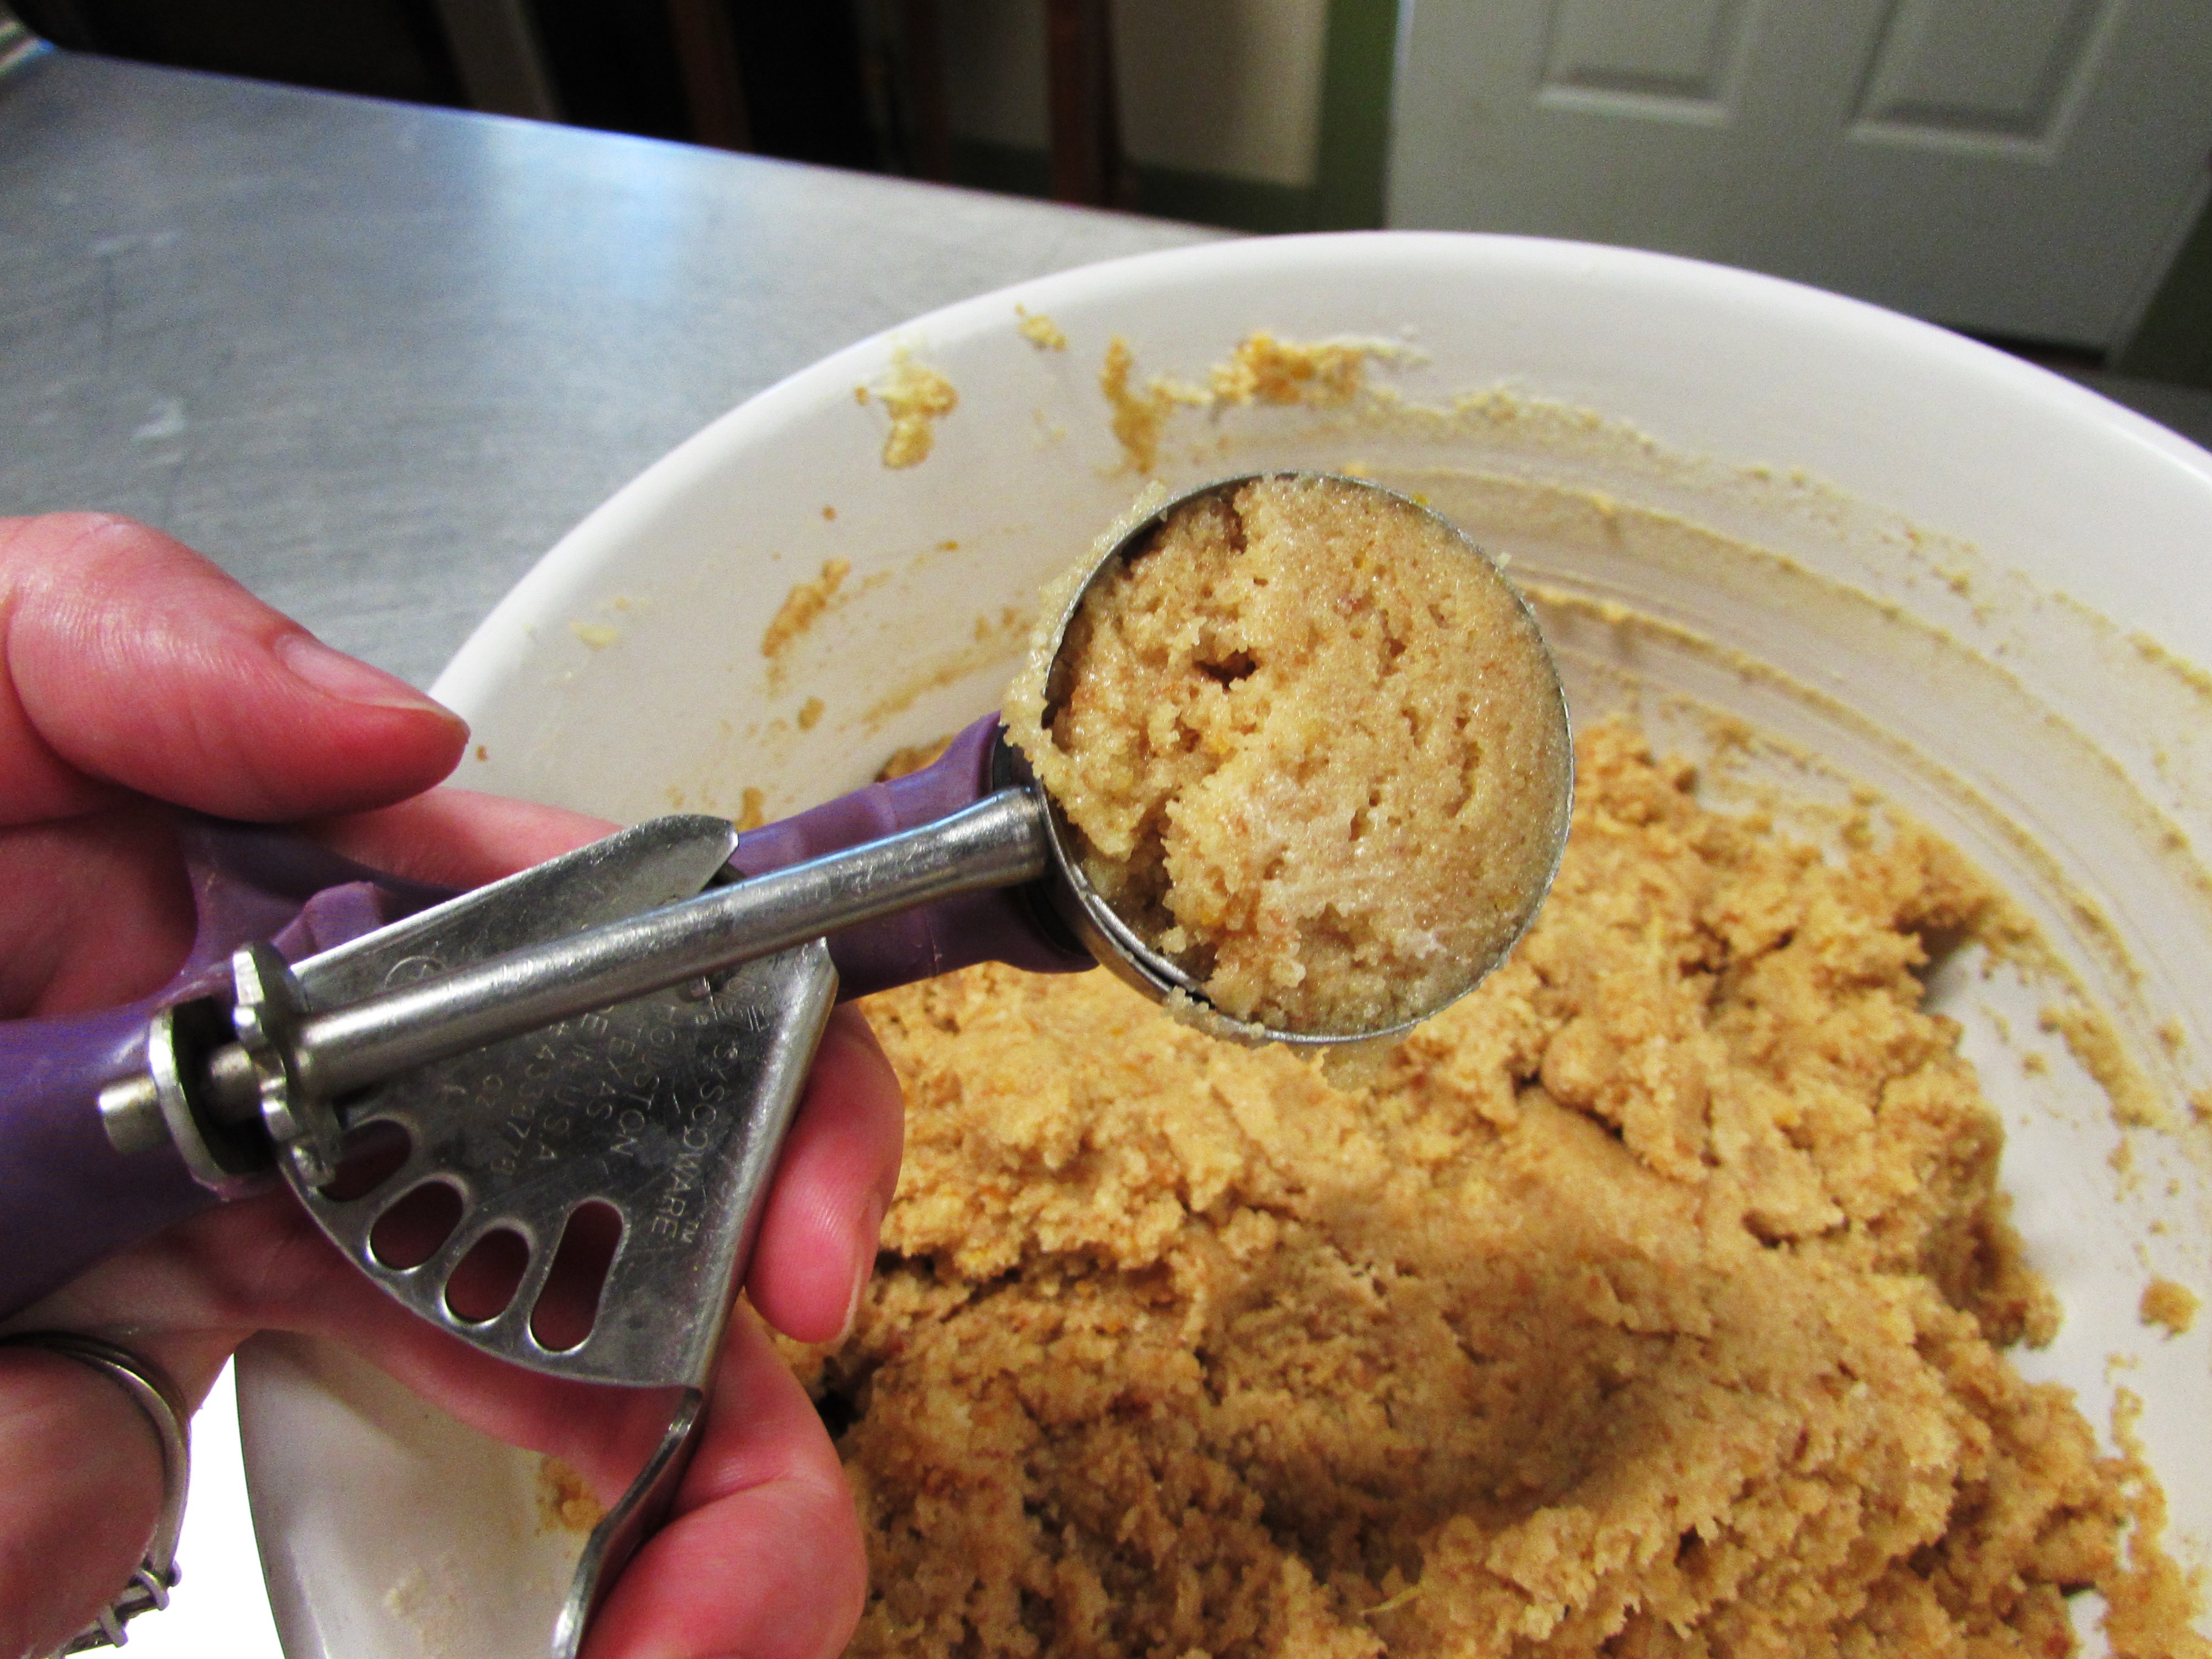
One even scoop is the perfect amount for one cake ball, plop it out into your hand..
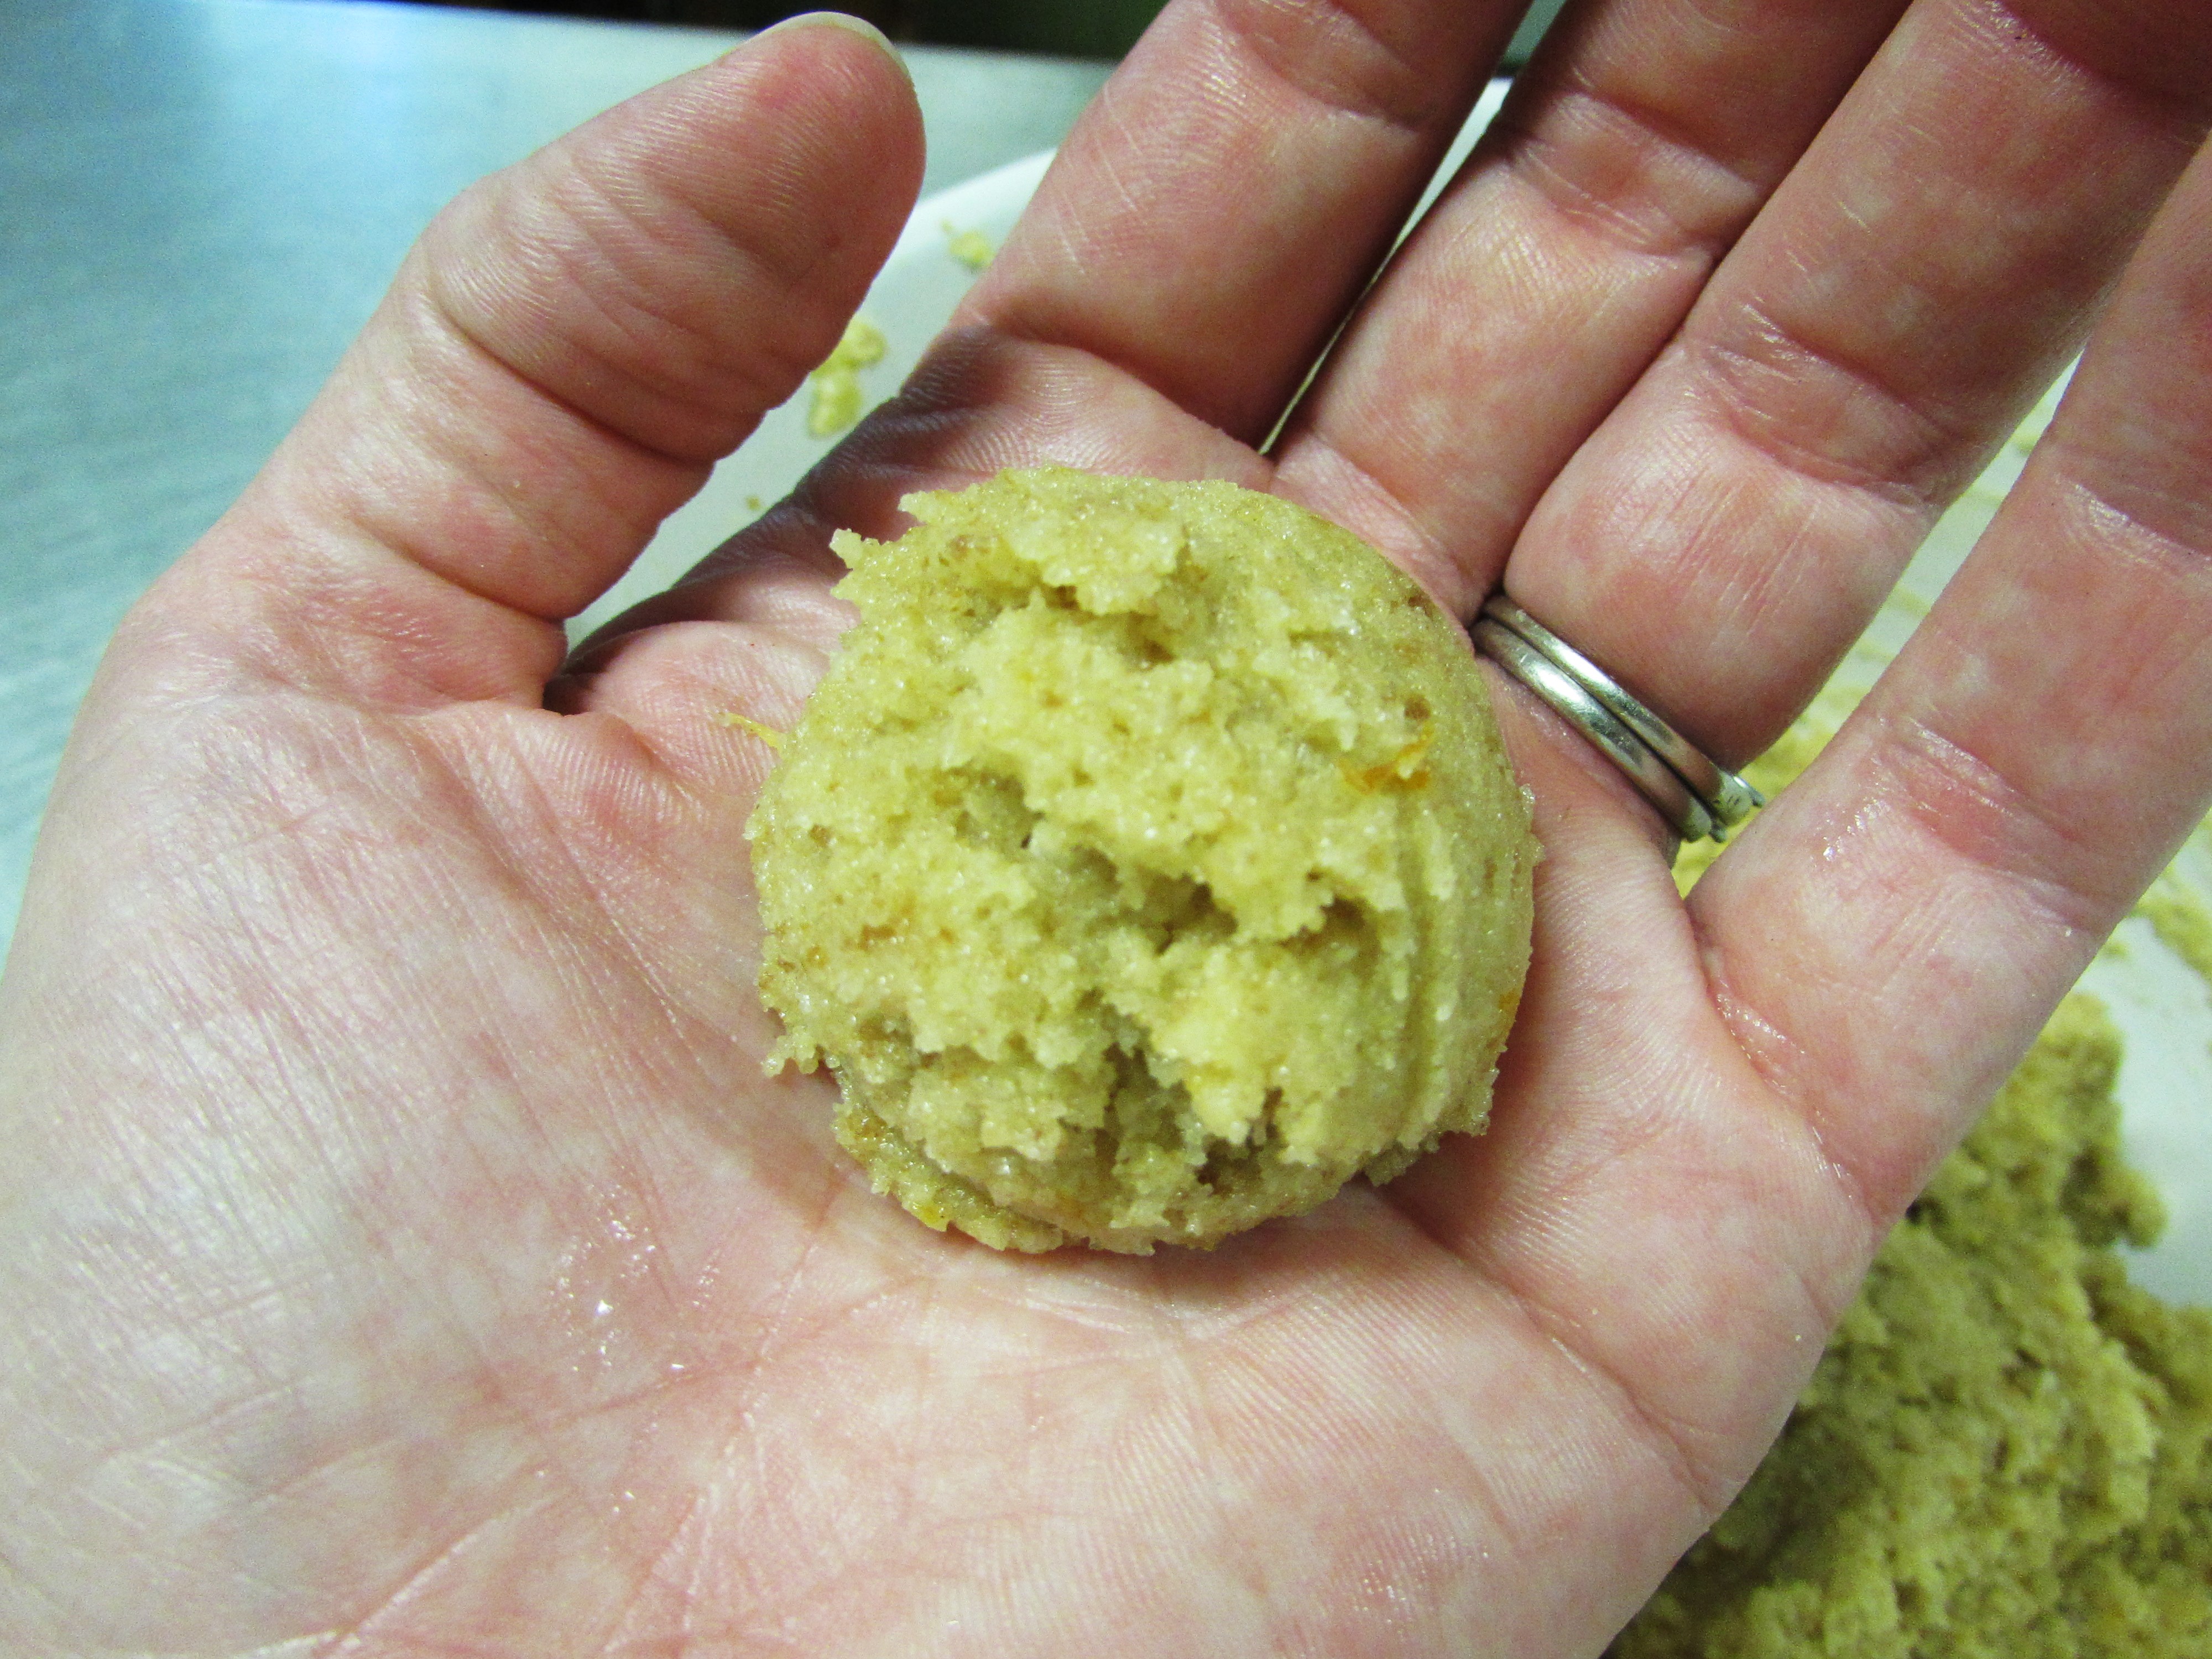
See how it is a little rough, sticking up a bit? What you must do is smooth those rough bits down with your free hand until it looks like this…
Now you may be tempted to roll the cake ball around in your hand to make this go faster, please don’t. You see when you use the cookie scoop and empty it into your hand you have a nice, flat bottom to the cake ball which makes it sit pretty later in life. When you roll it you throw the poor dear WAY off balance which also means they won’t stack well.

Place each ball as it is made on a parchment lined cookie sheet. When the sheet is full place it in the freezer for about 30 minutes. You want them to be like little cake rocks. However DO NOT leave them to long, they will begin to gather little frosty crystals on them which makes them sweat later. Sweaty balls are never a good thing.
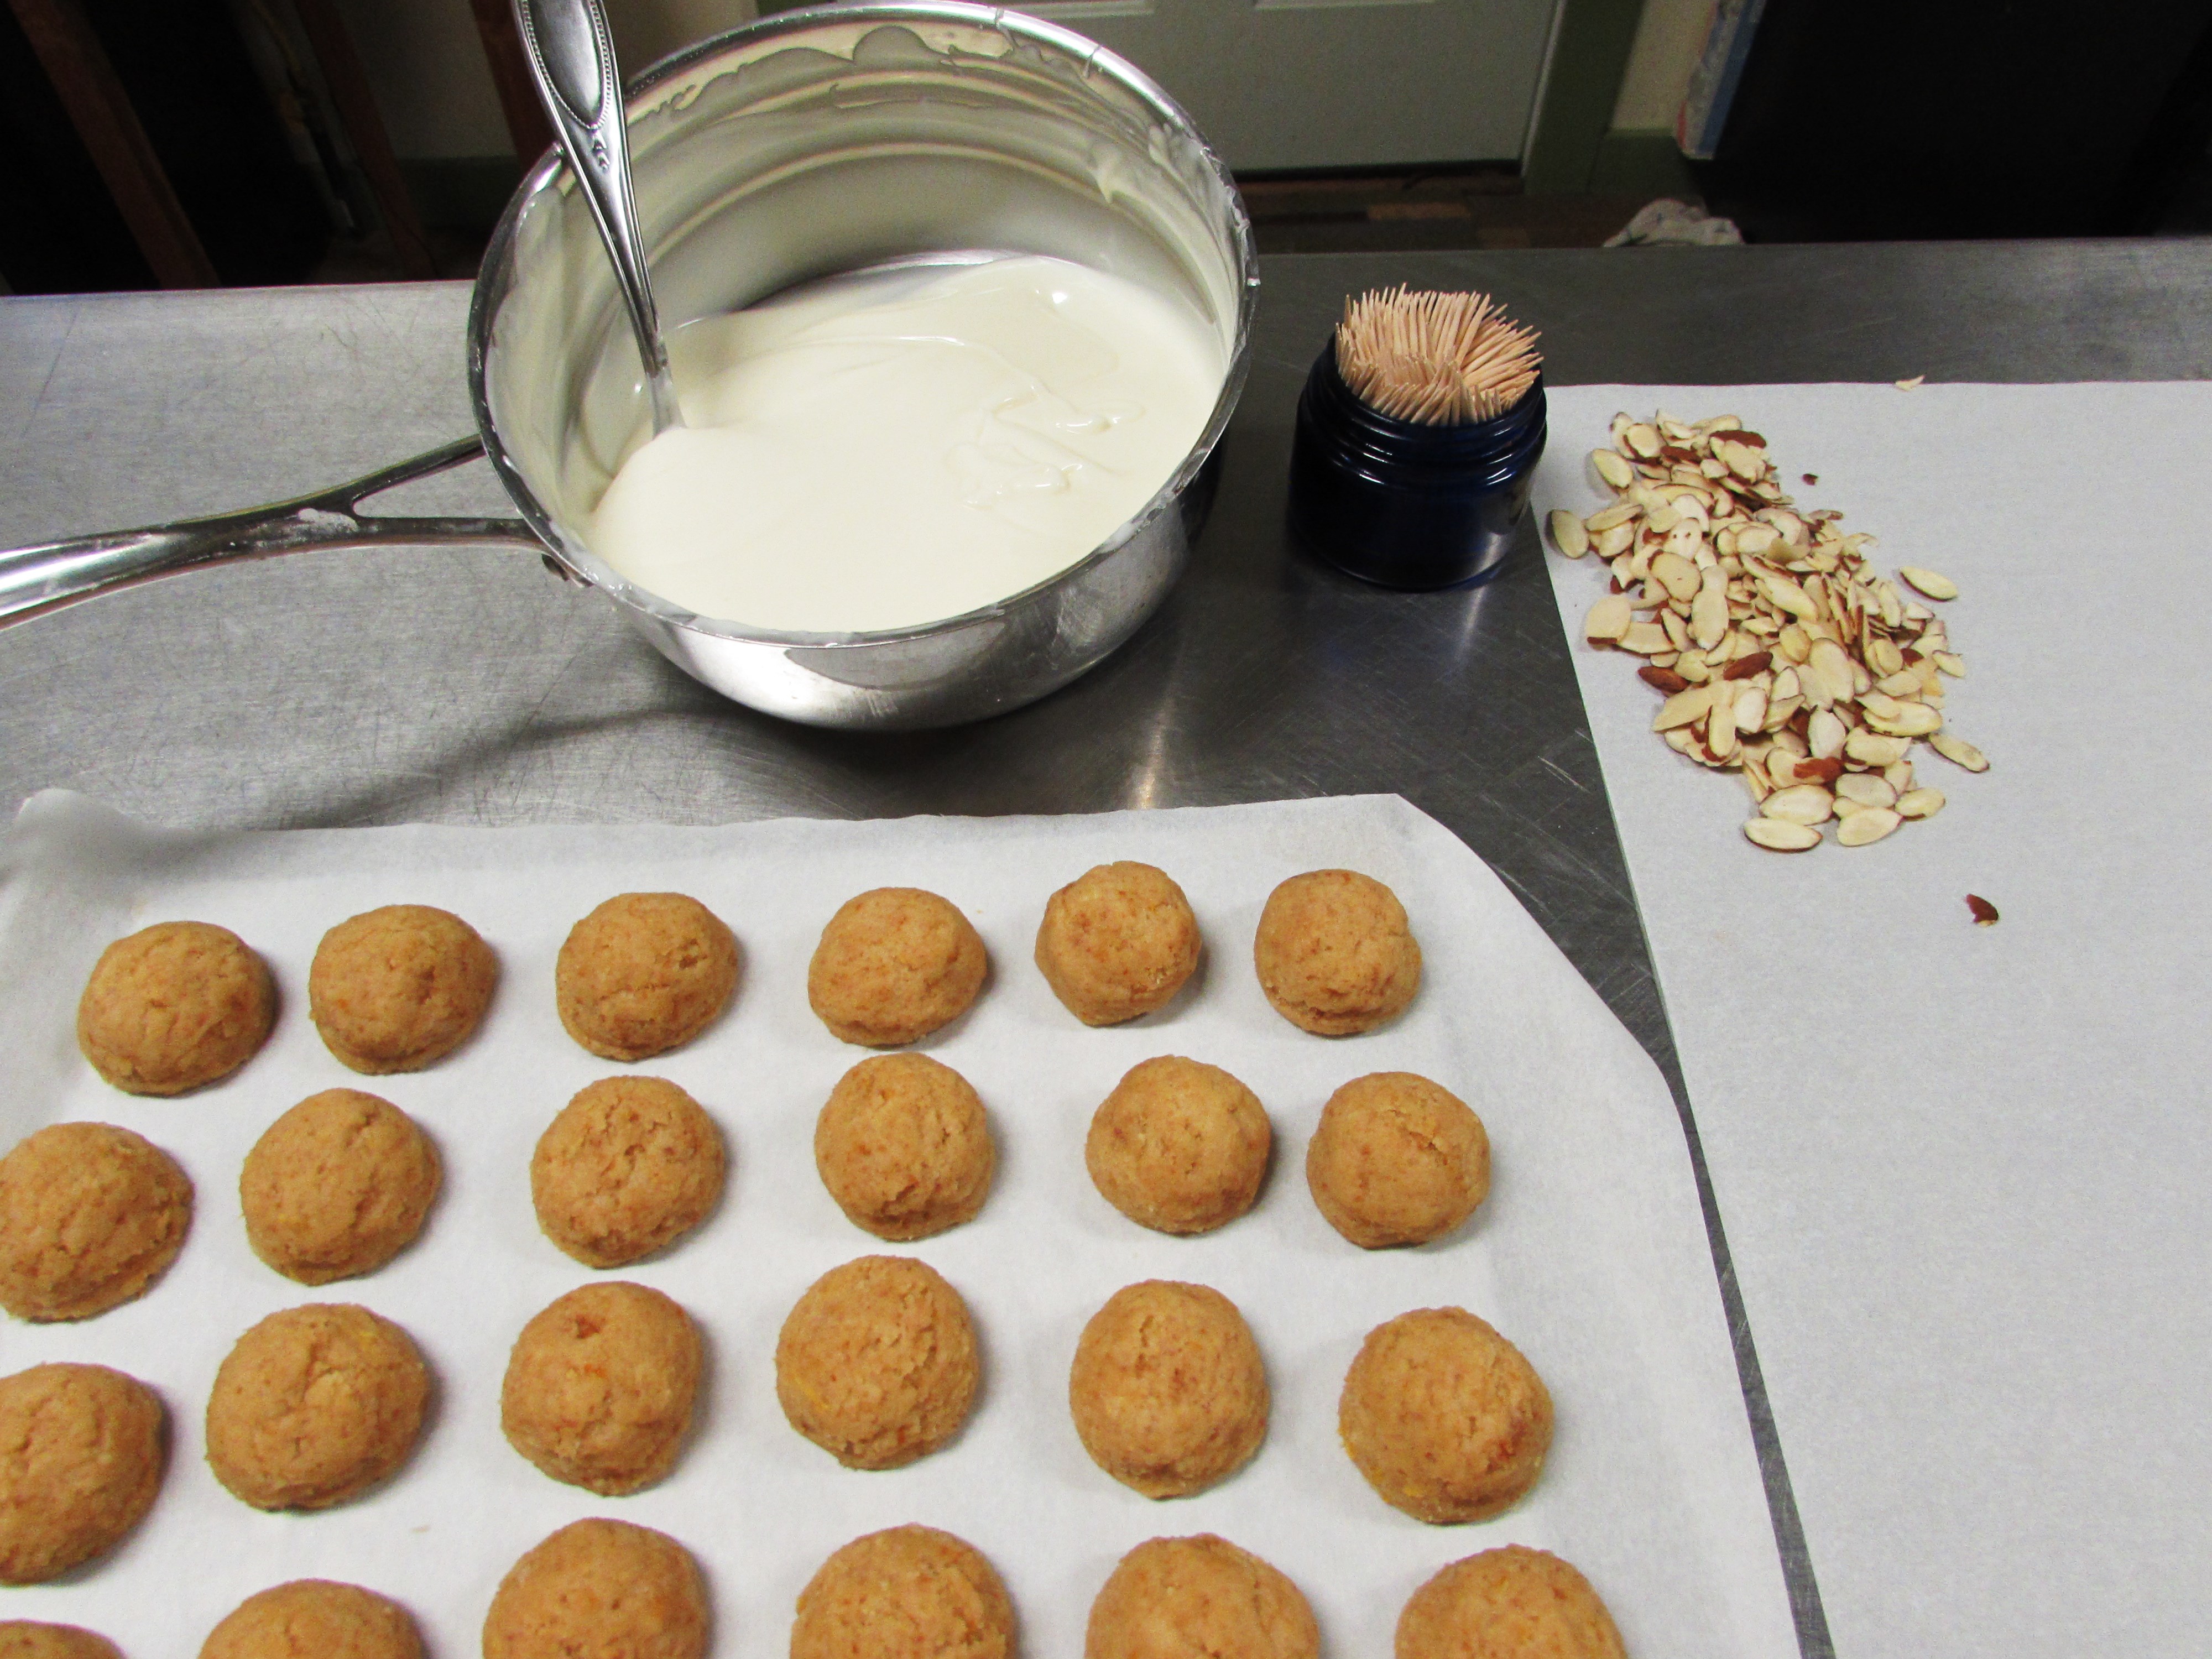
Now that your balls are nice and hard it is time to assemble! It is very important to have everything ready to go as soon as you pull them out of the freezer, if they start to get to soft you will need to stick them back in a few minutes.
Soft balls fall apart in the almond bark, not cool. See above back story.
So, have a saucepan with a package of almond bark melted in it, I thin mine with about 2 tablespoons of shortening. Remember to go slow, stirring often over very low heat until it slides off the back of a spoon in a smooth ribbon. Remove from the heat and stick a hot pad under a corner so it stays tilted forward which makes it much easier to dip in. You need plenty of toothpicks handy and your topping of choice at hand. You can use anything you like. For red velvet I use red sprinkles, for chocolate I use chopped semi-sweet squares, for German chocolate I use pecans, I just try and pay tribute to the flavor in my choice of topping.
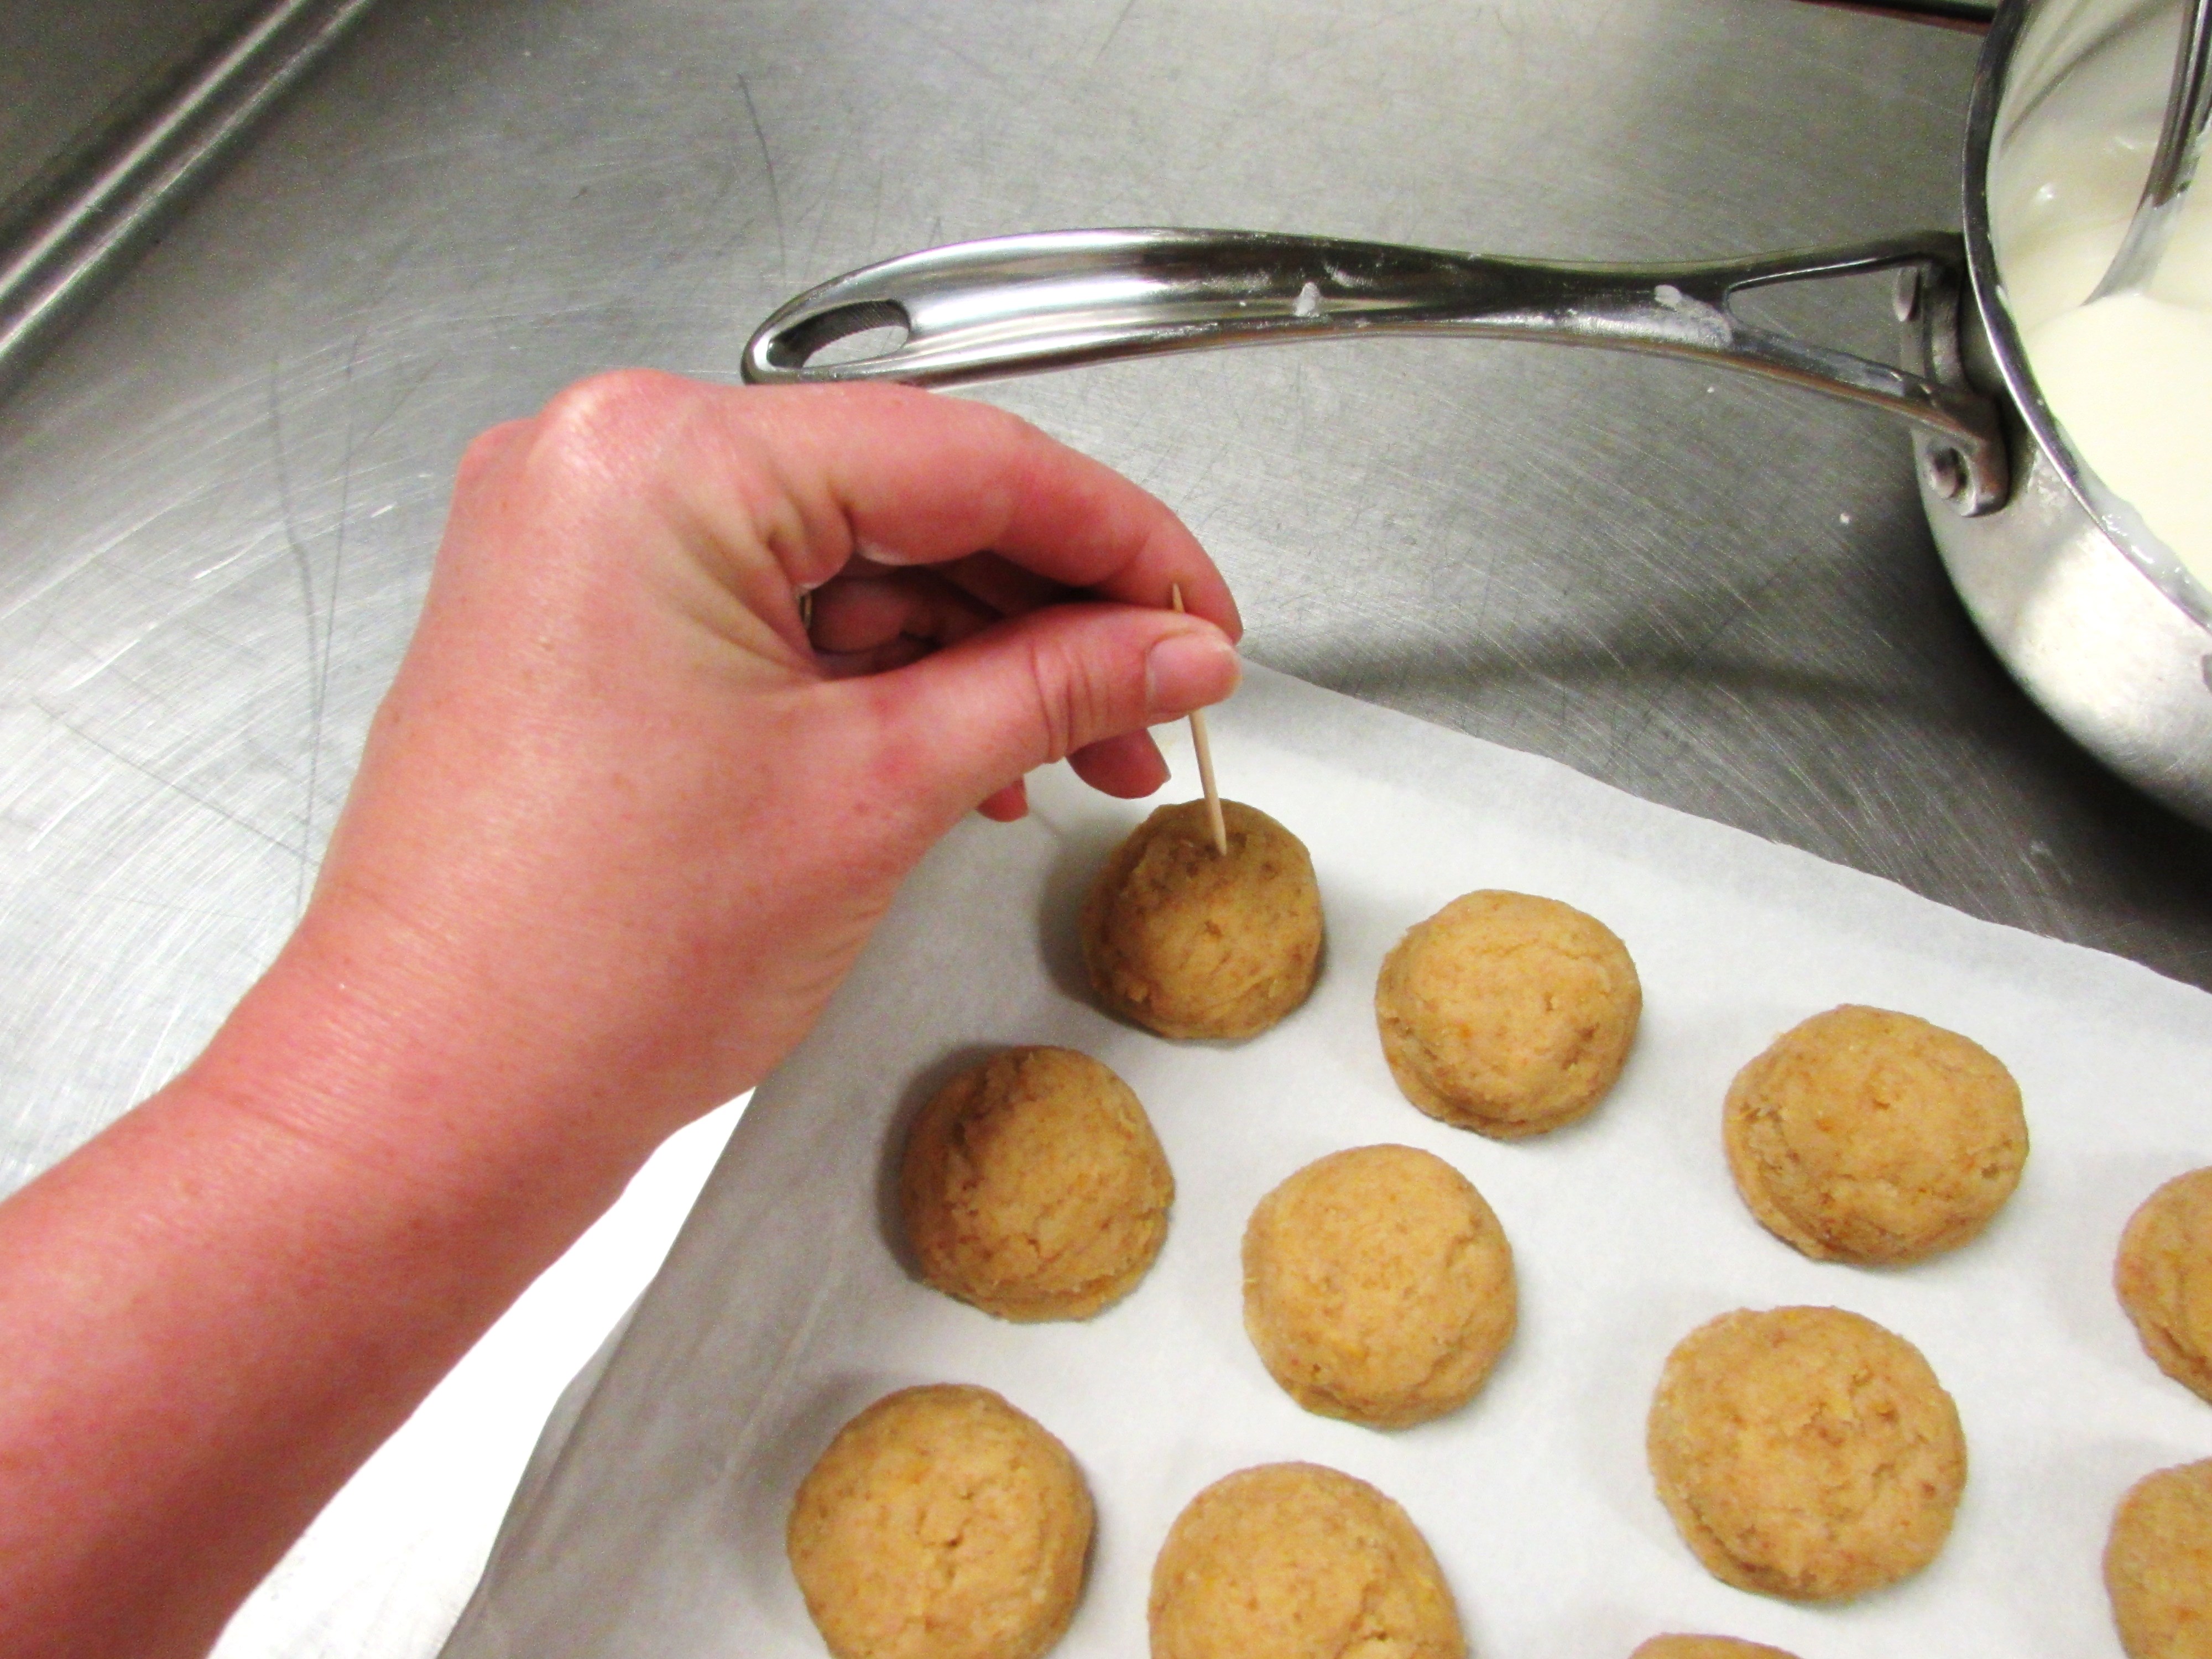
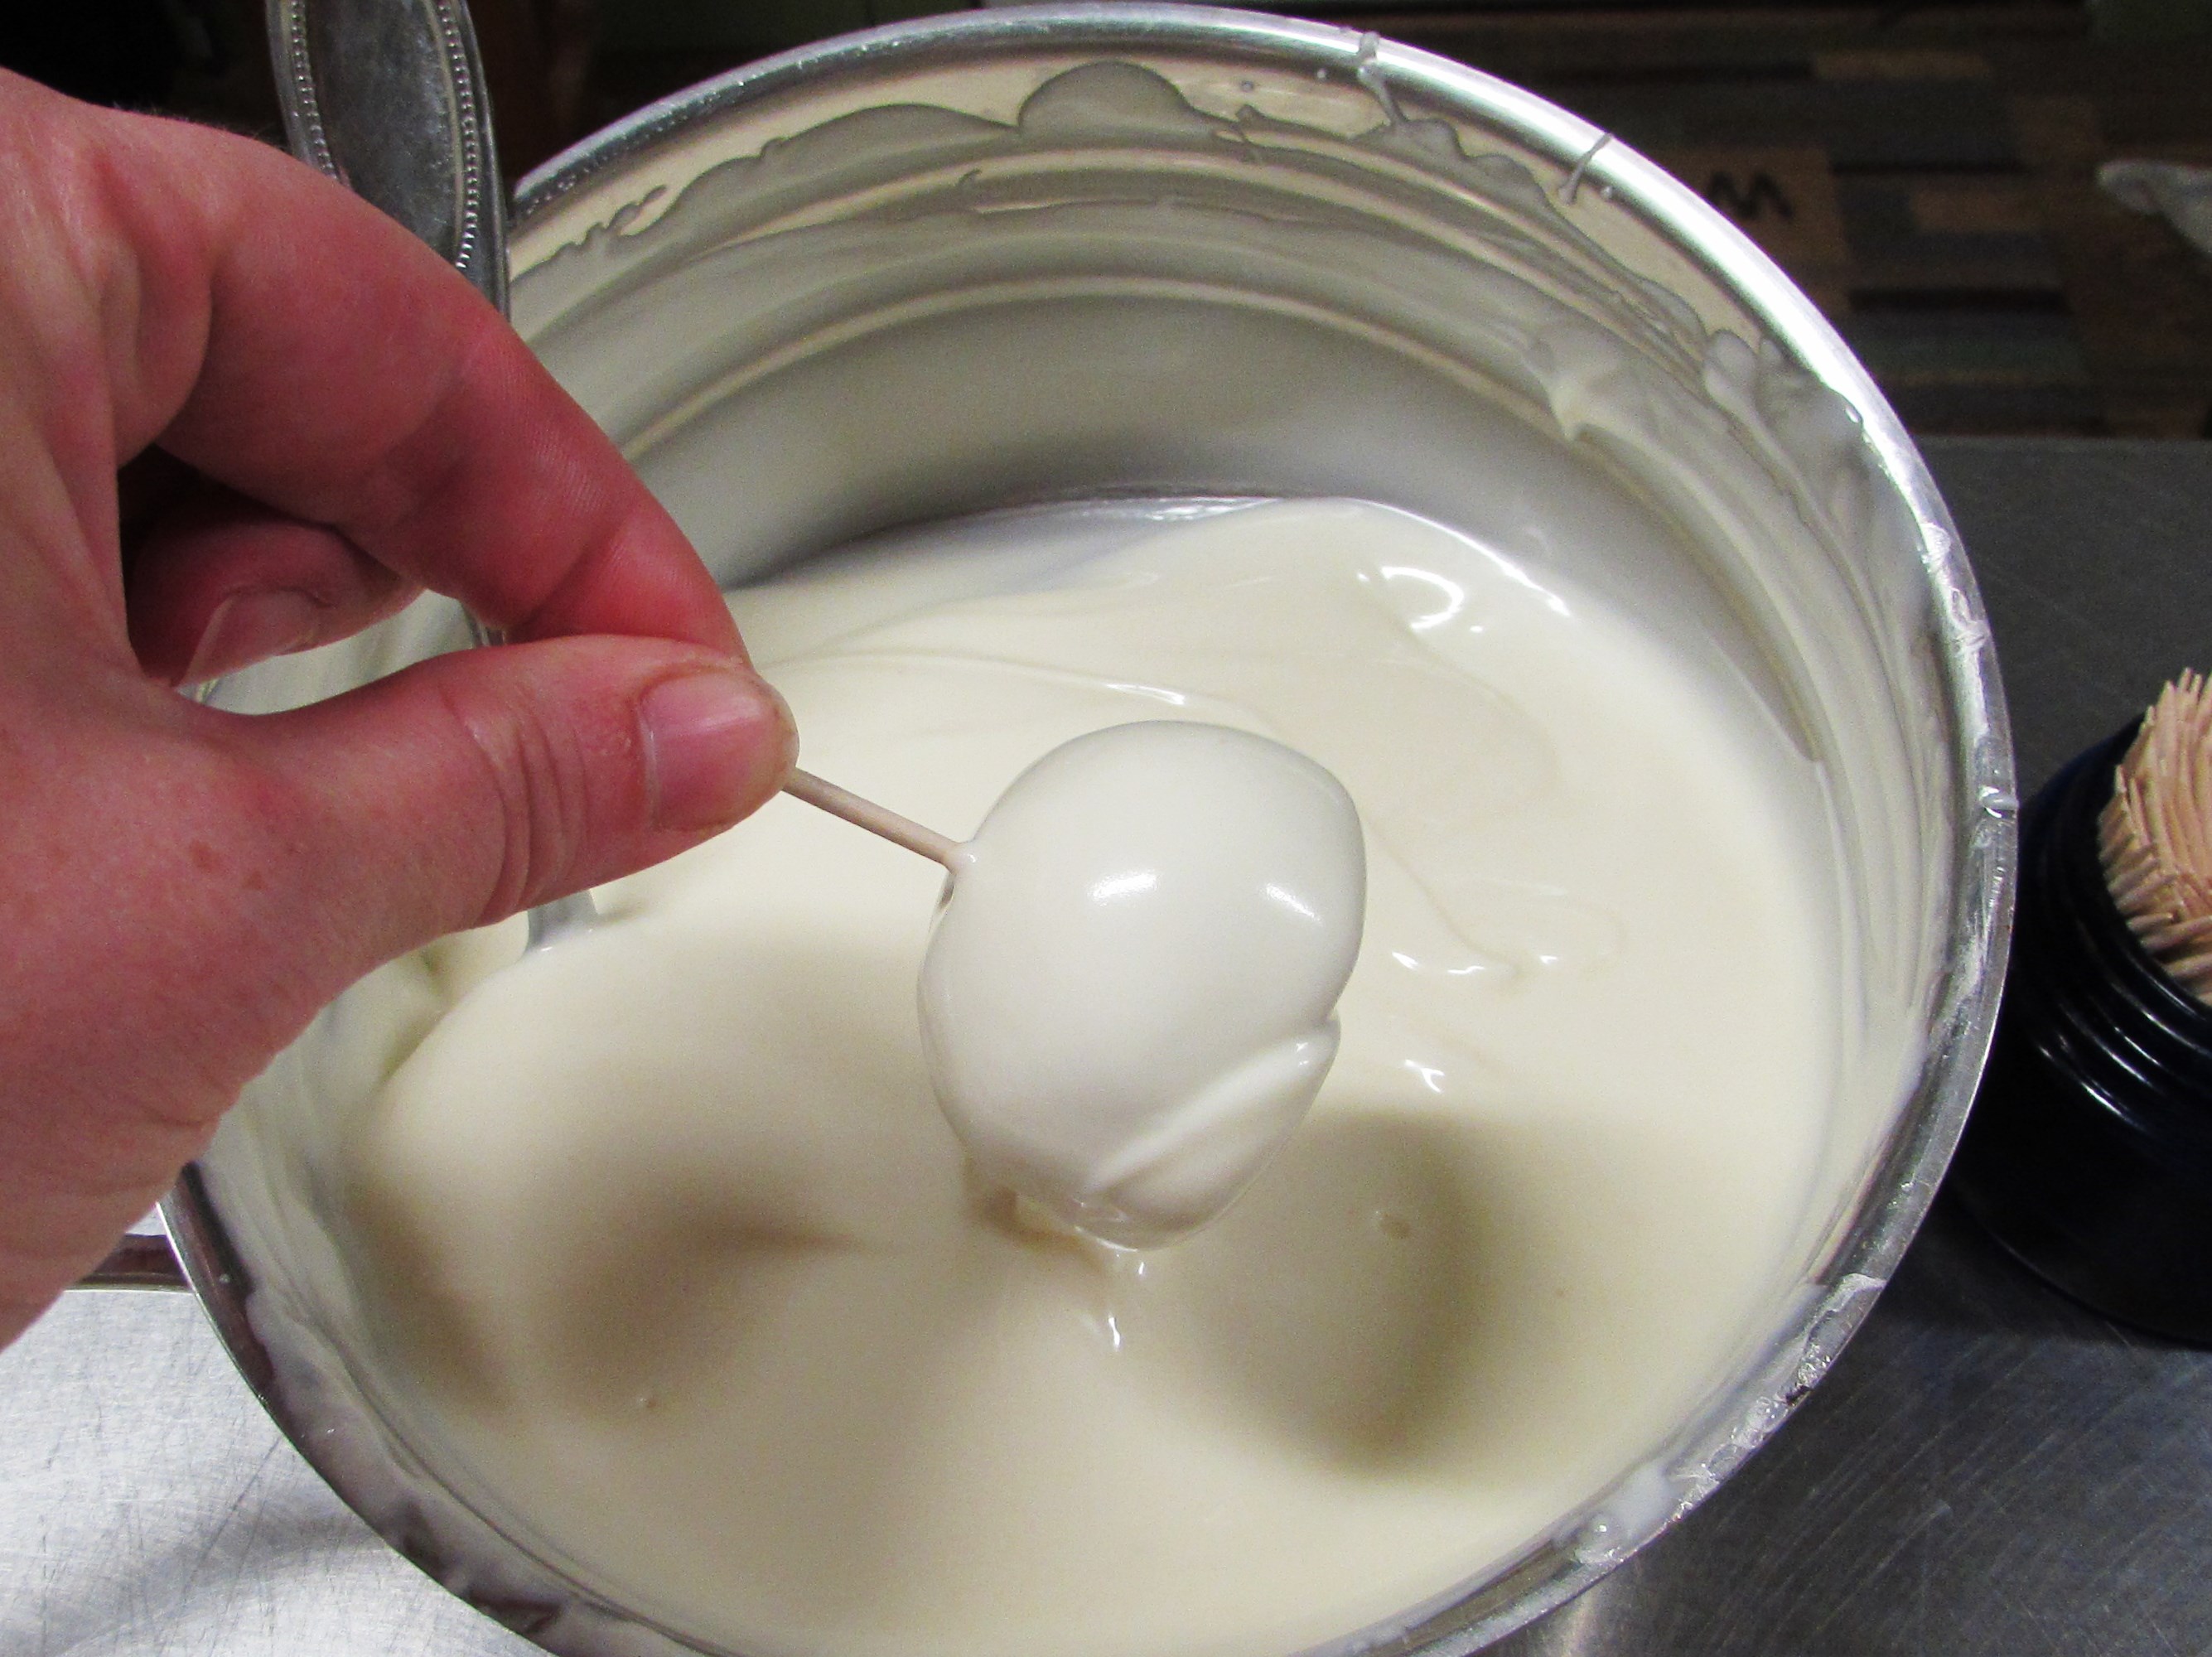
Carefully insert a toothpick about 3/4 of the way into the cake ball…..
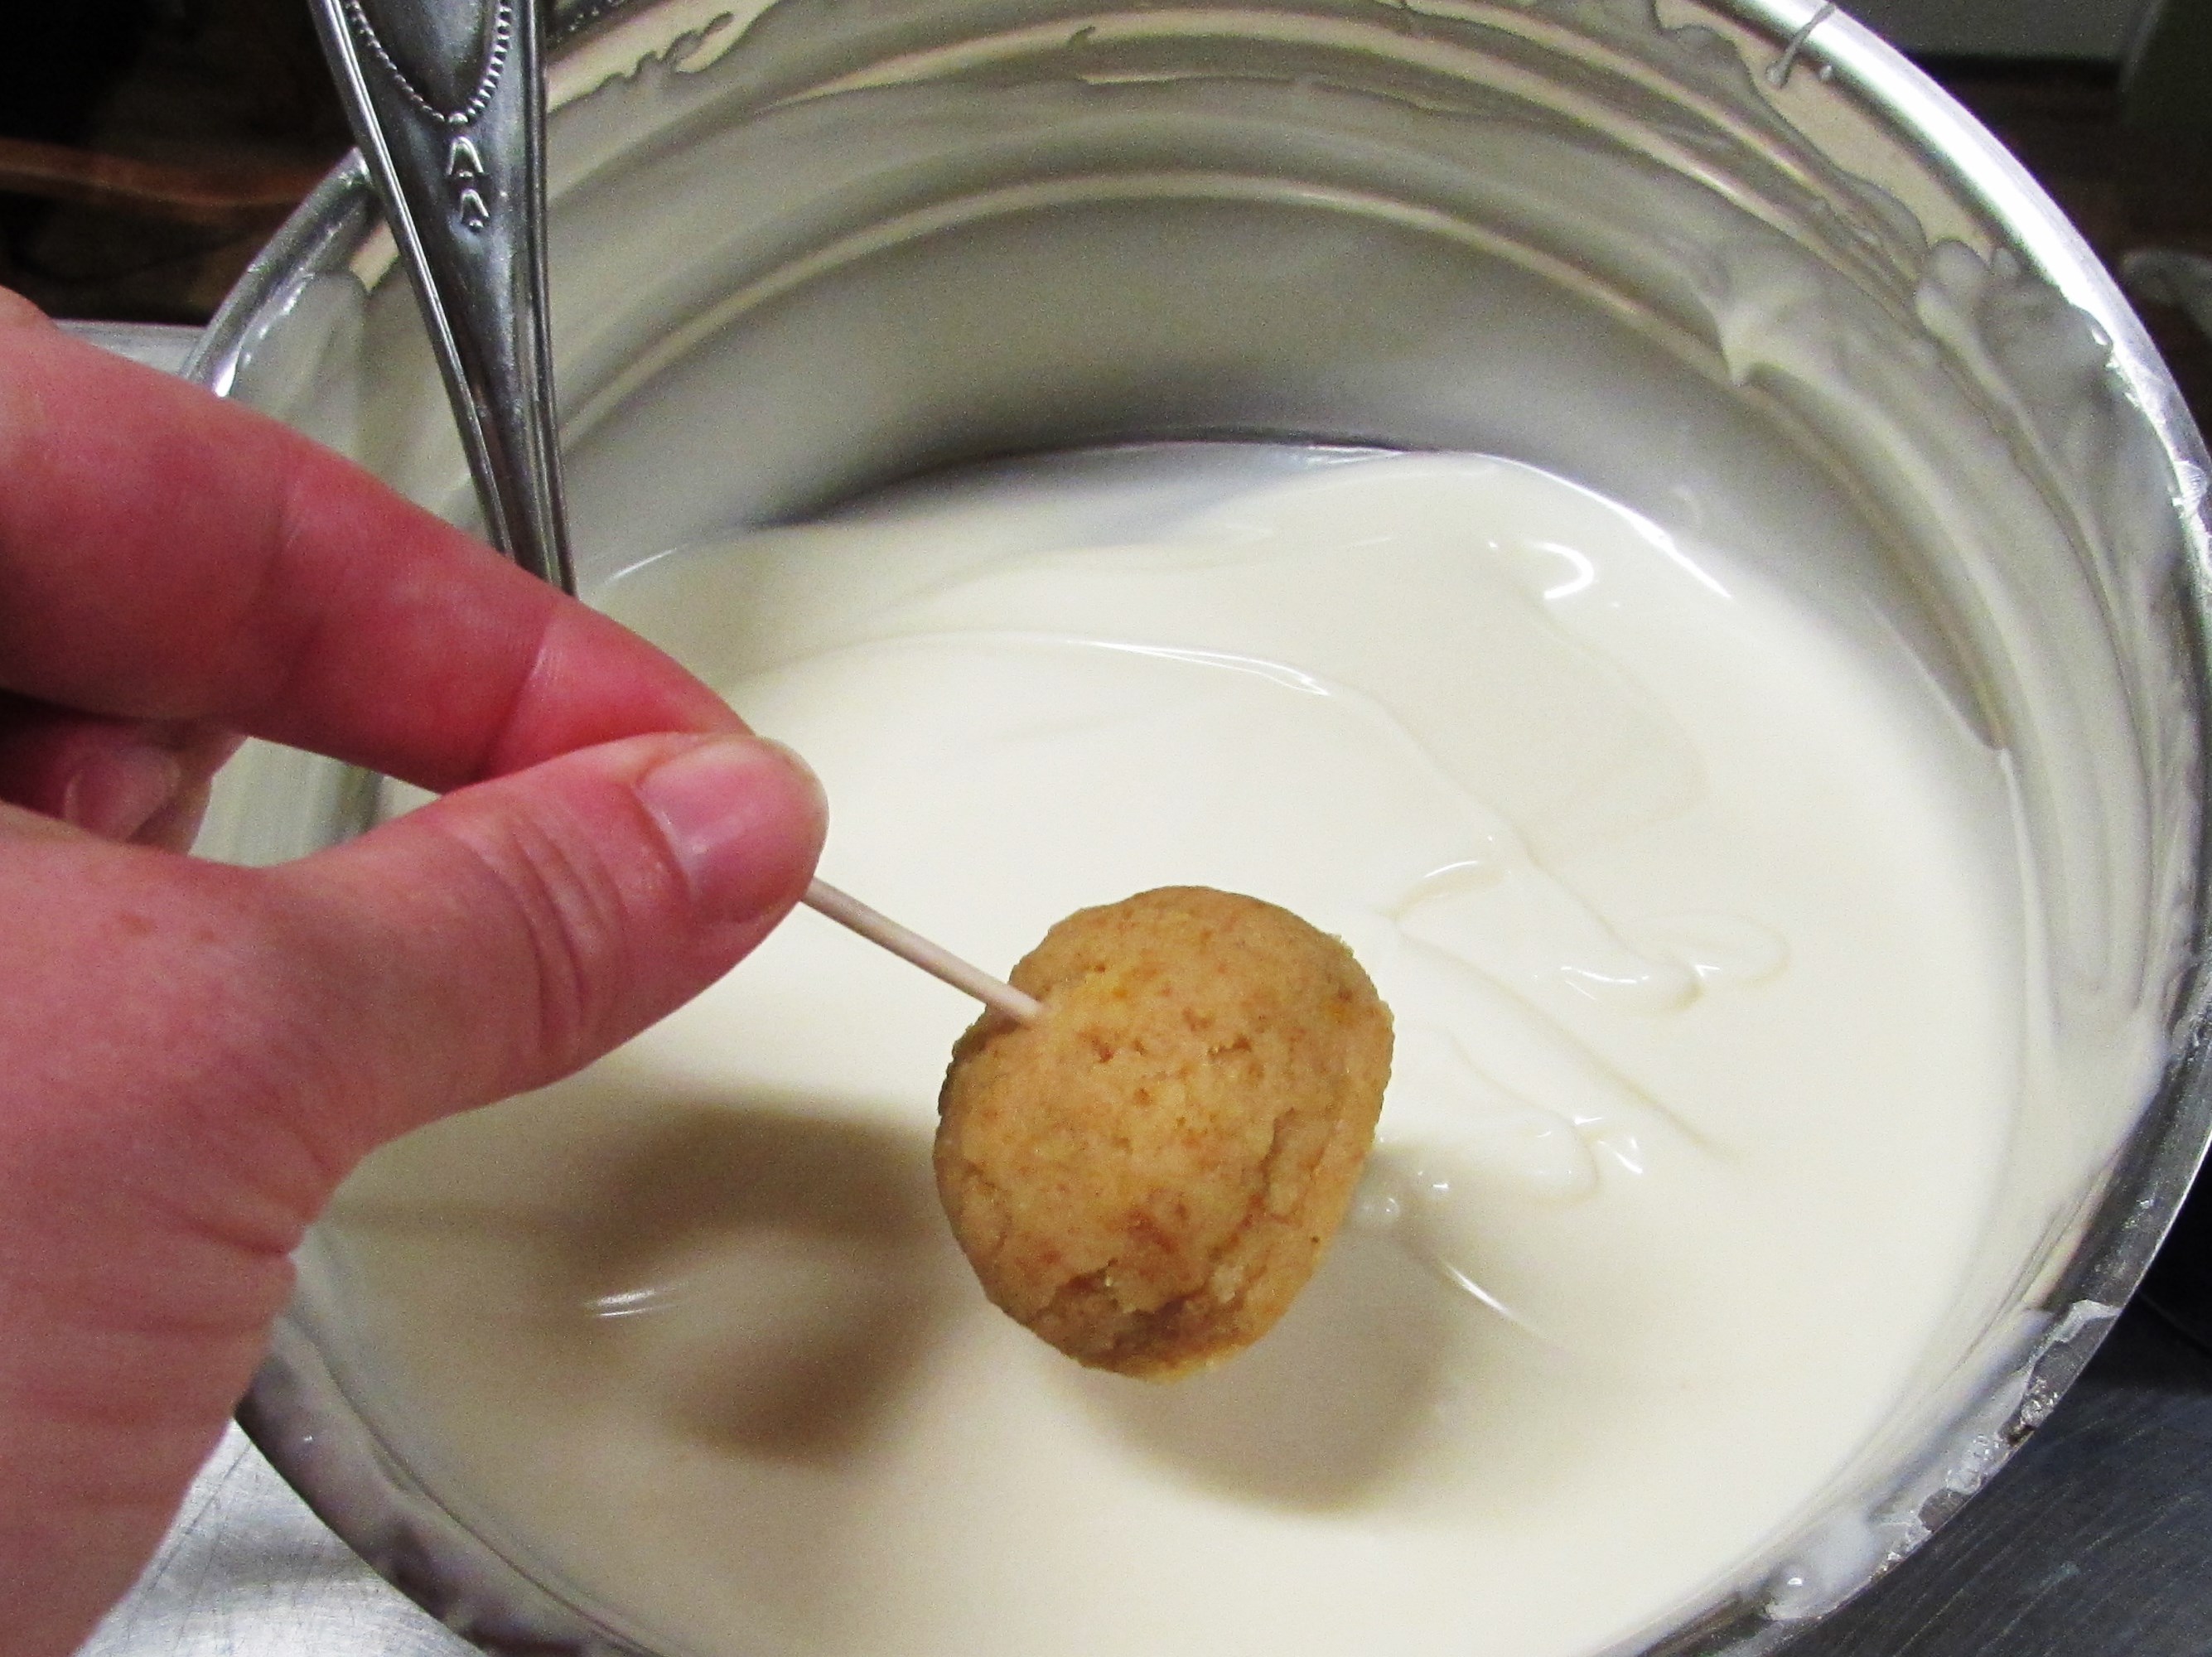
Dip into the almond bark or chocolate to coat it all over….
Remove and shake it a bit holding it on its side so it doesn’t fall off the toothpick…
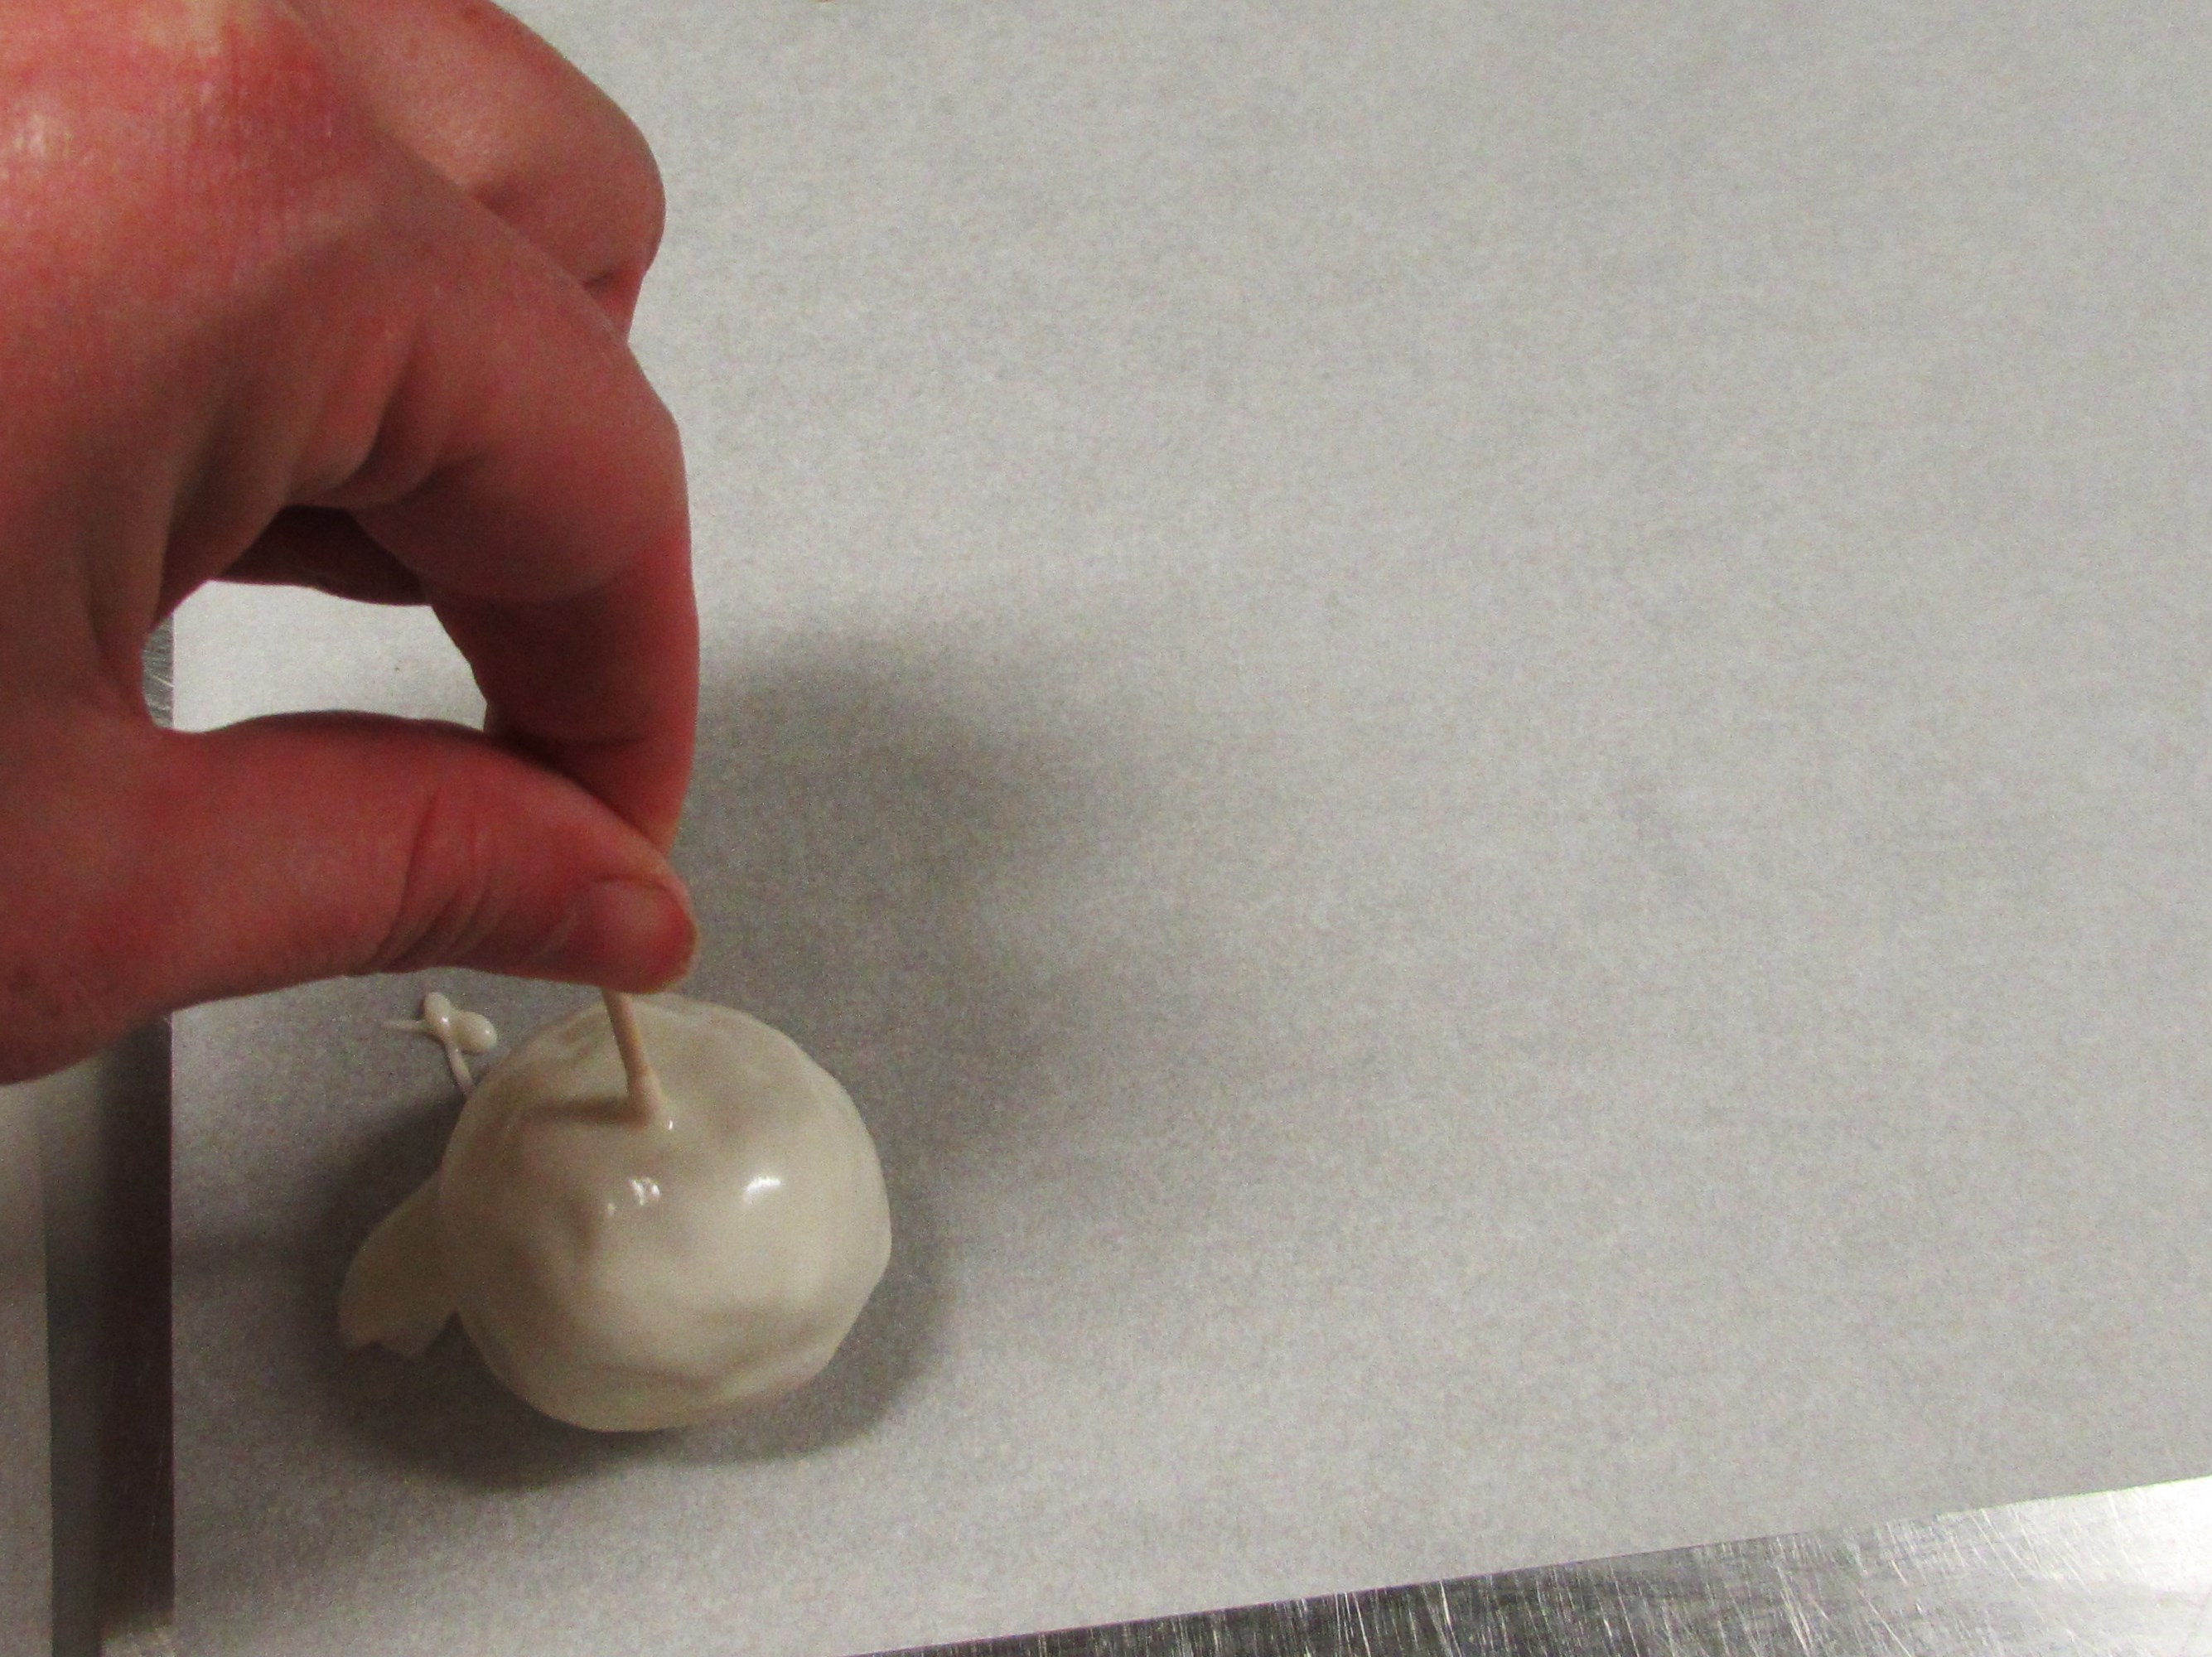
Gently place it on a fresh sheet of parchment and twirl the toothpick out…
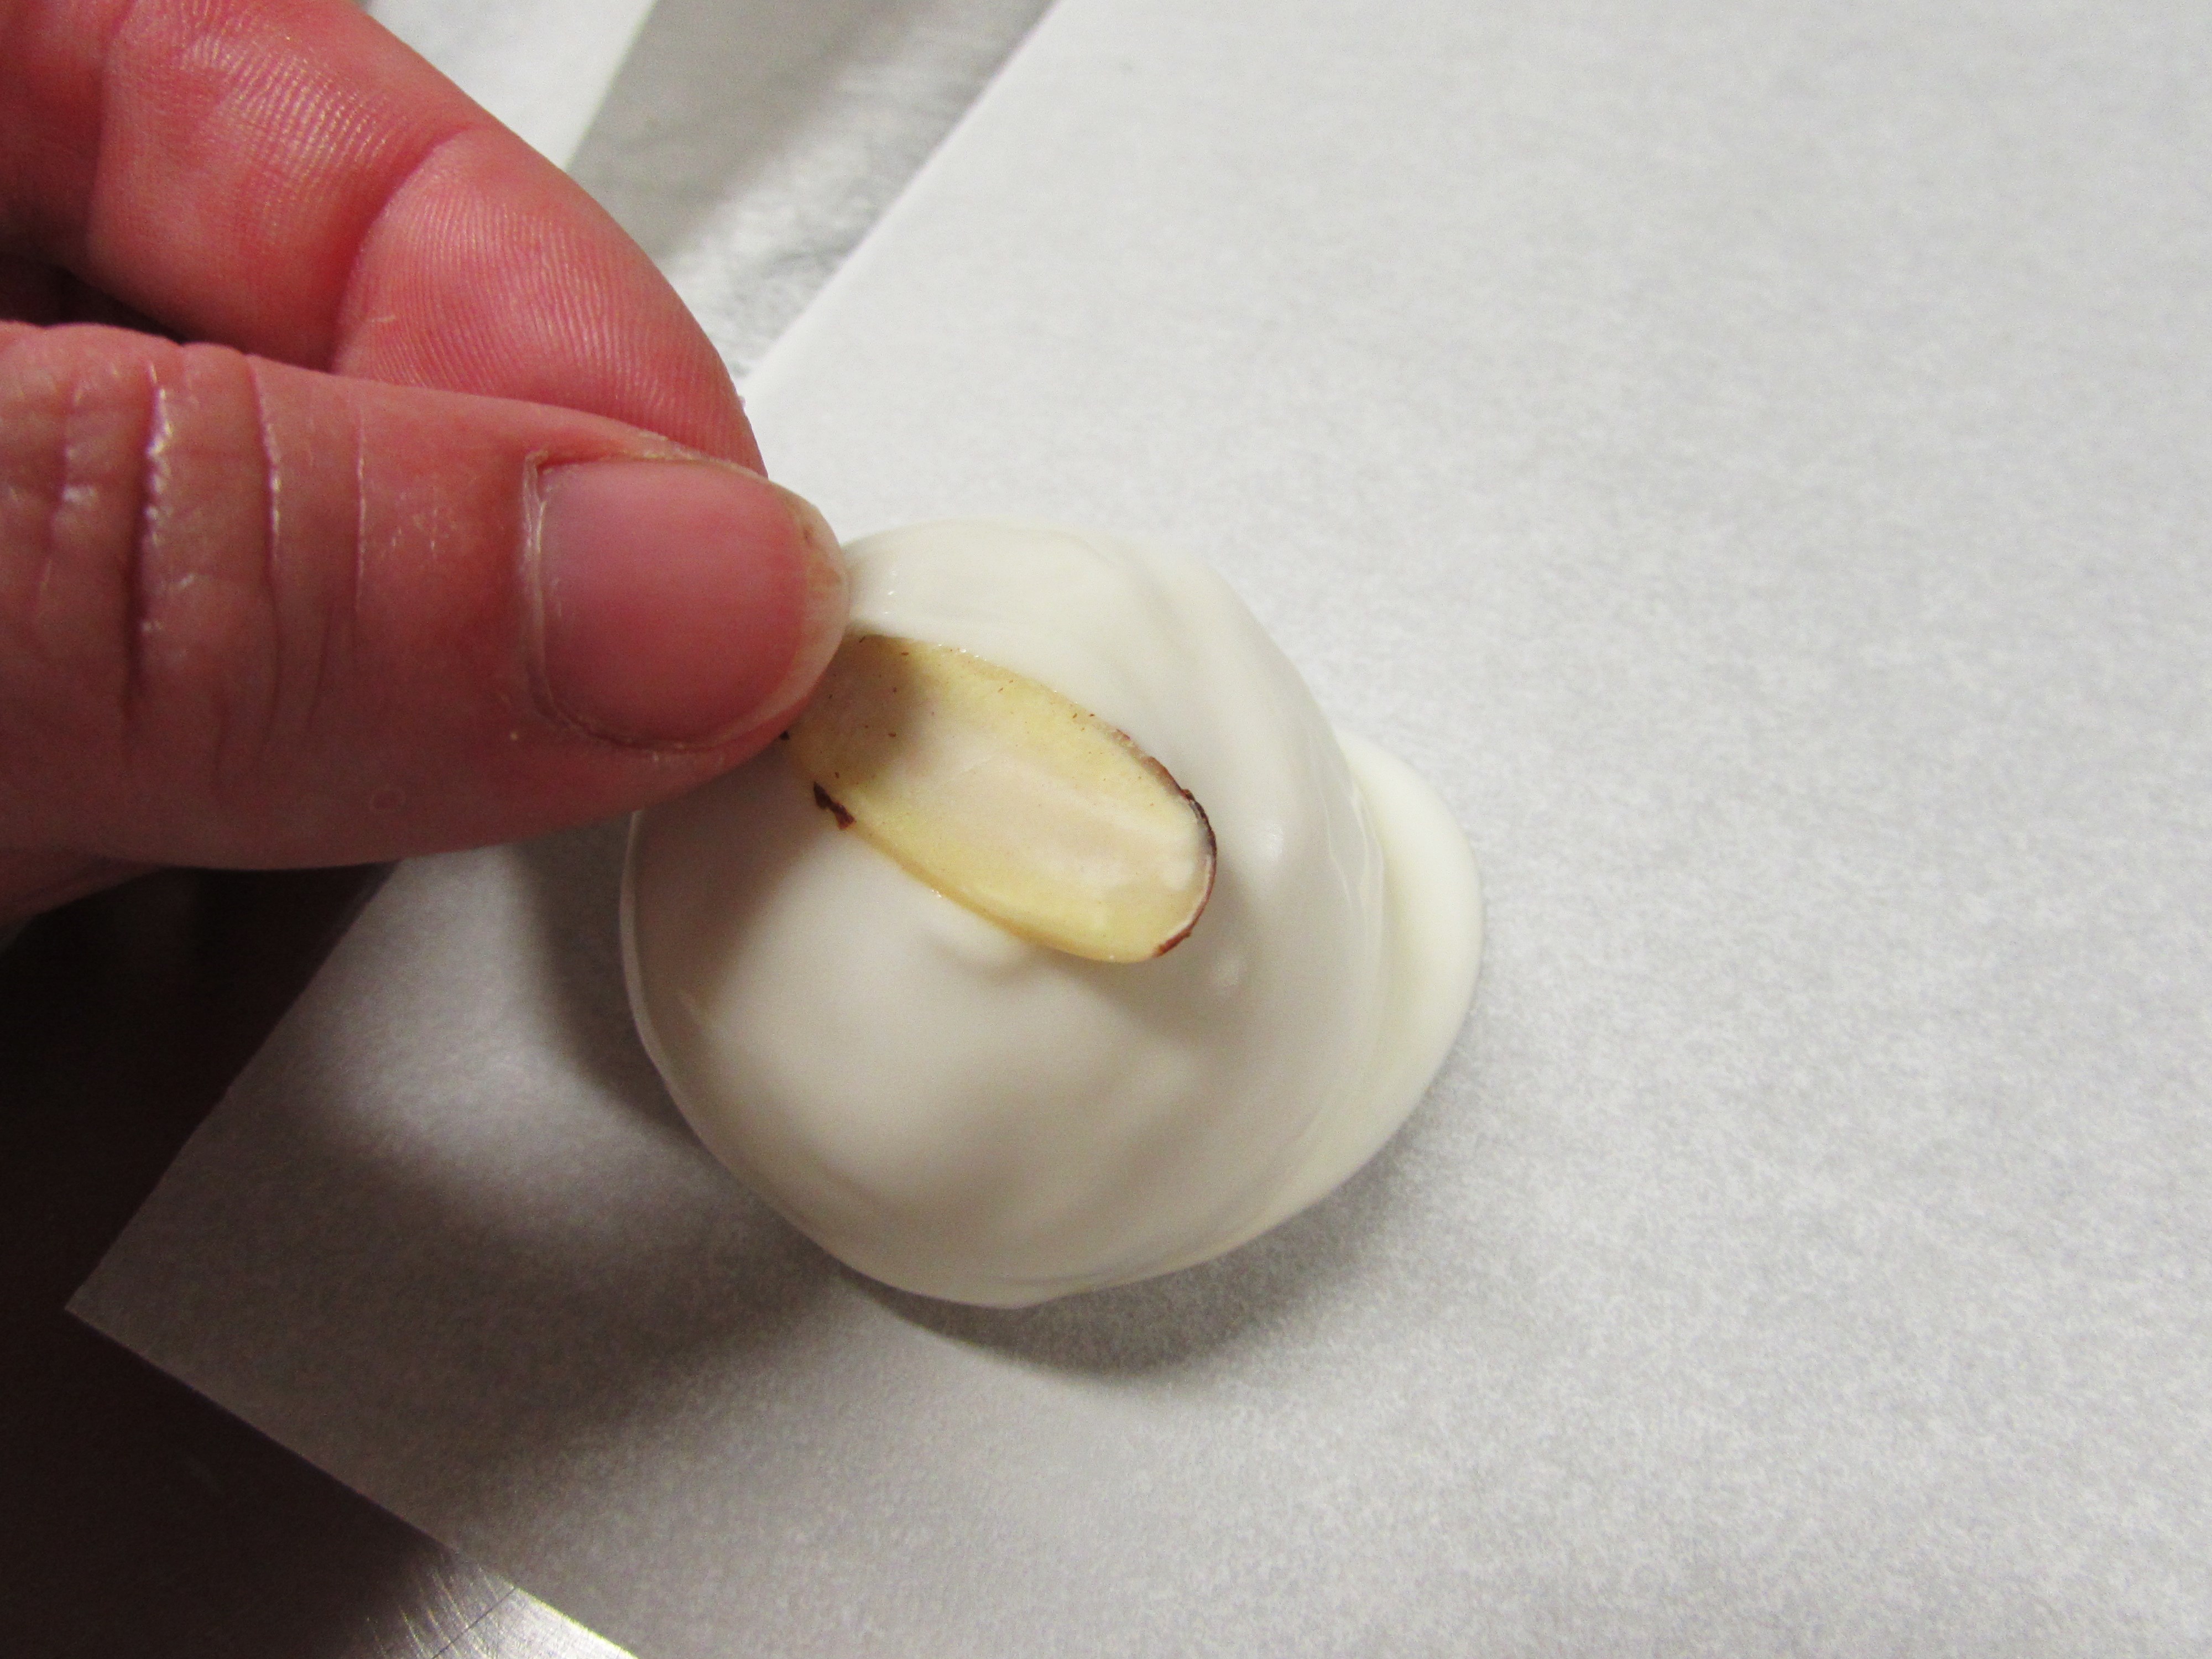
Quickly add the topping of your choice, don’t hesitate because the coating will harden and you are left with a ball that has a hole in the top.
Nobody wants a ball with a hole in the top.
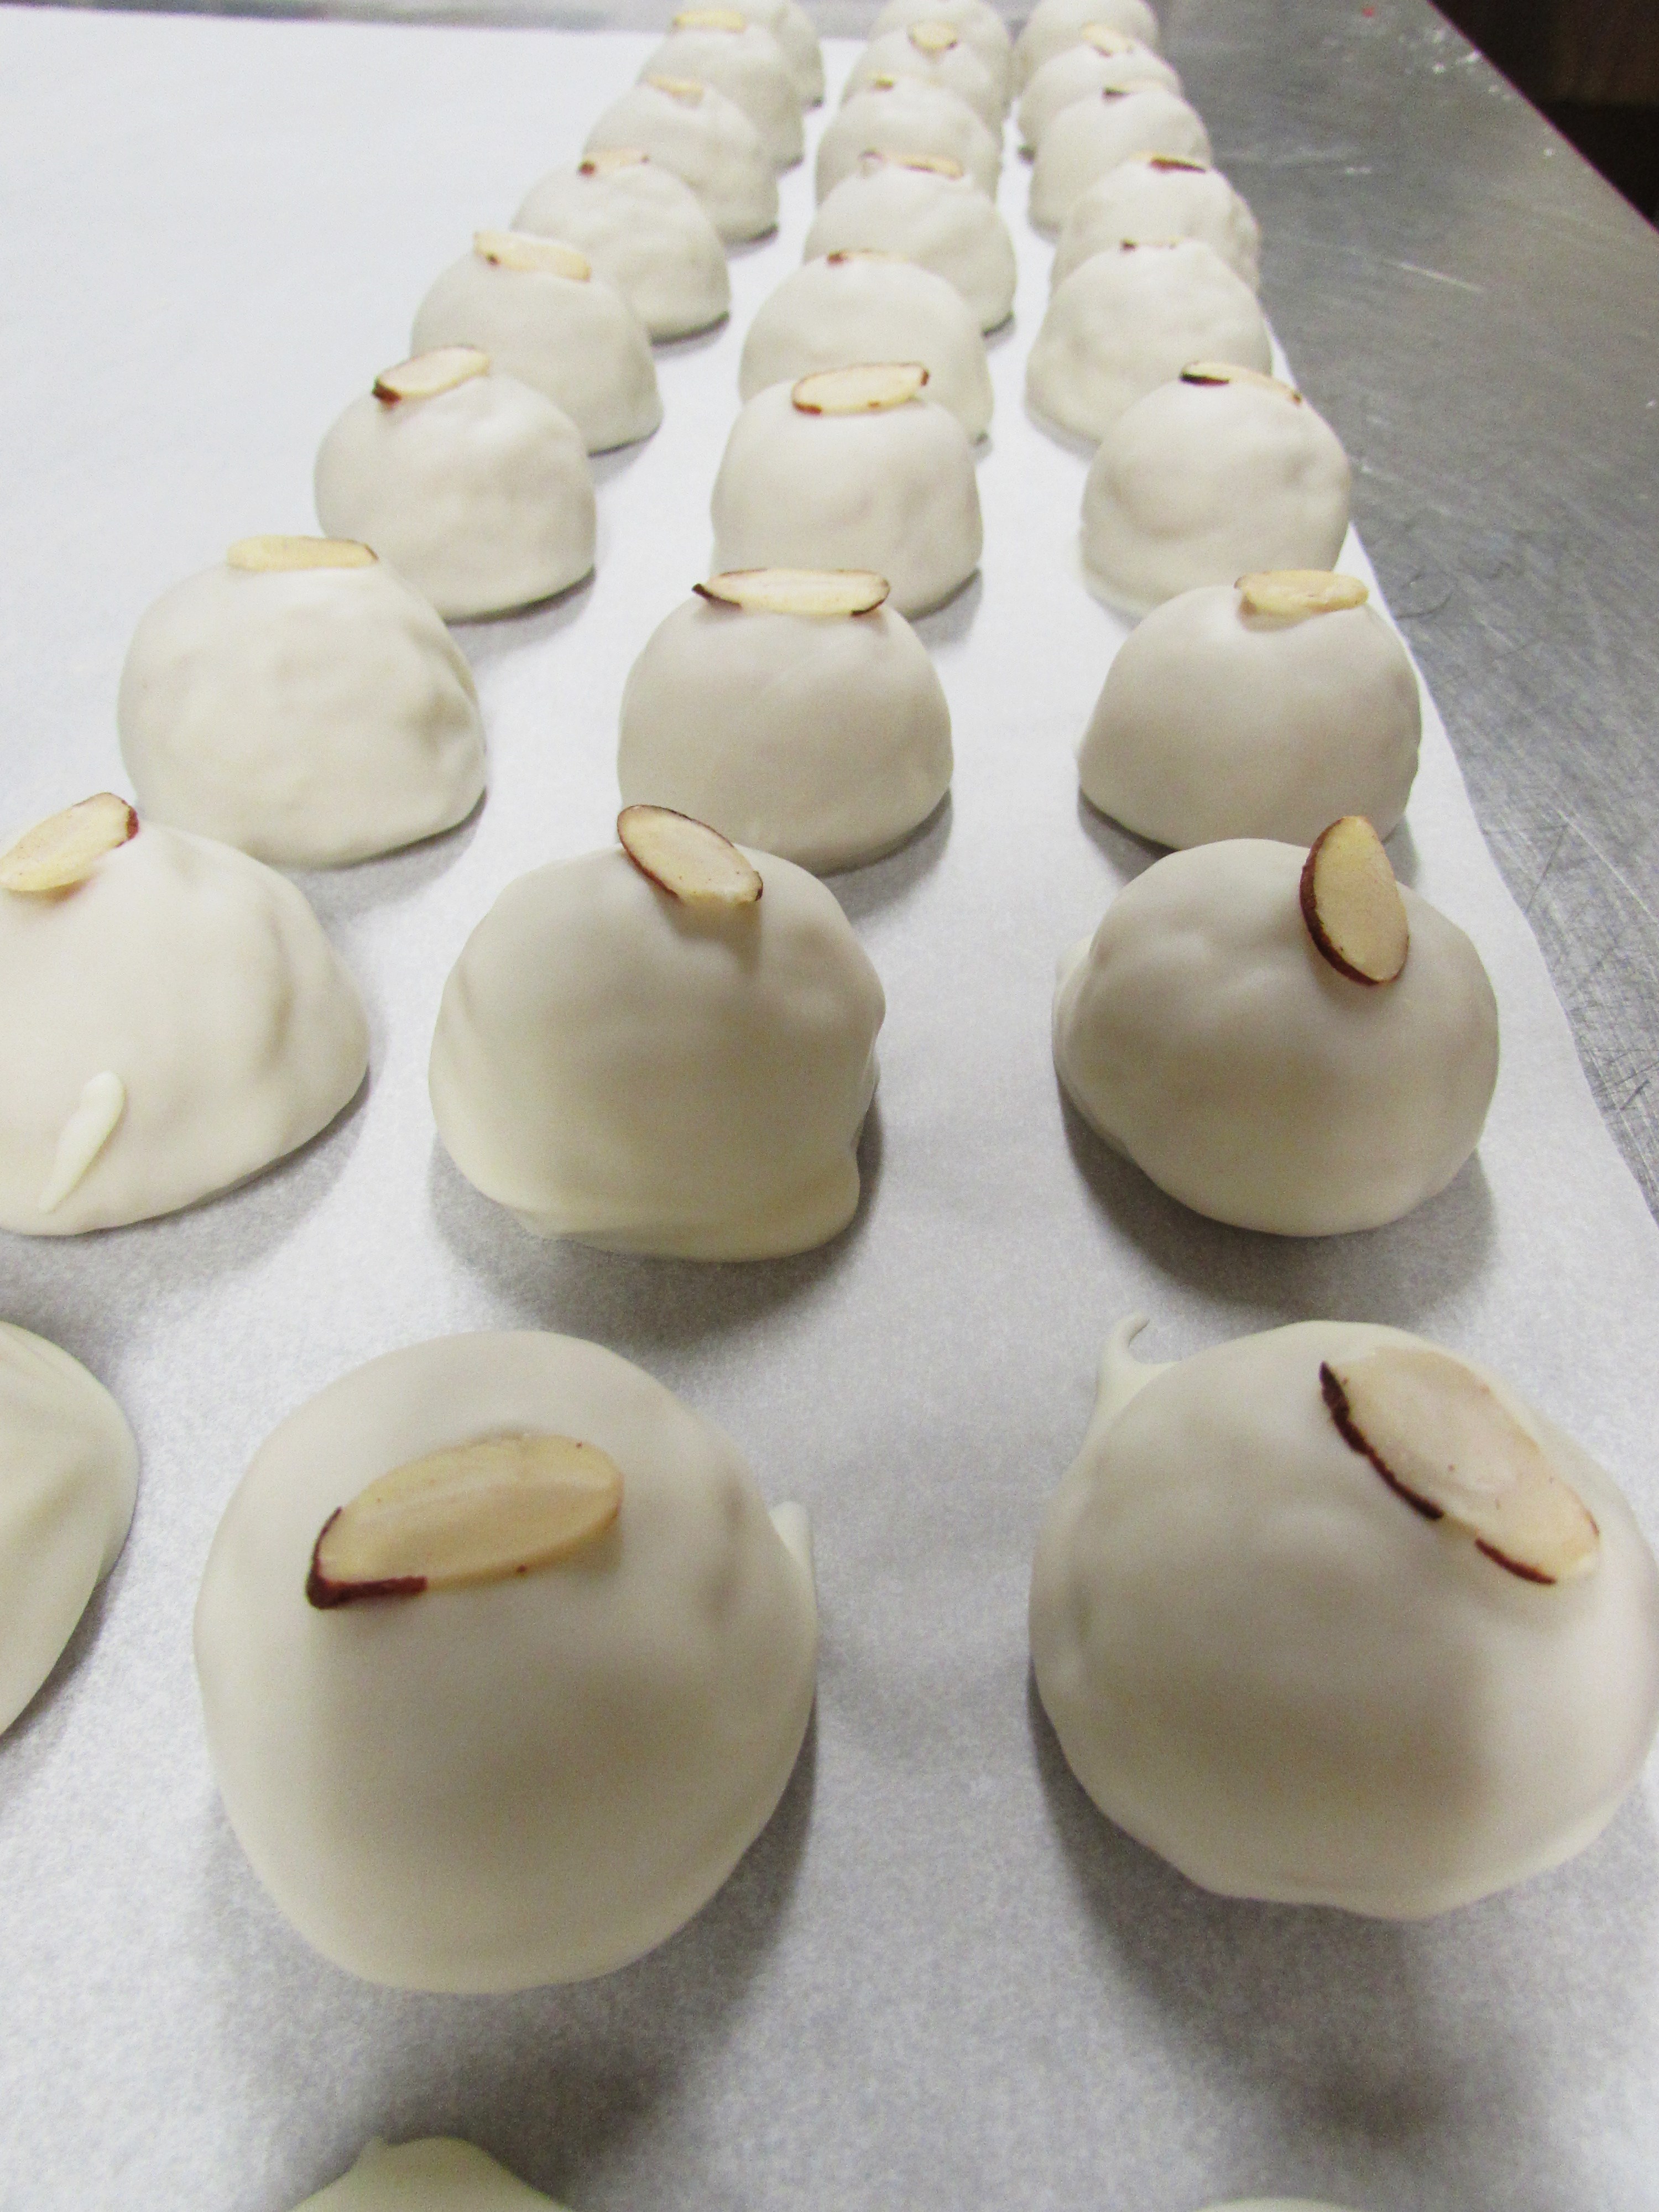
Keep going and before long…..
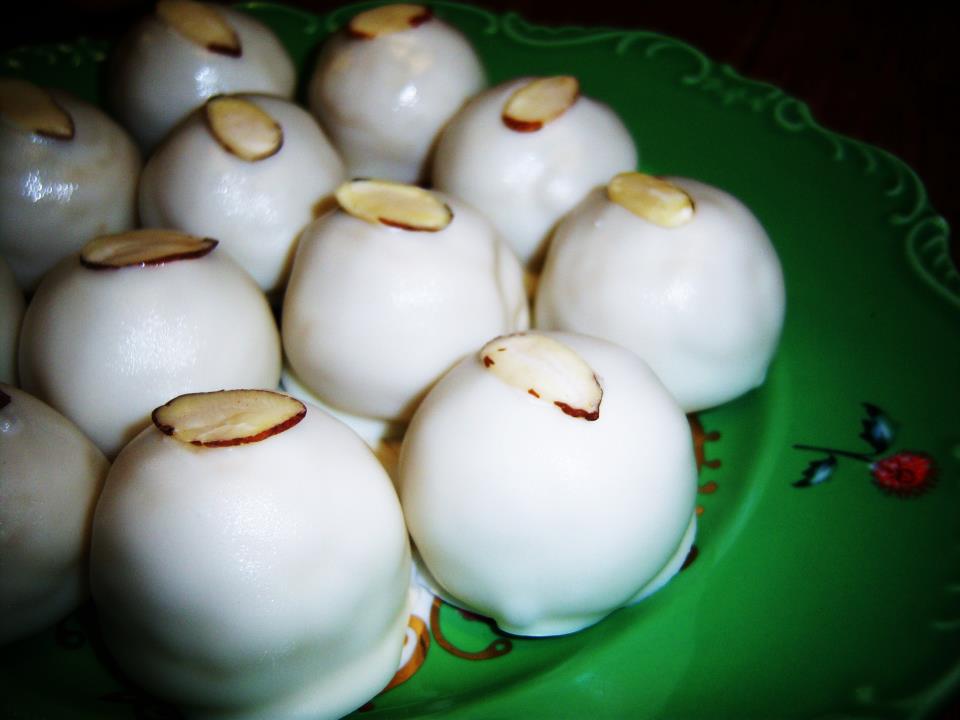
You have something to write home about!
Aren’t they pretty?
I must confess some people prefer to call these little treasures of mine ‘cake bites’ and I suppose that is more polite. But I simply can’t help myself “Hey, wanna try my balls?”, “I’ve got the best balls in town”, “My cake has balls, does yours?”.
So not only do I eat and enjoy and share my cake balls, I can laugh at them too!
It pays to be easily amused.


Haha you had me at cake balls!
LikeLike
lol, I hope you try’em and like’em! 😉
LikeLike