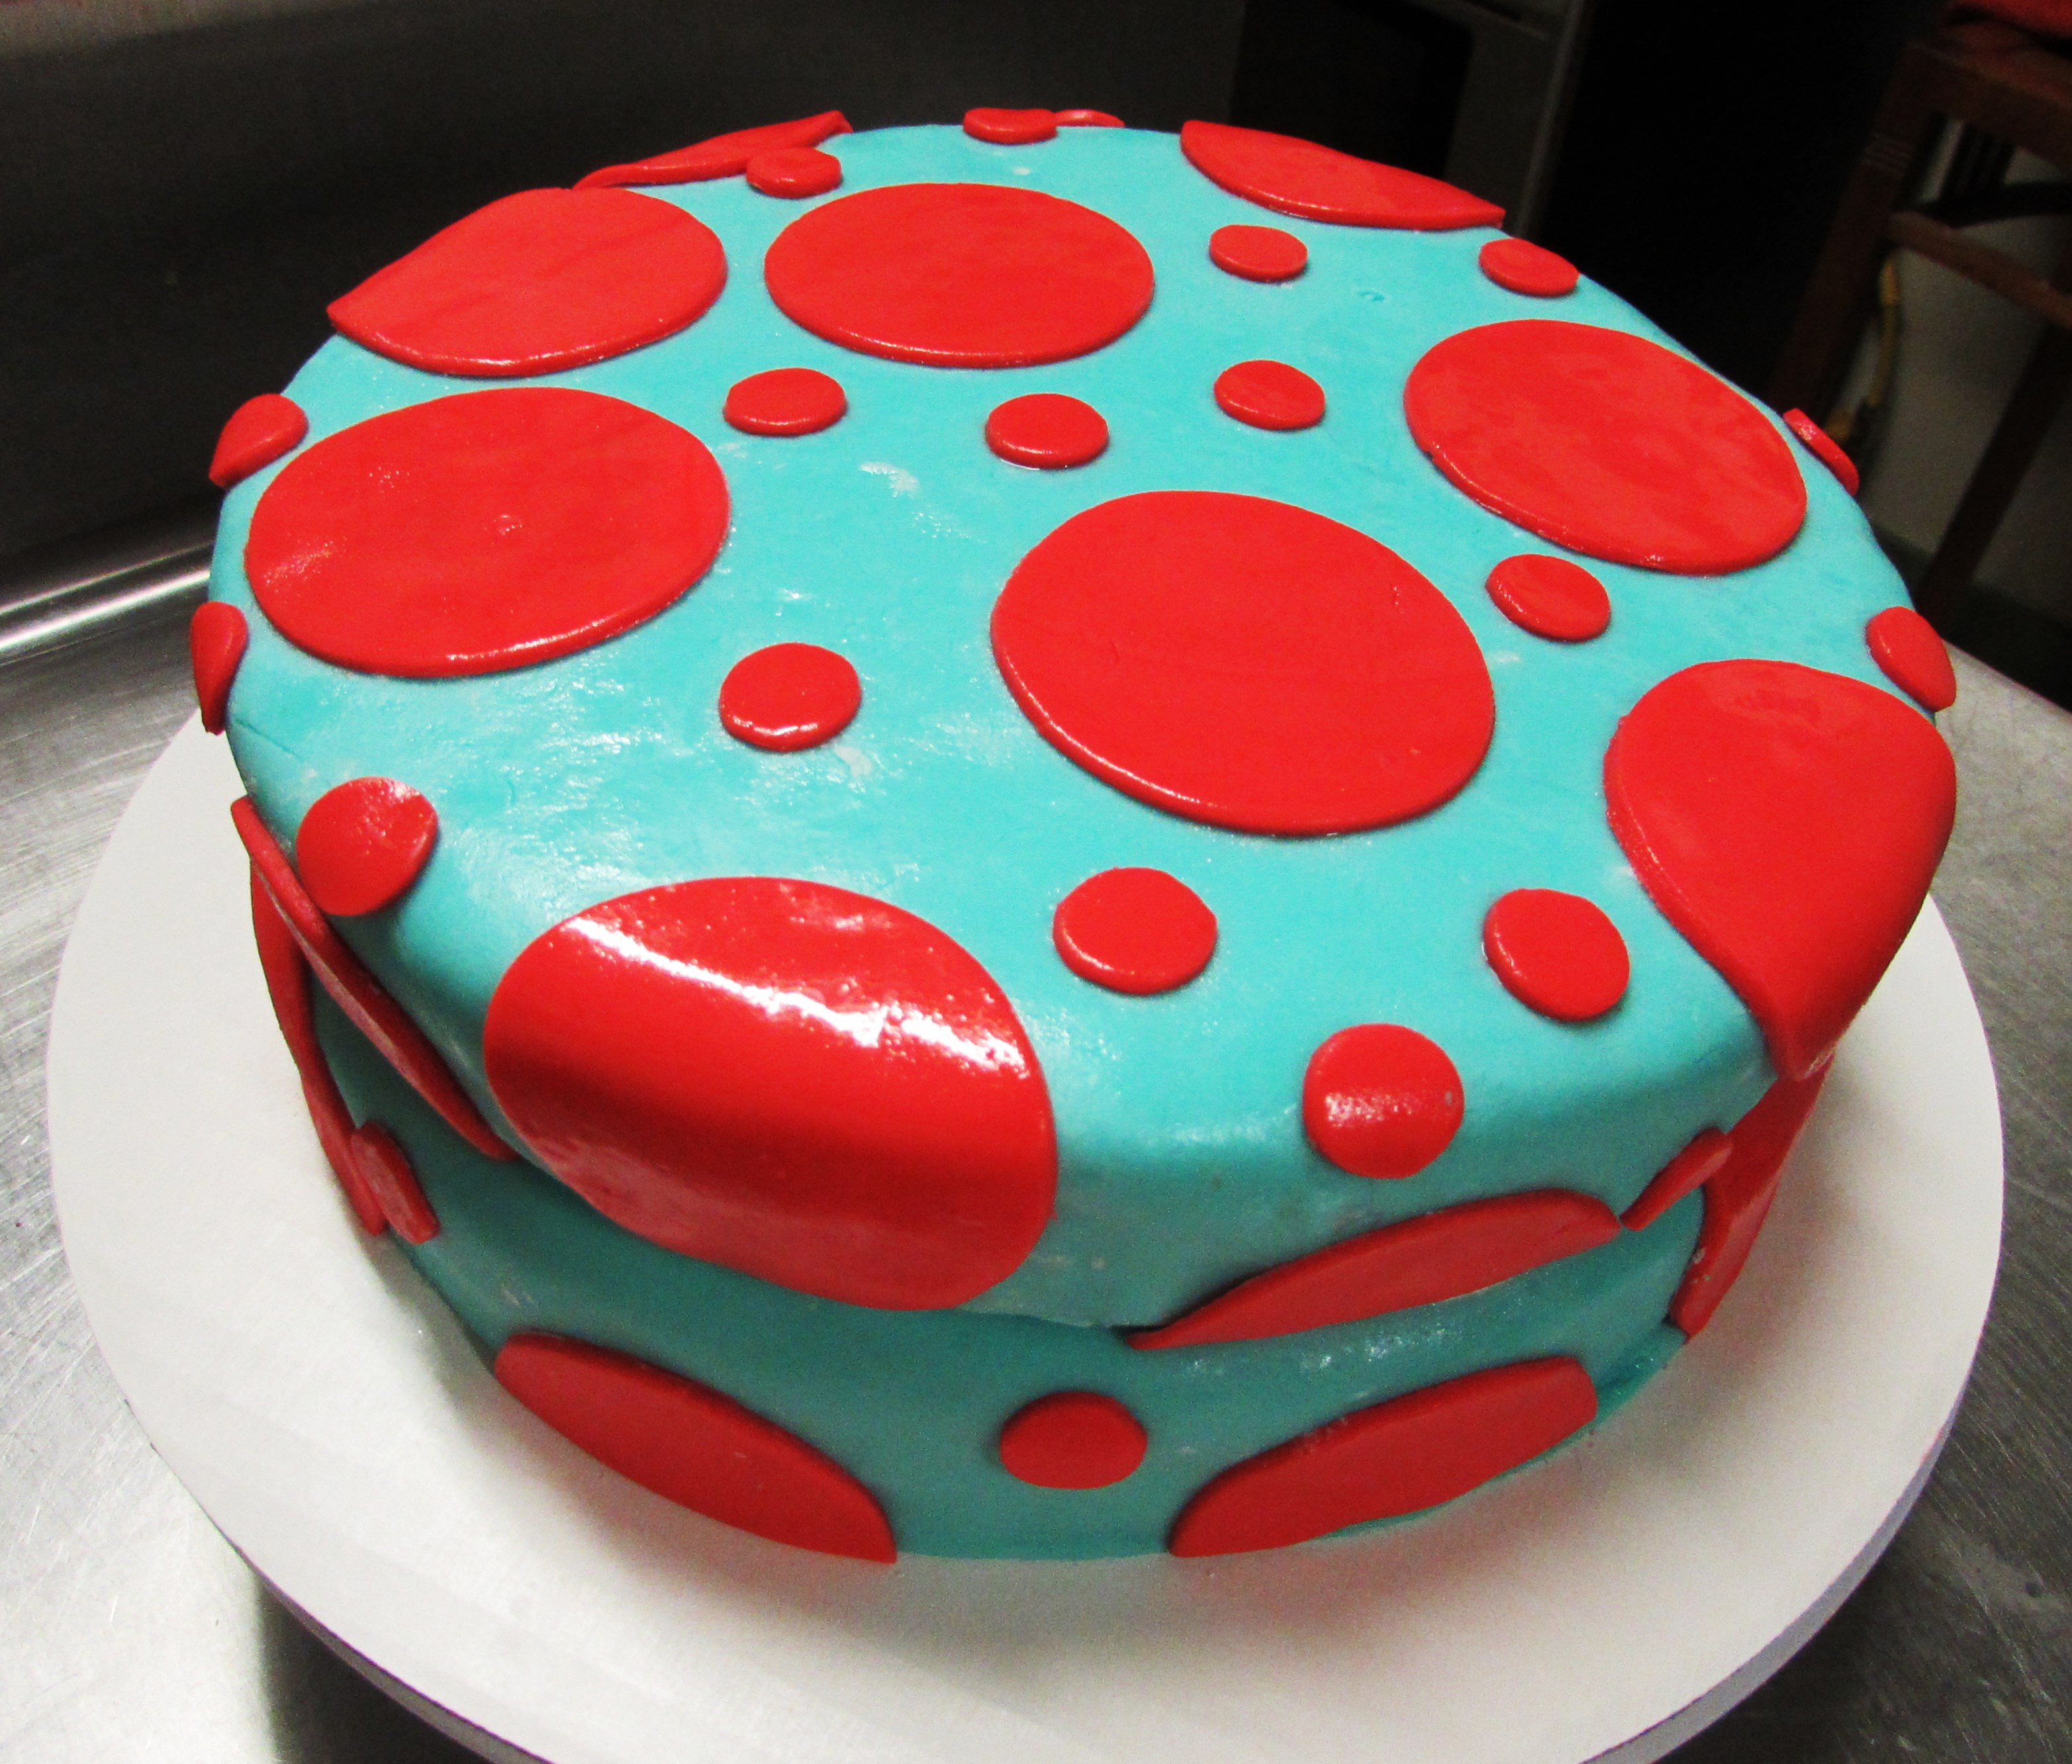
Fondant has always frightened me. During my brief period owning a bona fide bakery I always claimed to be a ‘fondant free’ environment. Not only was it scary but it tasted bad. And taste was, and still is, of utmost importance to me. Then about 2 years ago I was prompted to attempt a fondant cake. And I’m so glad I did! Fondant is a little tricky, can be frustrating but when homemade does taste pretty darn good and looks really pretty! I have by no means mastered fondant, I still get aggravated but learn a little more each time I make it. And I do have the basics down. So I wanted to share what I have learned with you! I was asked to make a baby shower cake in teal with red polka dots, I thought it was cute! And now maybe you can make your own fondant too!
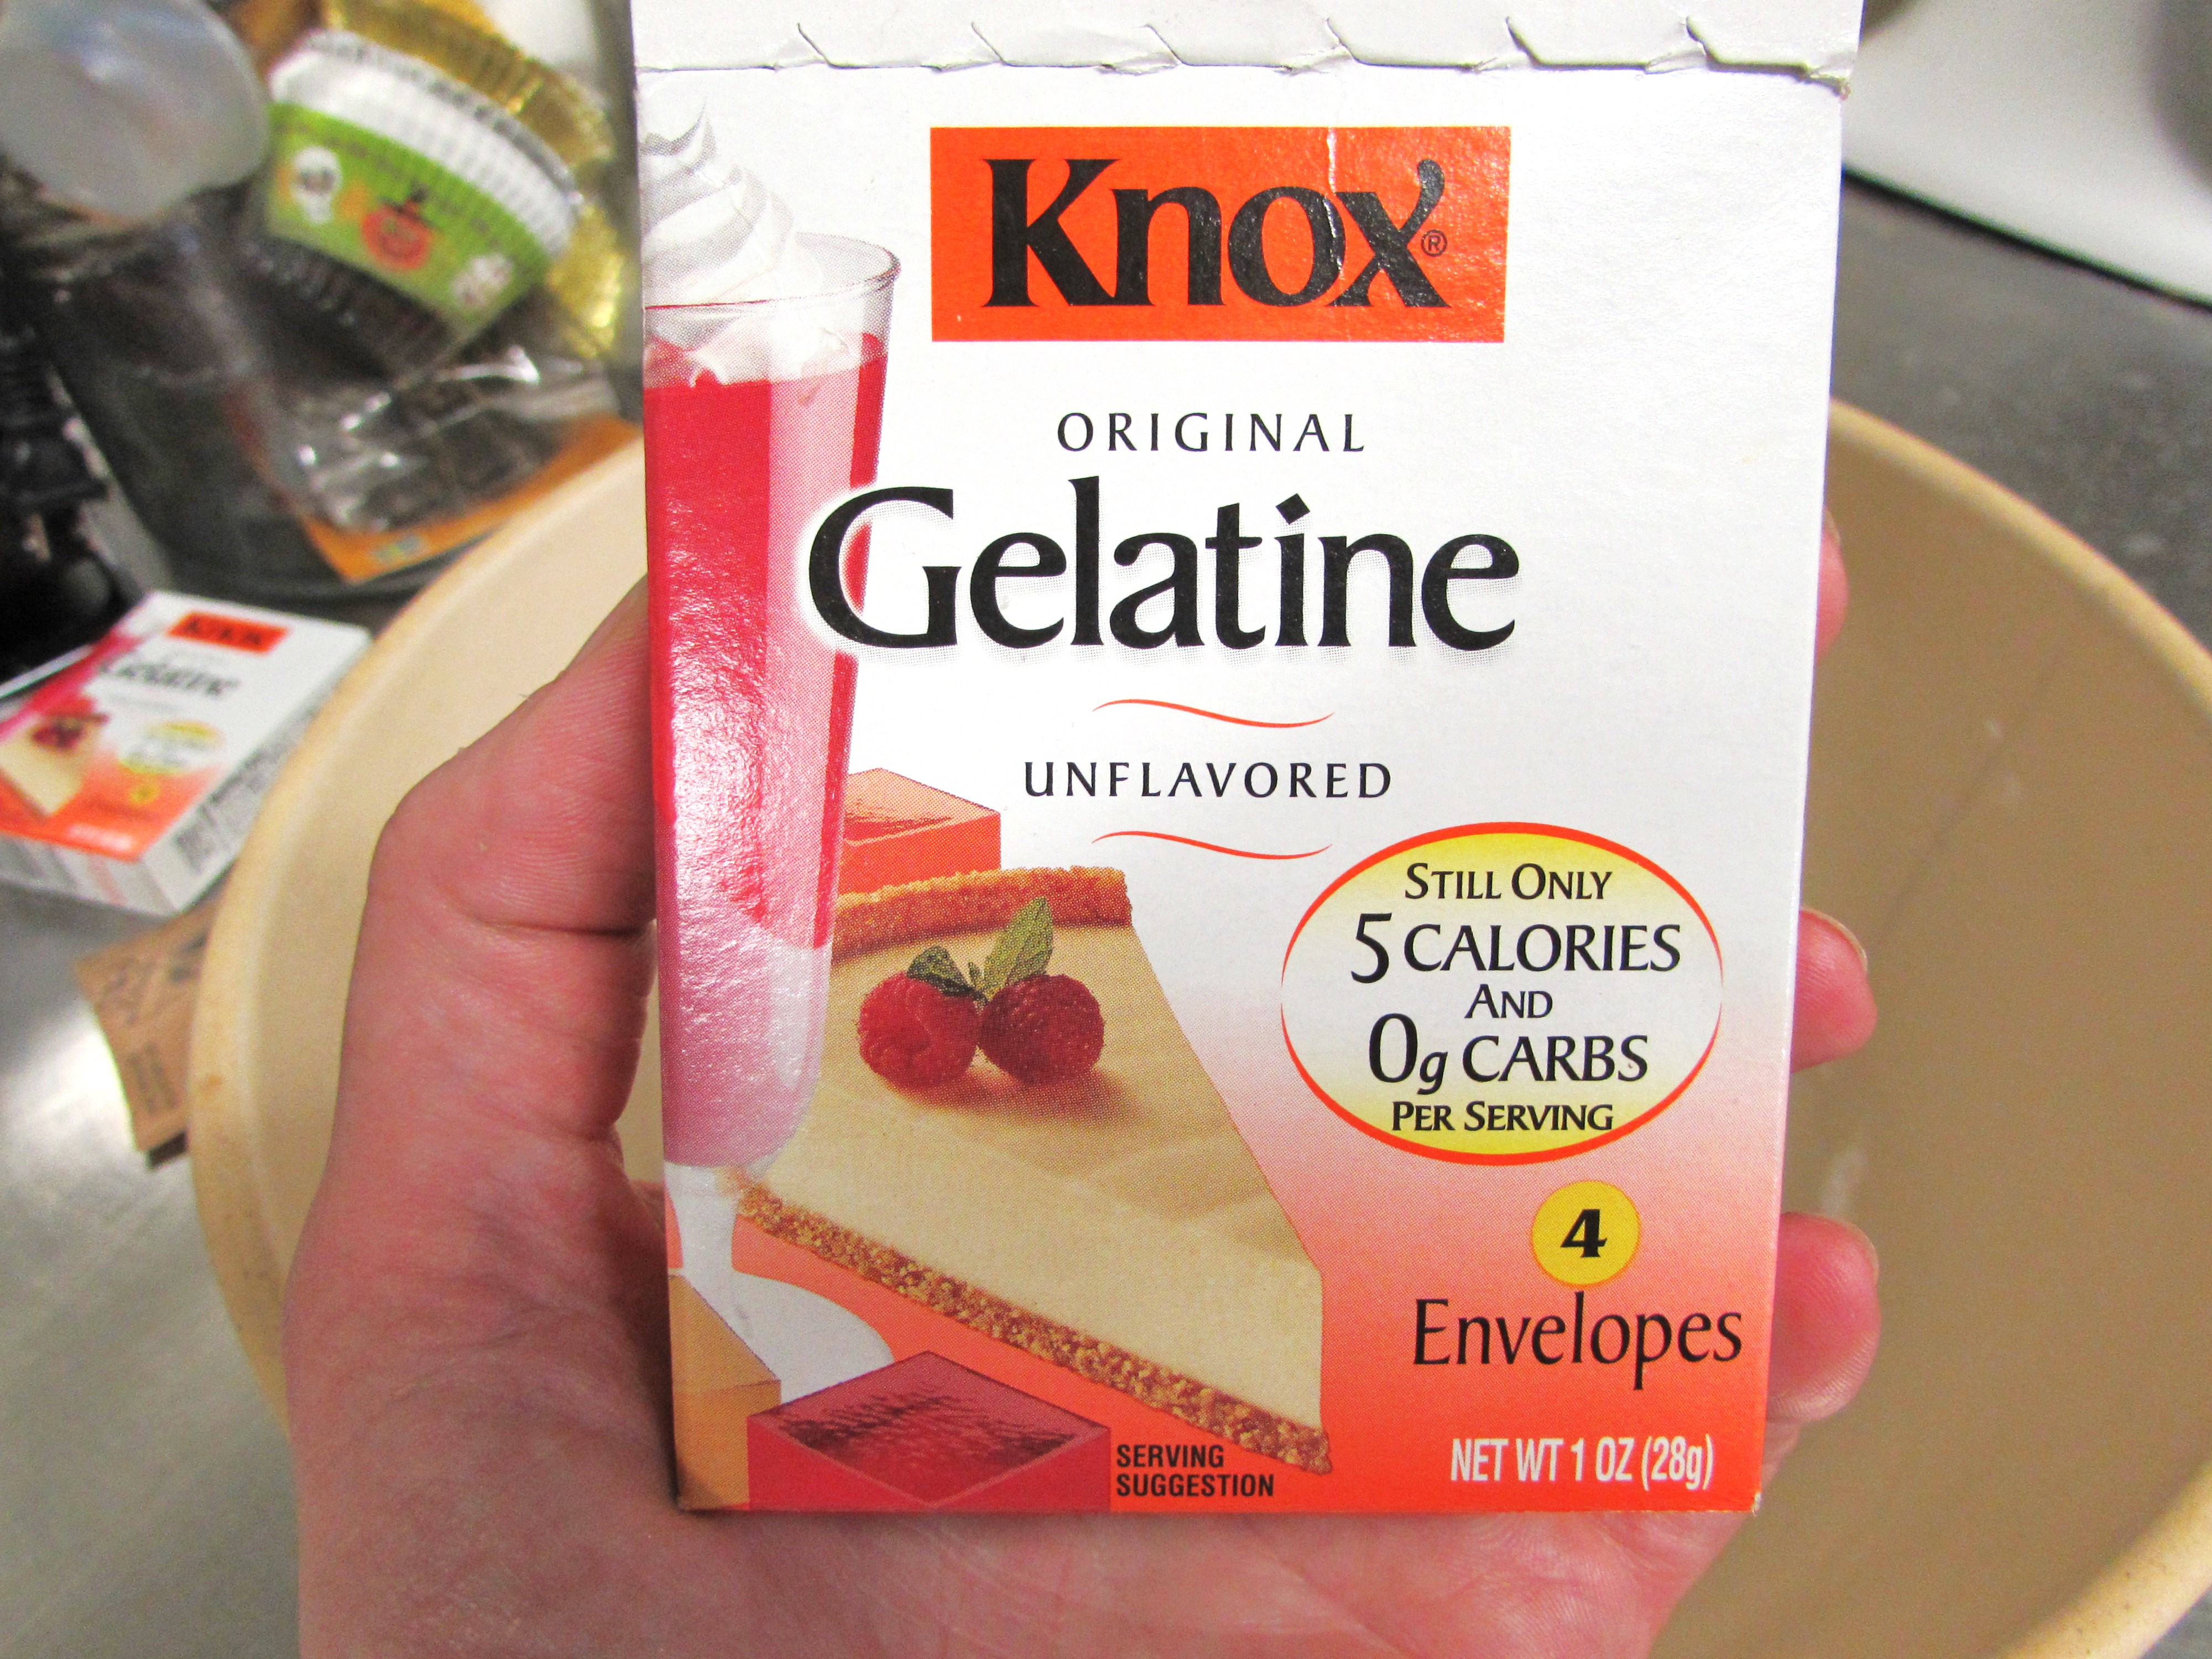
You begin by mixing unflavored gelatin with cold water.

 After it has gelled you plop it into a double broiler over medium heat. And I think it looks like fish eggs, which is pretty cool.

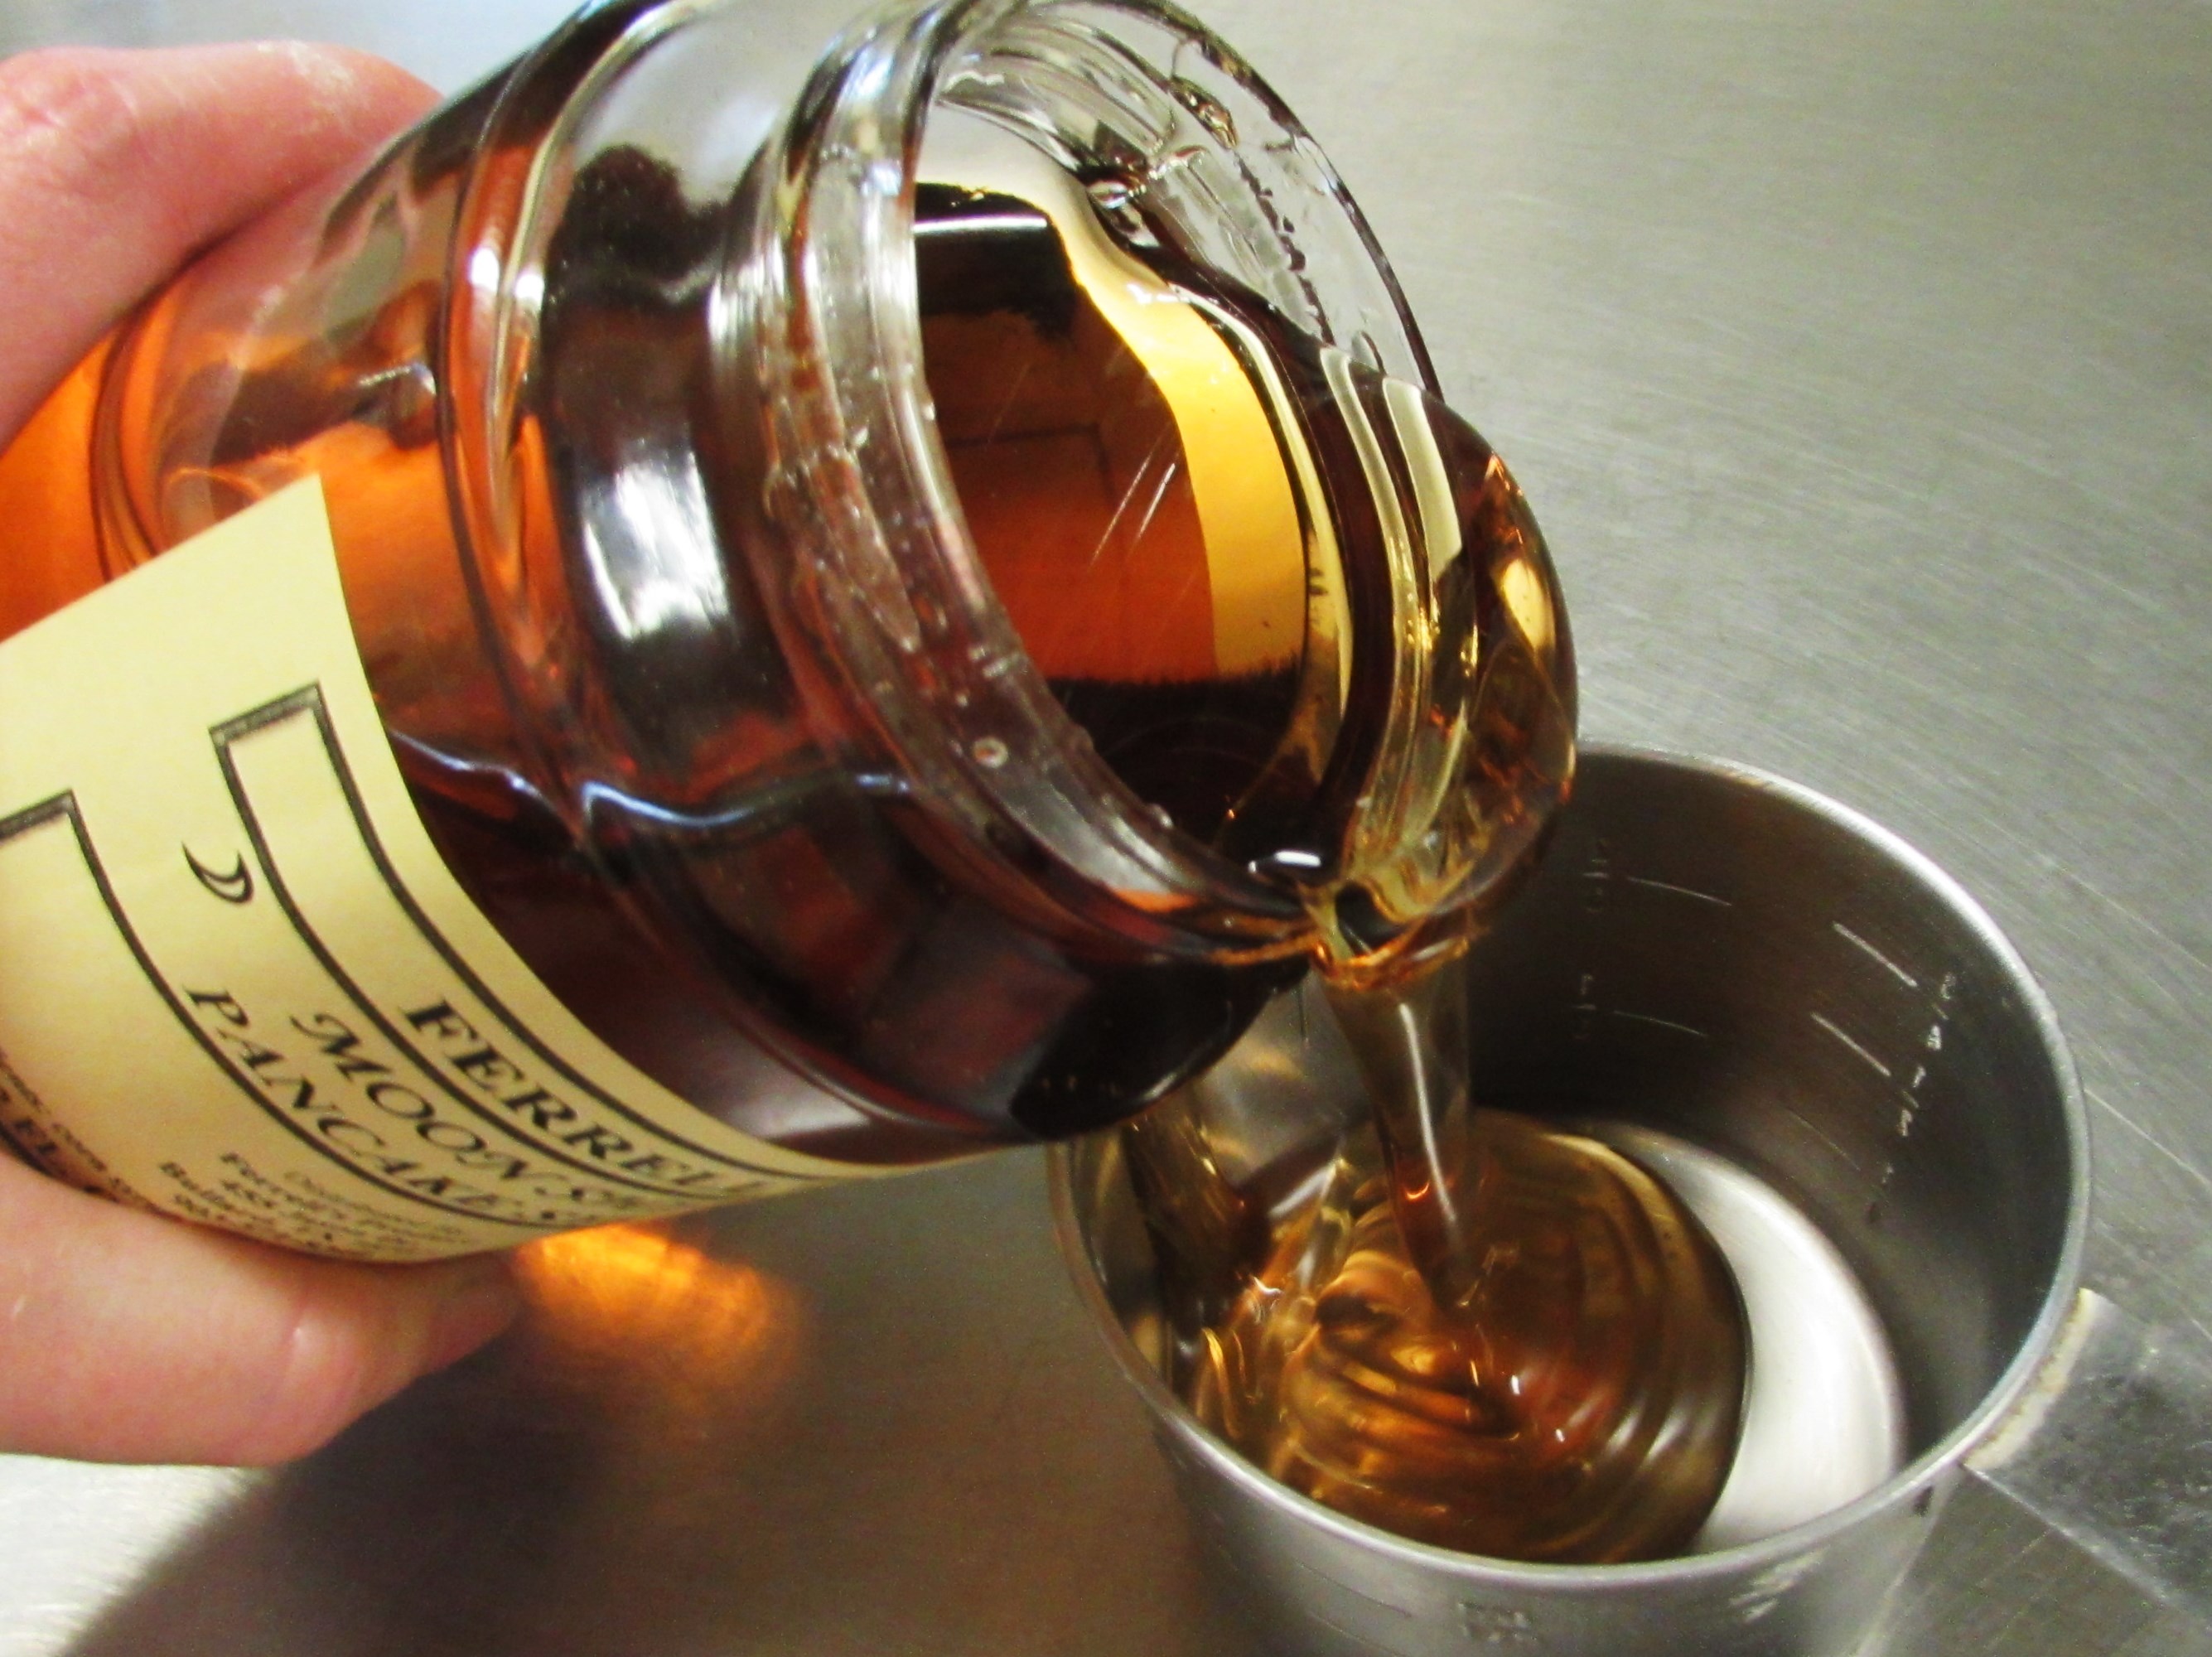
While the gel mixture melts measure the syrup. Now the recipe calls for Karo syrup. I use Moonshine syrup because I think it is better. But either works.


See how the gel mixture starts to turn back to liquid and then melts completely? This is perfect, now pour in the syrup and stir it up well.

Then add some shortening.
Right before it is all melted remove it from the heat. Keep stirring until it is all melted and add some extract.

Now, let all this cool off a bit while you get the bowl and powdered sugar ready.


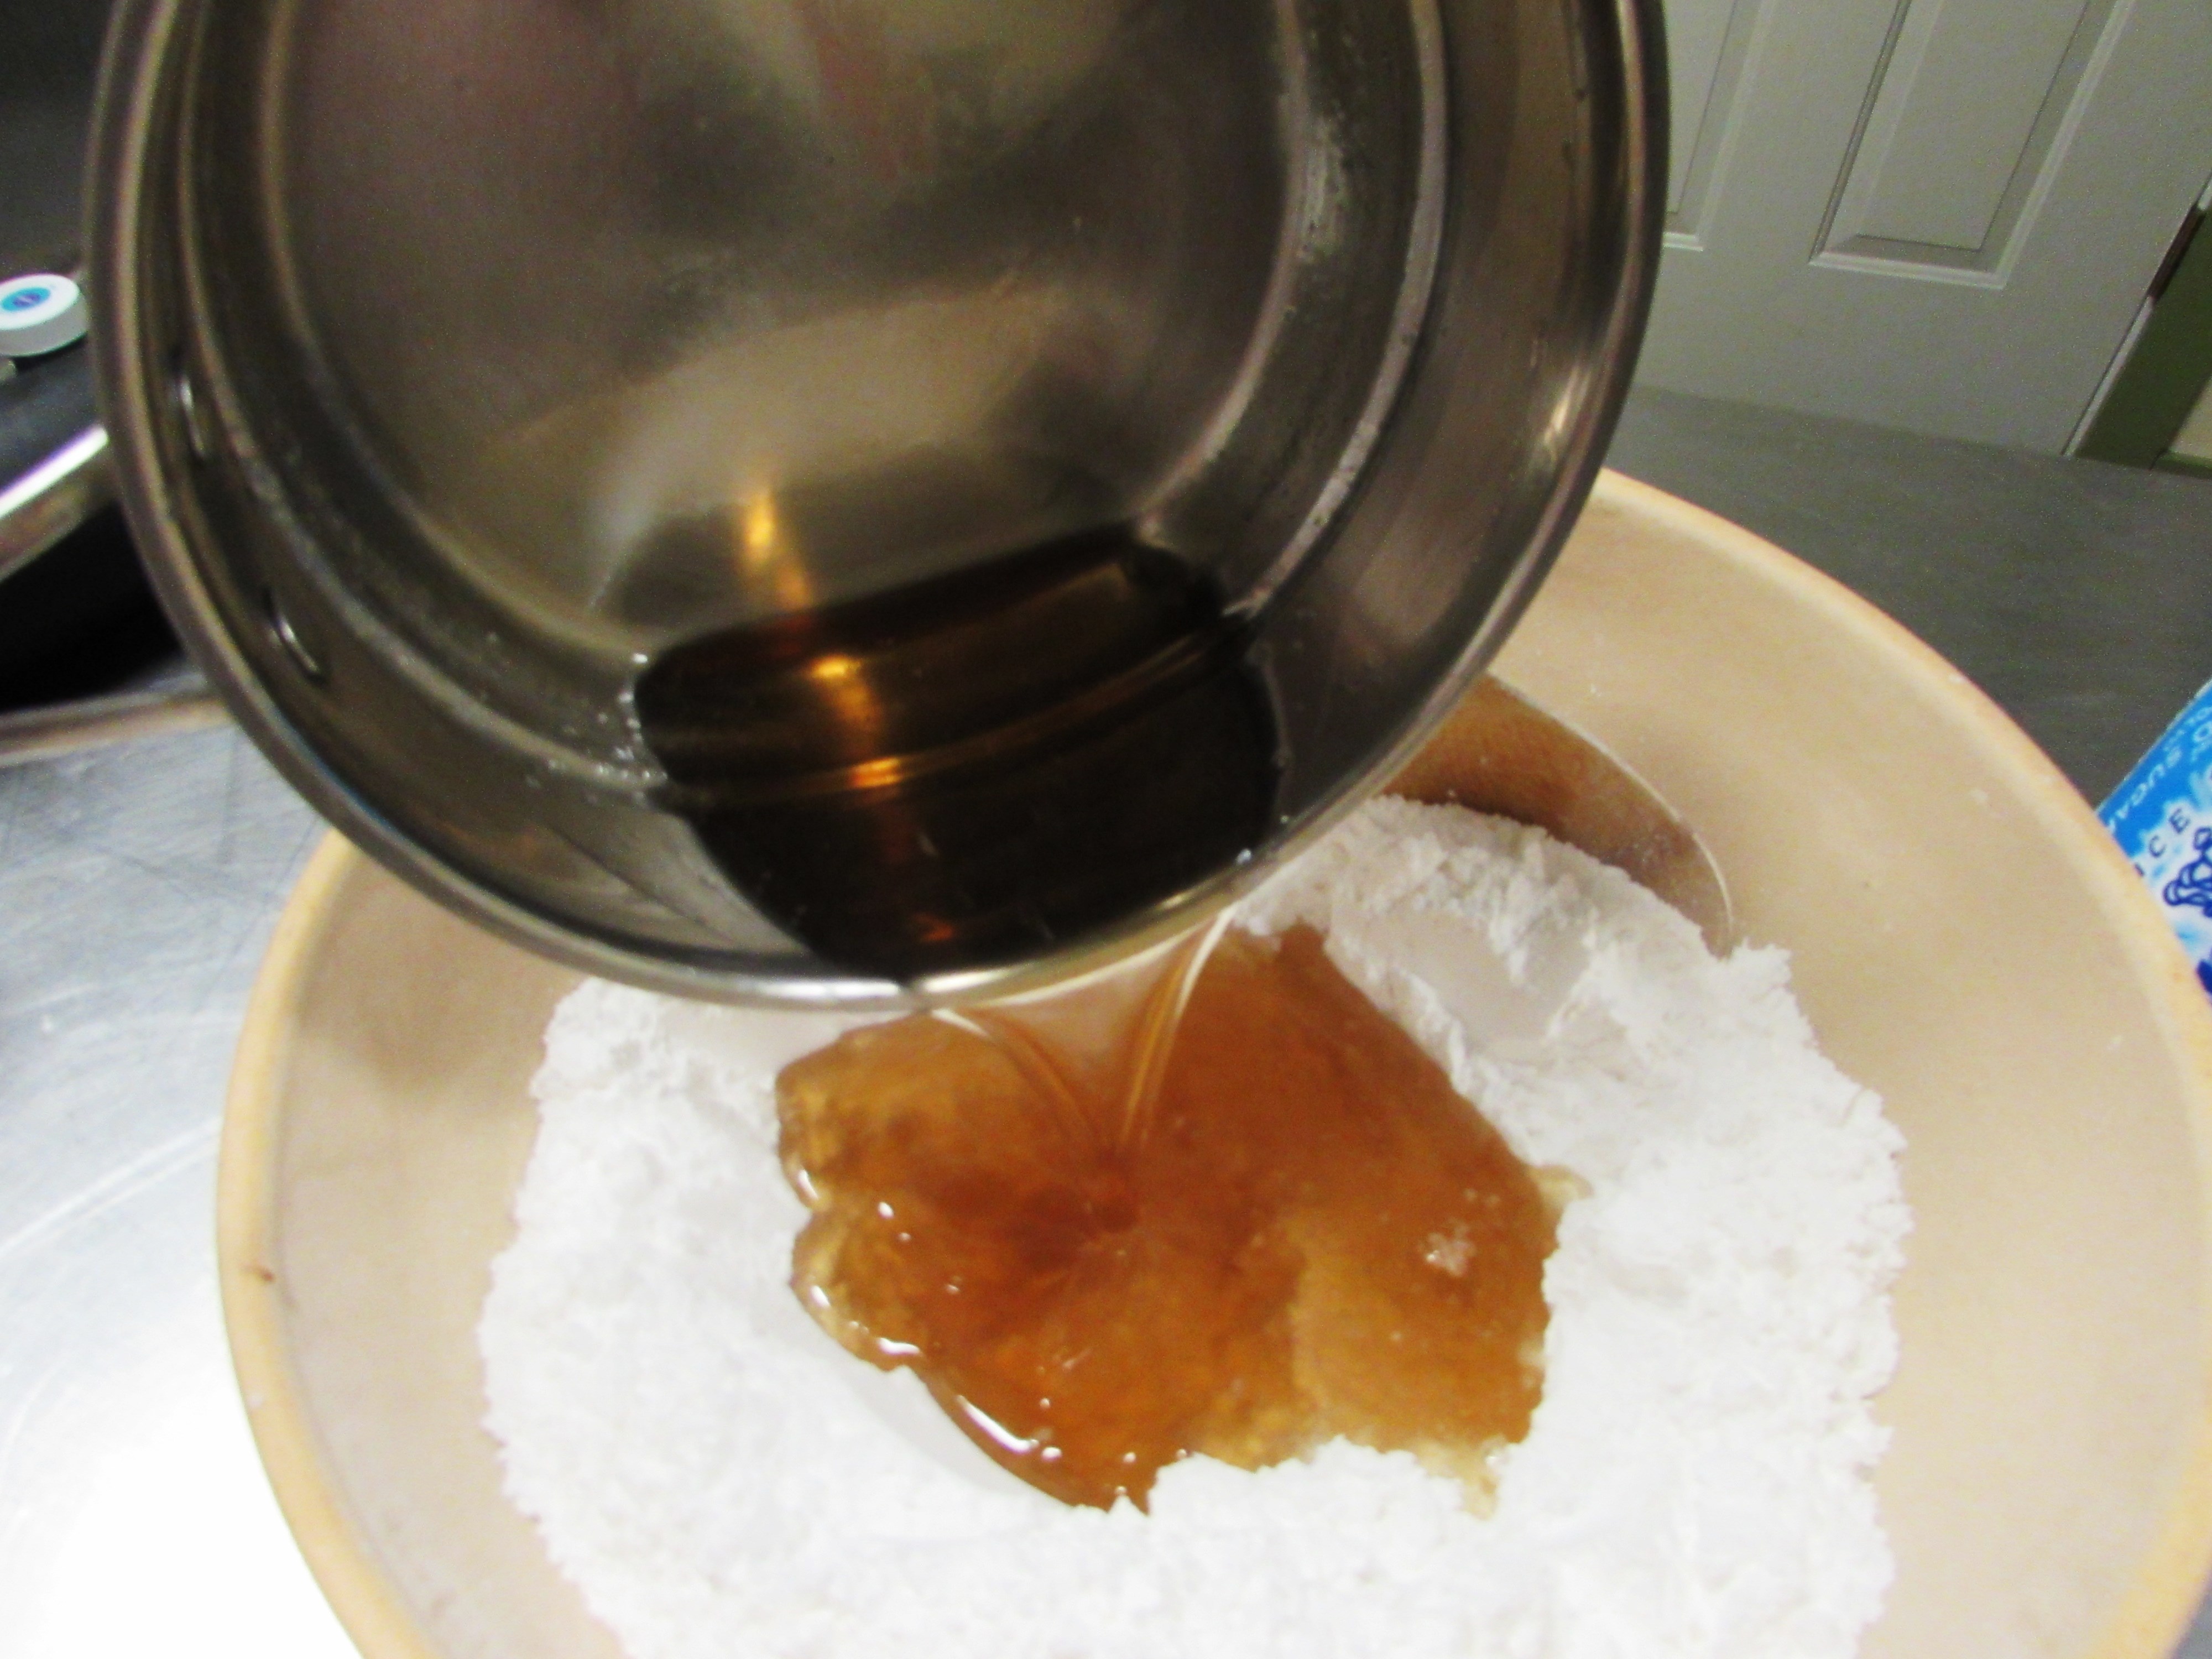
Sift the powdered sugar into a large bowl and using a wooden spoon make a well in the sugar.
Then add the syrup mixture.

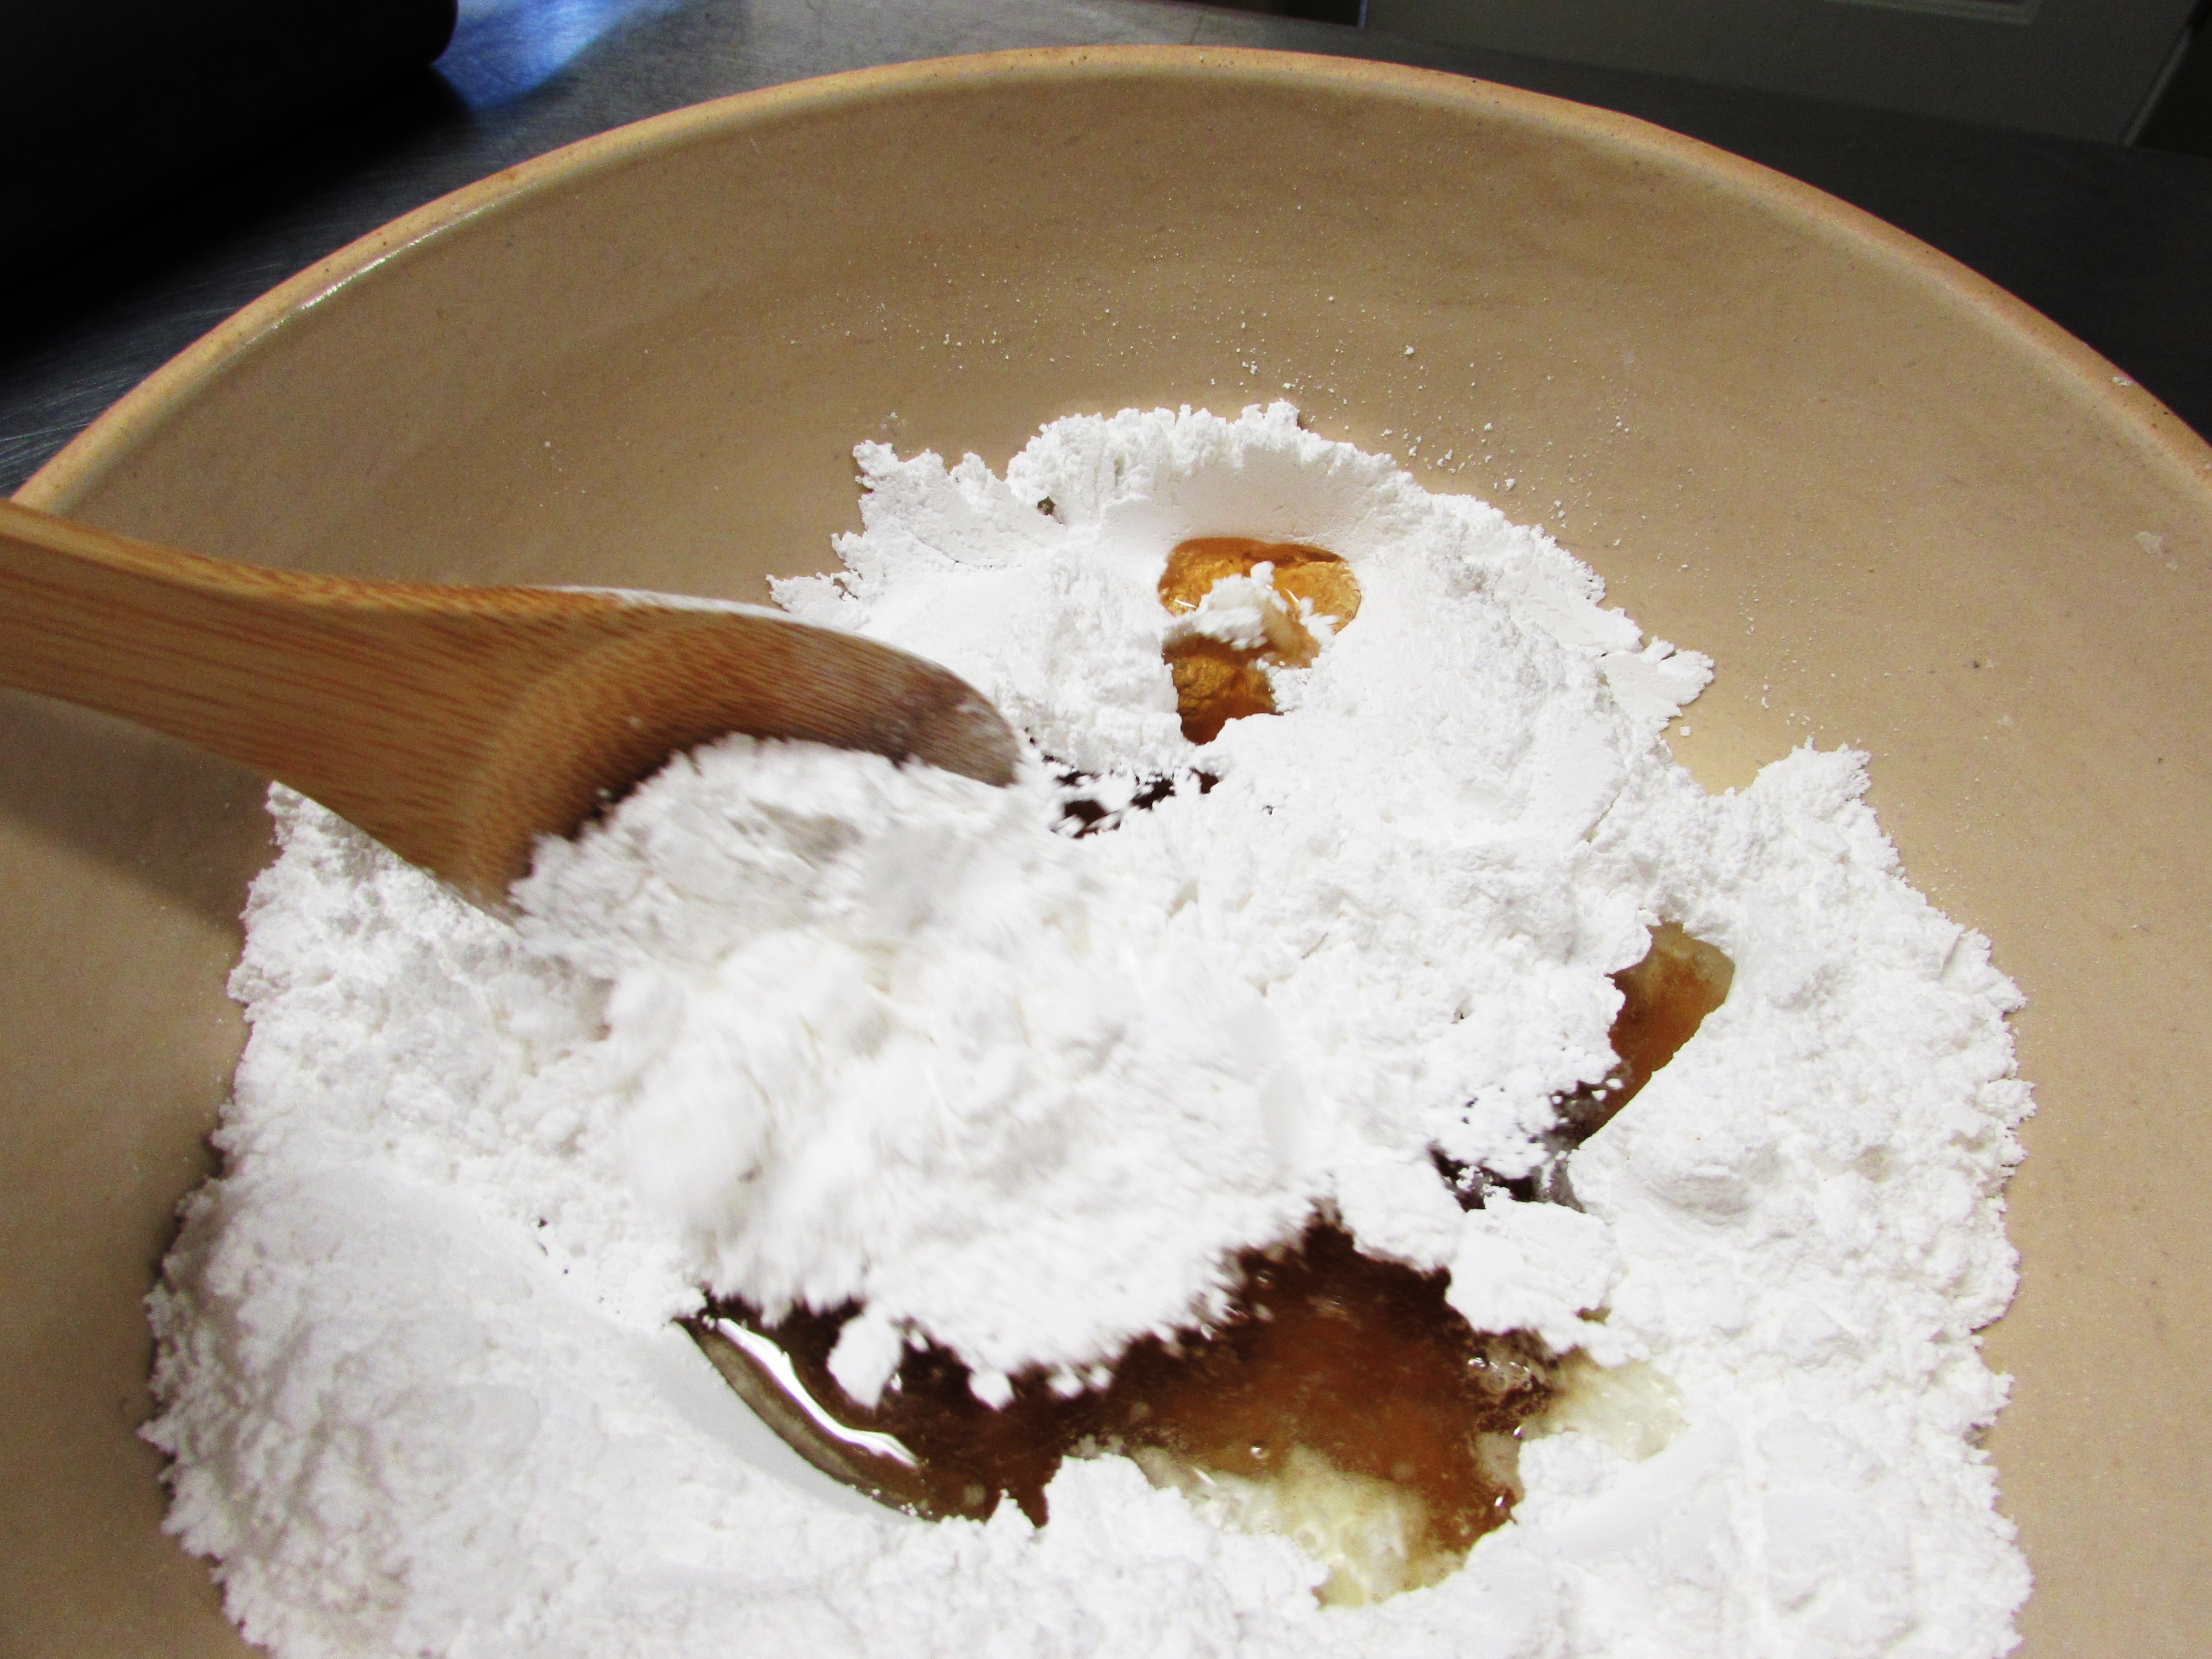

Now the first time I made this I lost almost all faith about 3 minutes into the process. I thought “Rachel, you have just wasted about 6.00 in ingredients, 20 minutes of life and now you are gonna have to throw this junk out and wash dishes.” But I kept stirring, kept adding a little powdered sugar and by and by….


Before you know it, you just keep adding powdered sugar about half a cup at a time, and the darn stuff comes together.
When it isn’t just awful sticky, flop it out on a smooth surface dusted with powdered sugar. You keep kneading it until no longer sticky. The main trick is this. Knead and add sugar until no longer sticky but not any more. Fondant quickly dries out and cracks. This can’t really be fixed. Kinda like over-baking a cake. You can smooth out cracks with shortening but its better not to.


If you want to color the fondant use gel. I love Wilton gel colors. Grab a toothpick and add to your hearts content.


Remember, you can always add more but you can’t take away…..
Keep on kneading. If you add color do so while the fondant is still a little sticky because as you knead the color in you will have to add more sugar to keep it from sticking. And you don’t want it dry. It will crack. I can’t stress this enough.


Once the color is like you want it, grab a rolling pin and dust it generously with more sugar. Roll it as thin as you can without breaking it. Lift it often to ensure you aren’t sticking. If you DO stick just roll your fondant back in a ball and start over. No worries. Once you have the proper amount rolled out to cover the cake…


Roll the fondant carefully onto your rolling pin and drape it easily onto your cake which should have a light coating of buttercream in place. Unroll the fondant onto the cake…


Gently press the sides onto the cake and smooth them out.


I’ve found a pizza cutter works best to remove excess fondant, go around the edge of the cake then carefully remove the extra.


Layer one done!

Now I repeated this for the second layer.
Now for the polka dots!


I rolled out the red and used small plus large circle cookie cutters to make the polka dots. You can attach fondant on fondant easily with water. Use the least amount possible because color will bleed. Just dip your finger in water and wipe on sparingly.


Now this still looks fairly awful. You need an iron. Fill the iron with water and let it get really hot. Carefully steam the cake from a distance. You want the steam to remove any powdered sugar lingering on the cake but not close enough to let it get wet. My iron has a tendency to spit on the cake which is not good. So I try and keep a safe distance until the cake is nice and shiny.
I carefully go around the cake with a paper towel cleaning up any extra water.
And you are done!
Now go have a glass of wine and pat yourself on the back! Fondant Queen (or King) whatever the case may be!
The Specifics~
Homemade Fondant
1 .25 oz package unflavored gelatin
3 tbs cold water
½ cup plus 1 tbs corn syrup
2 tbs Crisco
1 tsp vanilla or other extract
6-8 cups powdered sugar
Dissolve gelatin in cold water, let sit until thick then place in a double boiler over medium heat. When it has melted add the corn syrup and stir well. Add the Crisco and remove from heat just before it is all melted. Stir in extract and let cool to lukewarm. Sift 4 cups powdered sugar into a large ceramic bowl, make a well in the center and mix the gelatin mixture into it with a wooden spoon. Keep adding sugar a little at a time, stirring then kneading the fondant until no longer sticky and it becomes smooth and pliable. Careful not to add to much sugar, it will get dry and crack. If it is too stiff add water a few drops at a time. Use gel color to tint the fondant any color you like. Fix cracks and rough spots with a touch of Crisco rubbed on your fingertips. Steam finished cakes for a shiny, smooth appearance. Store leftovers tightly wrapped in plastic away from heat. It keeps forever but will harden if left to long, you can cut away the outer edges and use the soft inside if that happens. You can also cut the recipe in half or double as needed.


I have made marshmallow fondant but never traditional fondant, thanks for the tutorial!
LikeLike
You are very welcome! 🙂
LikeLike
Cool!
LikeLike
Thanks! It takes practice but it is fun! 🙂
LikeLike
This post serves as a reminder that I don’t have the patience for fondant. 😉 but yours looks great!
LikeLike