So I am the oldest of 3 kids, my brother, Caleb, is 6 years my junior. When he was born my grandmother came to stay with me. When he came home he cried so much (we shared a room for a while), I asked when we could send him back. My mother reminded me that wasn’t an option. Obviously, because here I am, almost 30 years later making his wedding cake. His chosen bride, Brianna, wanted a purple cake with a faded color effect. I didn’t know it even had a name until I googled it. “Ombre” is apparently a trend, not only with cakes but hair and nails and all sorts of things. I learned something new! Yay!
So. This is how I made my brothers wedding cake, Ombre style!
 First, you need to have everything ready. The right tools and prep make ALL the difference. So, if you don’t own a cake turntable, off-set cake spatula or large and small spackling tool (from the hardware store) get them before you attempt a cake like this. Or any buttercream cake for that matter. I’ve tried it a lot of ways. This works, cross my heart. 🙂
First, the bride wanted Italian Cream Cake, so I made cream cheese frosting for the layers and buttercream for the outside colors.
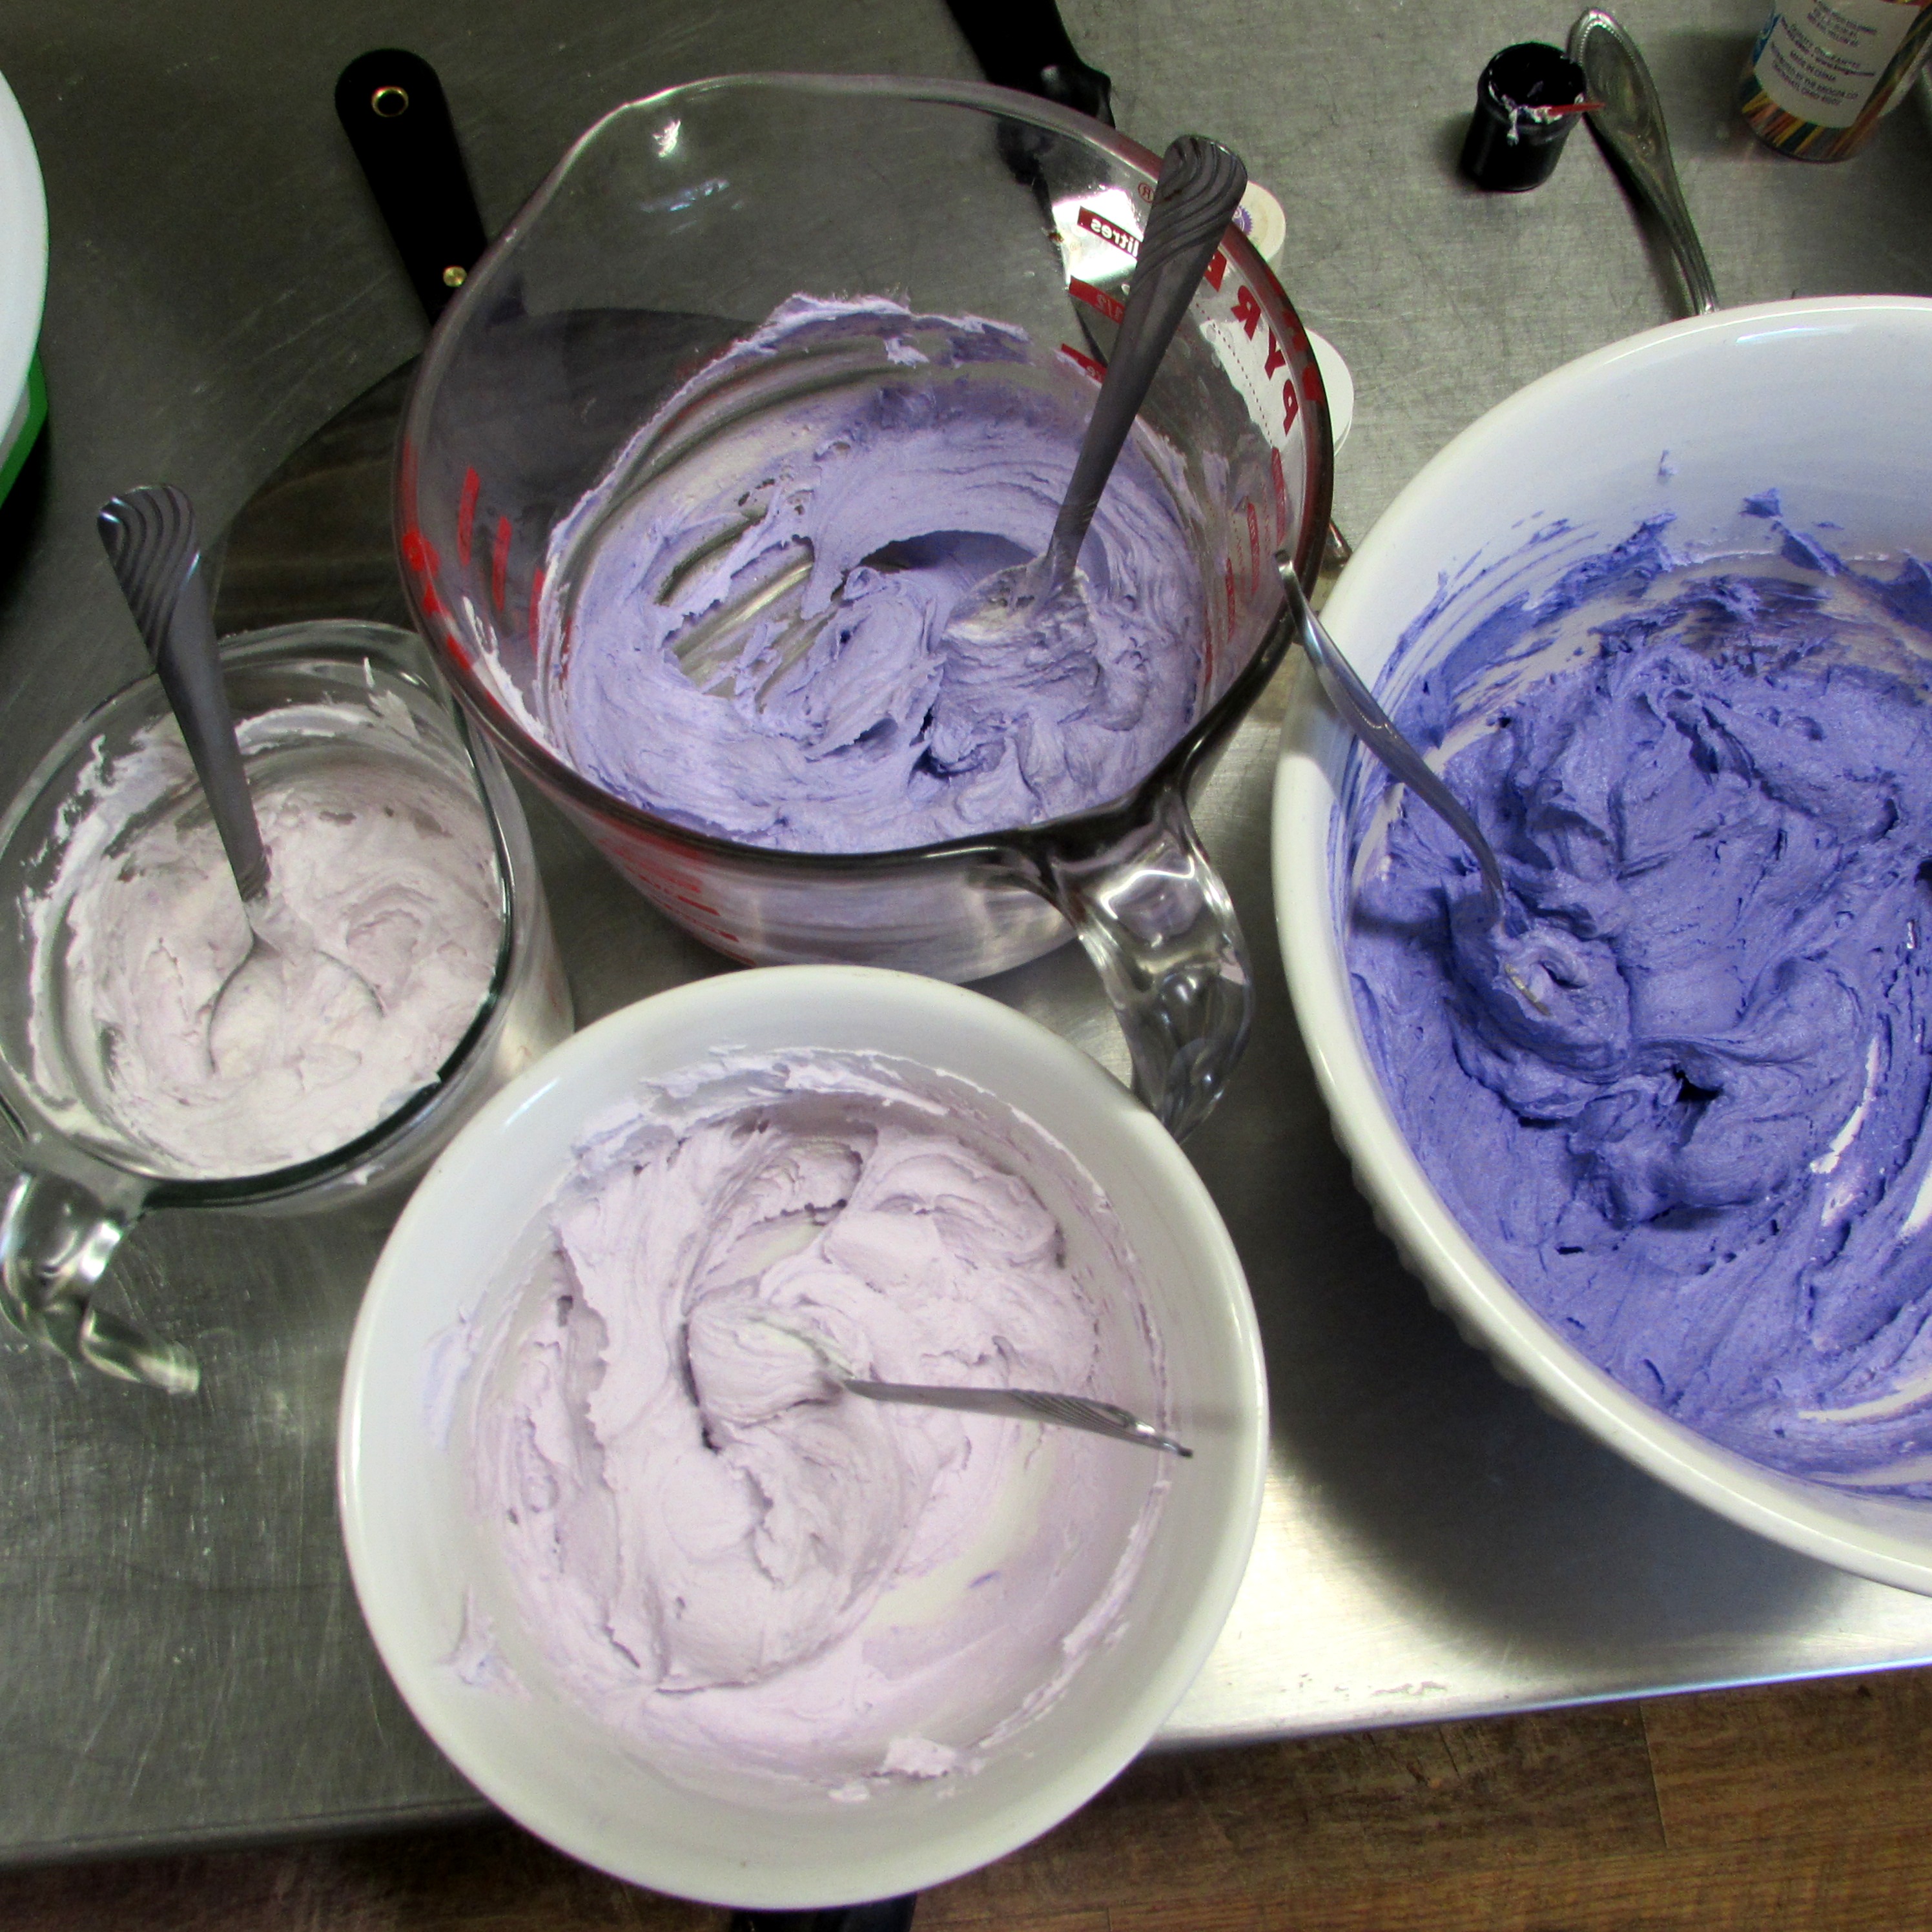
 I put the buttercream in bowls and colored them in 4 shades of violet.


 Then I applied a nice crumb coat to the 10 inch base layer….

 Then I began with the color……
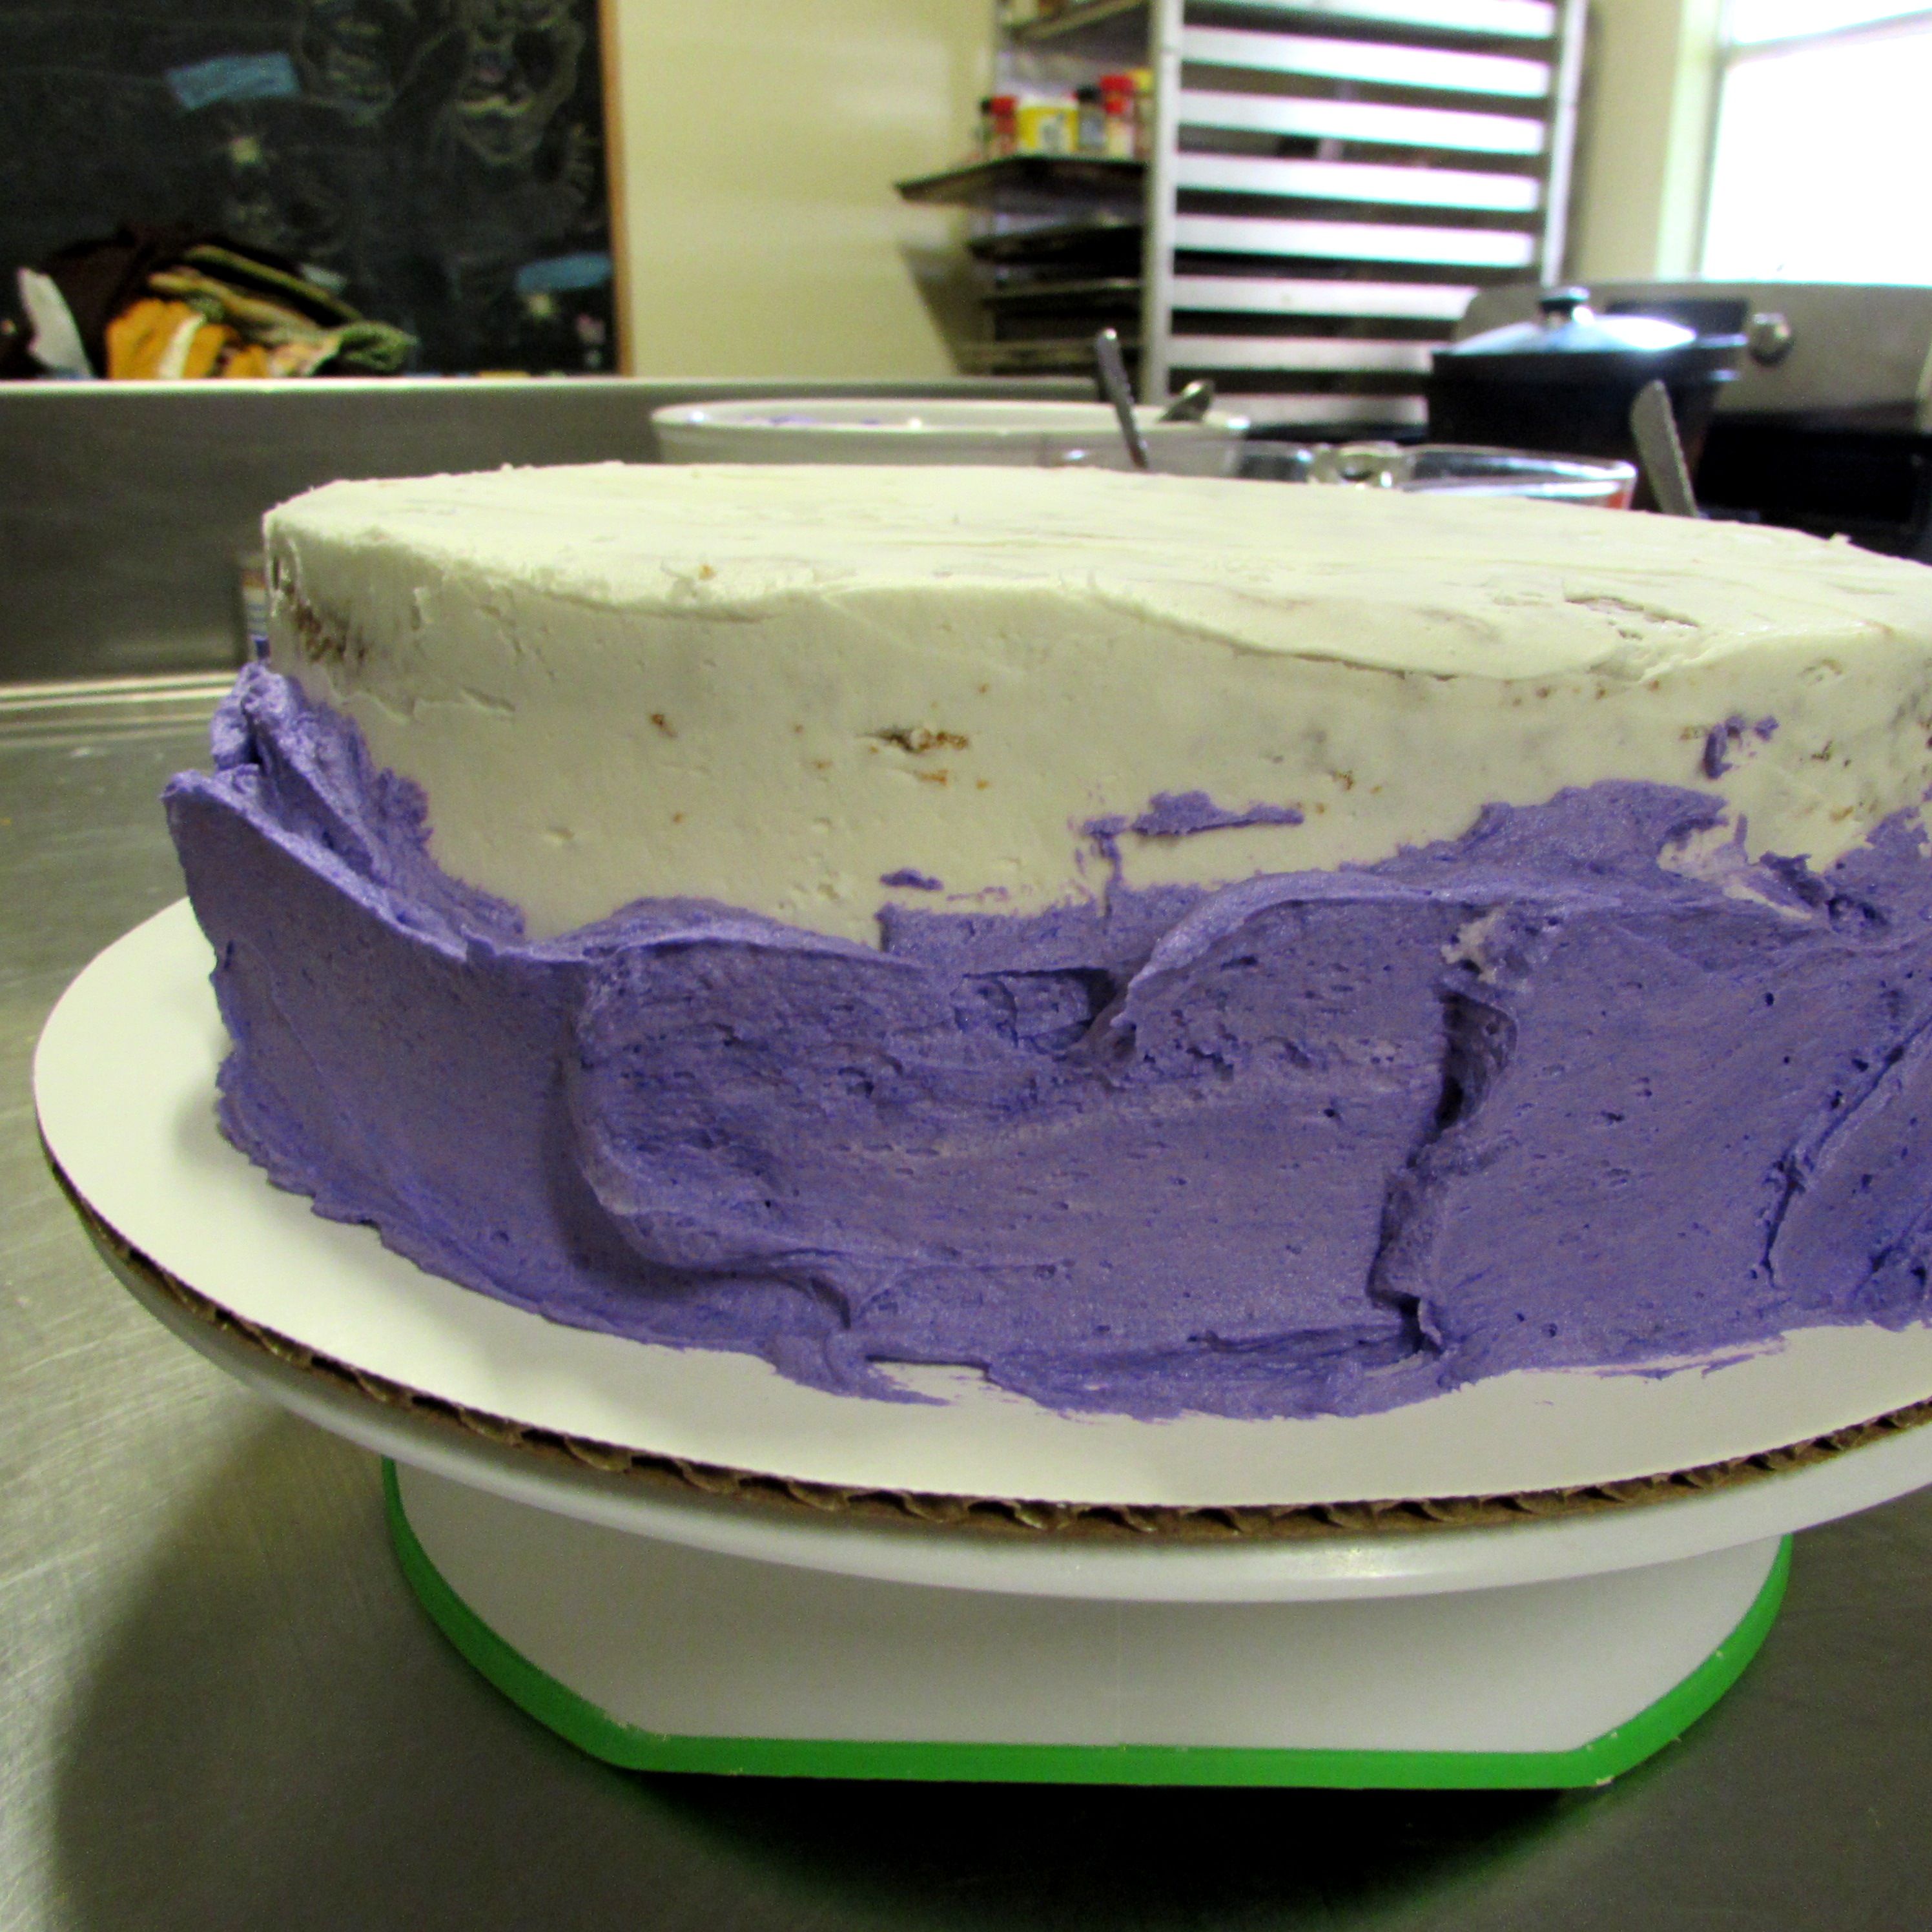 I started with the darkest then made a lighter layer on top.
 Yes, it looks a bit rough, but keep faith!
 Once the colors are on you can begin spinning that cake turntable gently and scraping off the extra frosting with the large spackling tool until it looks a bit like this…..
 And you keep going until it is smooth.
 Use the small tool to smooth out the top….
 And start with the next layer….
 Note how thickly I applied the icing. You need to put on about 3 times as much as you need so as you smooth it out you don’t get down to the cake layers.
 It will look awful but keep going and pile it high on the edges, like this.
 That way once you have smoothed the sides you can gently pull the frosting over the sides and on top of the cake with no low or bald spots.
 Just hold that tool smooth and keep scraping!
And if you have a hole like this…
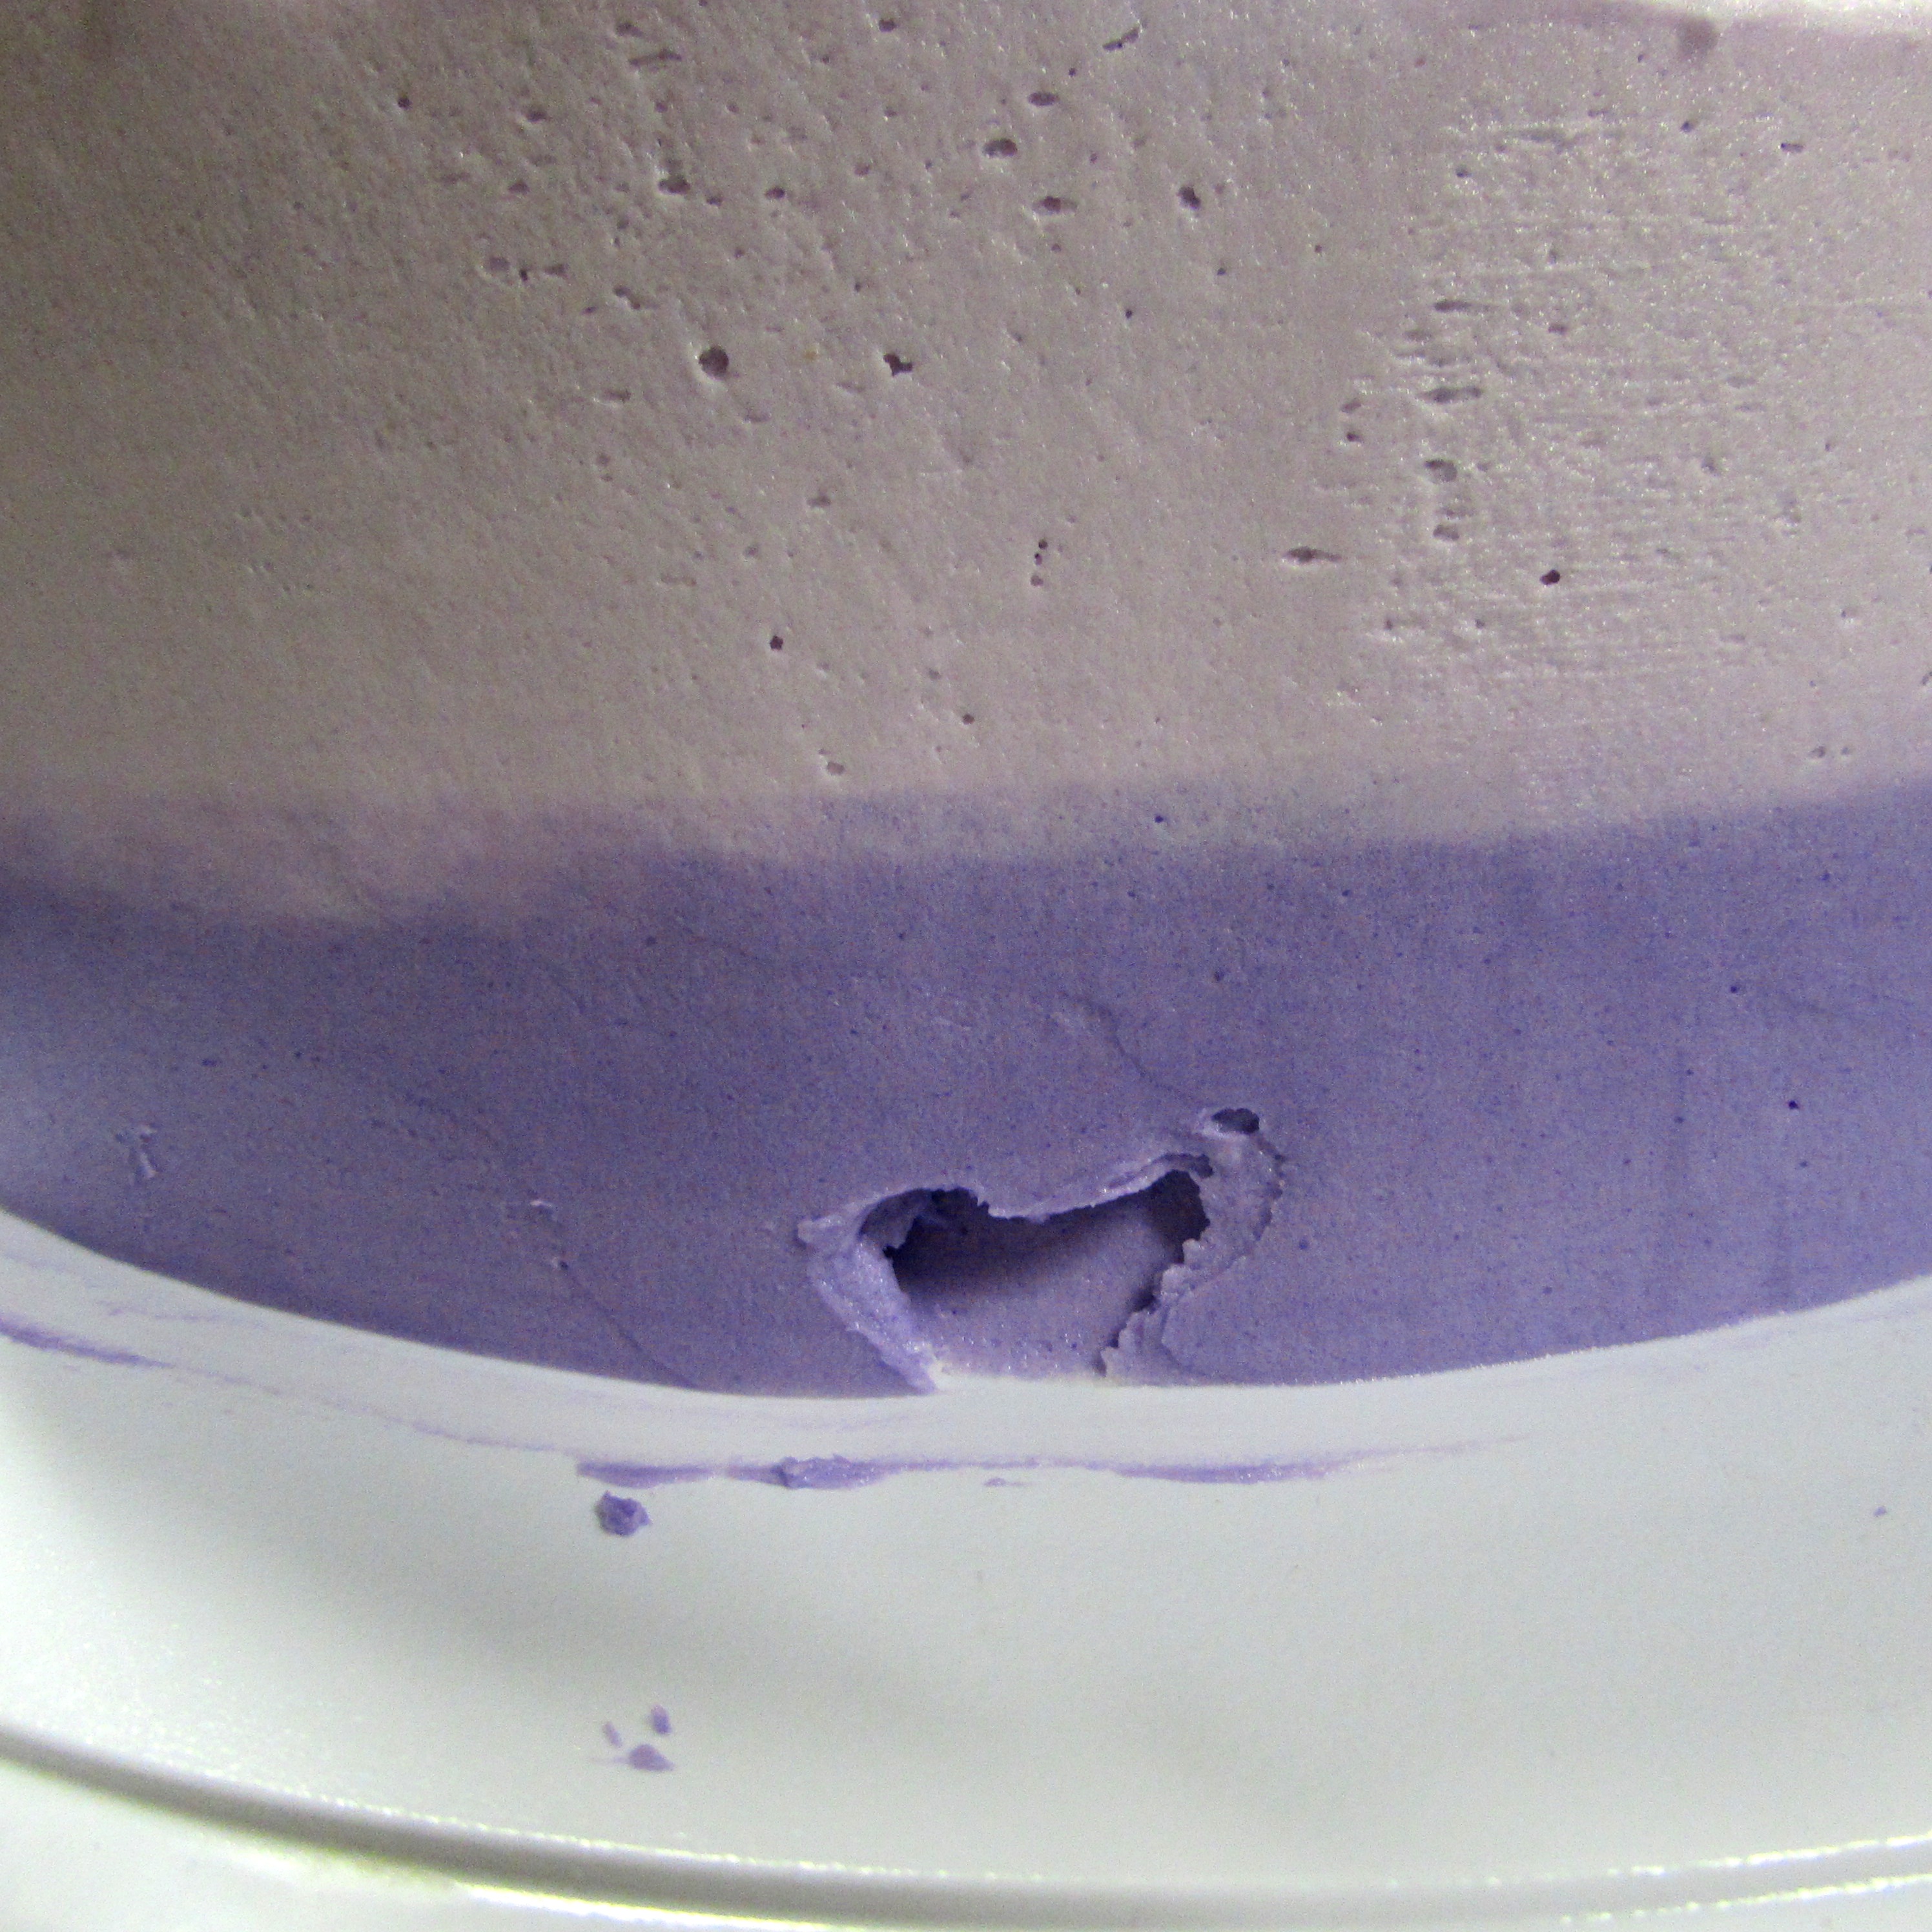 Take a blob of frosting on your finger and fill it in…
 And scape it smooth!
 As you can see from the cake in the background, I did each layer separately. This was a bit of a challenge but since I had the layers frozen ahead of time it was fairly simple to transfer them to the cake from the turntable using a spatula.
 Whew.
Whew.
Next I put on a row of pearl and purple beads…

 and decided it would be in my best interest to put on the rest of the beads at the reception hall.
There are always a lot of dirty bowls are a job like this….
 But, for a first time Ombre Cake, I was pretty pleased!

 Happy cake, happy wedding, happy family.
And I got heaps of compliments from people I don’t know on how great it tasted and my Aunt Mel, one of the best cooks I know, had seconds.
Yay!
My gawd, though, I’m glad its over!
Tomorrow……..
Wedding pictures!


Absolutely gorgeous! You are very talented!
LikeLike
Thanks! I was really nervous! 🙂
LikeLiked by 1 person
Nice job!
LikeLike
Oh wow …. that is impressive!!
LikeLike
You are so clever! Well done, it looks wonderful .. 🙂
LikeLike
Thanks, I was pretty tickled with it! 😀
LikeLike